

Anyone who lives in Las Vegas and hikes dreams of standing on top of Charleston Peak (also known as Mount Charleston). We are no different and have been dreaming of summiting the mountain since we arrived. Little did I know, we would end up summiting Charleston Peak and Griffith Peak in the same day.

What does it take to summit Charleston Peak?
An overly simplistic version of what it takes:
- The ability to walk uphill (and then downhill) for hours.
- A backpack to carry supplies.
- Luck with the weather forecast (no lightning, rain, snow, and minimal wind).
- A body that isn’t wrecked by high elevation.
- The sheer, stubborn refusal to quit.
That’s really it.
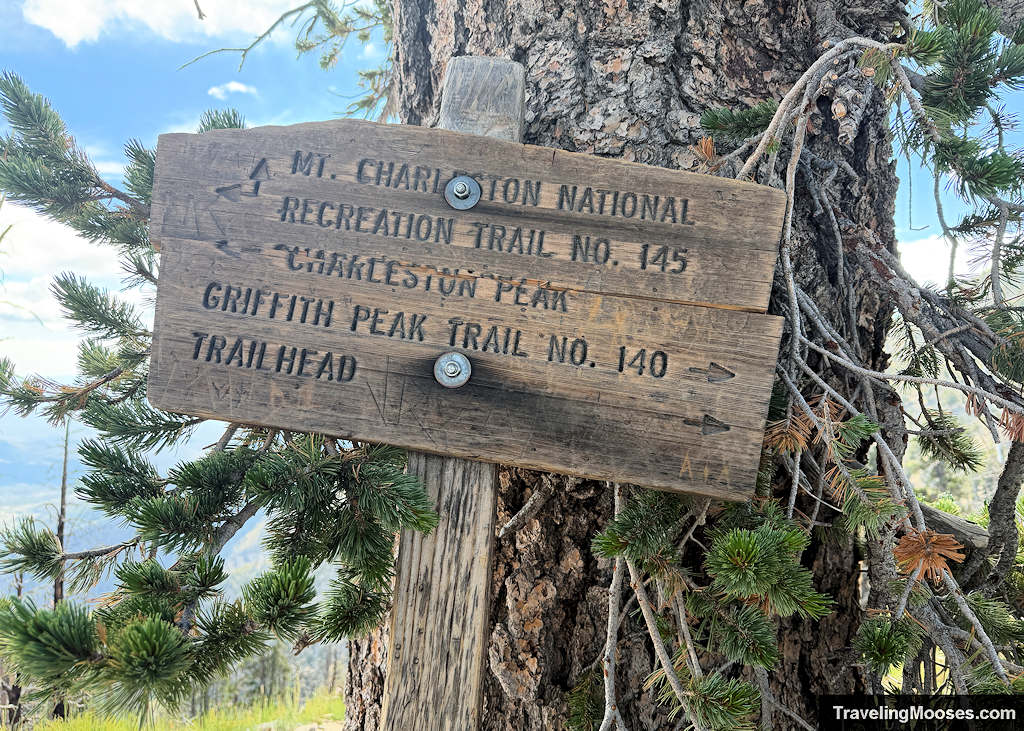
Sure, you need gear, water, conditioning, and tough feet. But tell that to the 58-year-old we saw on the summit with minimal gear and a casual mention that he had summited over 20 times. Or the trail runners who blazed past us up the mountain near dusk with tiny handheld water bottles and not a care in the world.
I’m sure there are rigid training regimens designed for high-altitude peaks. But if you’re anything like us, you just want to get out there, have fun, stand on top of the mountain, and not get hurt (or, you know, die). All I can share is what actually worked for us. Spoiler alert: we made it to the top.
Preparation and Training
We are unapologetic fair-weather hikers. We head out when the skies are clear, the route is well-marked, and we have high confidence we can actually finish. Charleston Peak had always eluded us because we didn’t have the conditioning for it. The South Loop clocks in at a published 16.5 miles and 4,800 feet of vertical gain, topping out at 11,916 feet. This is a punishing day for any regular hiker (including us).
Our window finally opened after a month in Bend, where we logged 106 trail miles and tackled the South Sister summit.
Physical Preparation
Our first hike in Bend came after a long break from the trails, and we were definitely out of shape. It is always a shot to the gut when you are gasping for air on a rocky trail that should feel easy. We spent the next four weeks taking on progressively longer hikes at elevation to get our trail legs back and condition our lungs. We capped off the trip with South Sister, the third-highest peak in Oregon. It is a grueling stratovolcano spanning roughly 13 miles and 5,000 feet of climb. Reaching that summit made me realize we finally had a real shot at Charleston Peak once we got back to Vegas.

Since you probably aren’t spending a month in Bend anytime soon, you can easily build this conditioning right here in Vegas. If I had to train without leaving town, I would use the South Loop itself as a progressive ladder. Start with an out-and-back climb to Echo Overlook. Repeat that until the grade feels routine, then push past Echo to the saddle. Once the saddle feels manageable, add the steep final push to Griffith Peak.
If you can reach Griffith Peak without feeling overly exhausted, then Charleston Peak is in reach. About two-thirds of the vertical gain on the South Loop is front-loaded between the trailhead and the saddle. The final stretch past the saddle is still an eight-mile round trip, but the grade levels out significantly compared to the endless switchbacks below.
To prepare for that final stretch, focus on putting in the miles. You need time on your feet to get them conditioned. The best local trail for this is the White Rock Loop in Red Rock Canyon, done two or three times in a single day. The loop is roughly 6.2 miles, so completing it twice clocks in at 12.4 miles.
Nothing in mountain hiking is guaranteed, but if you can hike White Rock Loop two or three times back-to-back and handle Griffith Peak, your body is ready for Charleston.
What gear did we take?
Good gear will not walk the miles for you, but the wrong gear will definitely end your day early. Here is what we packed in our bags:
- Water and Ice: Six liters of liquids between the two of us, plus two quart-size ice bags in our packs to chill our food and melt into drinking water. By the time we got back to the car, we had burned through all the ice and had barely 0.5 liters left. That was in mild 55 to 60°F weather with light wind; on a hotter day, we would have run out. There is no reliable water along the ridge to filter, so plan to carry every drop you need.
- Calorie-dense food: We brought lots of snacks and real food. We burned through a massive number of calories and were glad to have extra on hand.
- Electrolytes: If you have hiked long distances, you know leg cramps creep out of nowhere and salt cravings hit hard. We brought salt tablets and sports drinks to keep our hydration balanced.
- Trekking Poles: These are a mandatory item for us on any route featuring scree or steep descents. Charleston Peak has plenty of both.
- Satellite SOS / PLB: We brought our PLB, plus our phone’s satellite SOS feature. Cell coverage drops out along large chunks of the trail.
- Extra layers: Winds and temperatures are unpredictable along the high ridgelines, so we packed windbreakers and warm layers.
- Sturdy footwear: Leave the slick sneakers at home. You need dedicated trail runners or hiking boots with deep, grippy tread. Descending dry limestone scree without traction is asking for an injury. I wore Keen hiking shoes and hubby wore Adidas Terrex hiking shoes. Both worked great.
- Headlamps: We do not normally hike in the dark, but starting before sunrise and facing the possibility of a 12-plus-hour day made hands-free headlamps far superior to a phone flashlight.
Those are the personal standouts, but make sure you carry the rest of the Ten Essentials too. Mount Charleston has a way of exposing unprepared hikers without remorse.
Summit Day
A clear weather window finally opened on a Monday in late August. Our 11-hour day on South Sister taught us that Charleston would easily take 12 hours or more with the added mileage. The plan was simple: get an early start, tackle the climb, and be off the summit by noon before risking an unexpected afternoon lightning storm.
Trail Arrival and Hiking to Echo Overlook
We left the house at 4:30 a.m. and headed straight for the Cathedral Rock trailhead.

The lot requires no permits and was completely empty at that hour, though it fills up fast on weekends. First light was just starting to bleed into the valley when we began hiking at 5:20 a.m. We would not see the car again until just after 7 p.m., a full 13 hours and 45 minutes later.

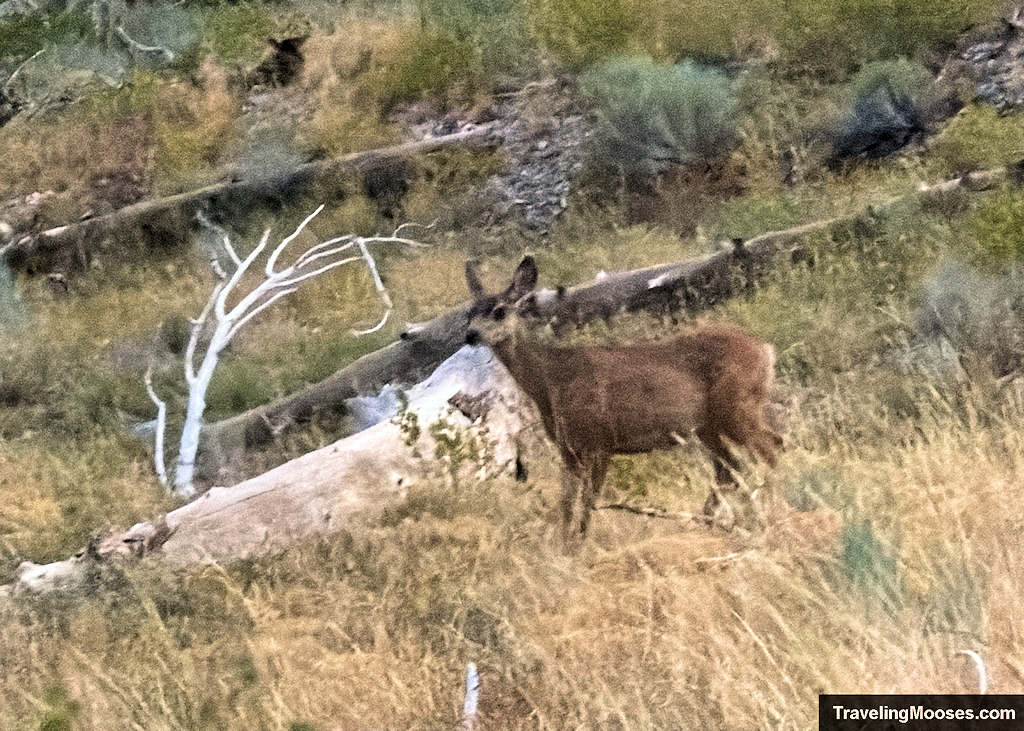
The South Loop starts gently, winding through the forest parallel to the picnic area. It was pitch black under the canopy, making our headlamps mandatory. Soon after, the trail abruptly leaves the trees and spits you out onto an open canyon floor beneath Echo Cliffs. We were even greeted by a healthy deer moving through the brush in the early morning light.
We saw headlamps from a few hikers up ahead, but we never crossed paths with them. The trail starts climbing steadily over makeshift stone stairs and past long-forgotten pipes. You will spot a cave notched high into the rock and get great looks at the massive cliff bands towering overhead. It is roughly 1,400 feet of vertical gain and ~2.2 miles to Echo Overlook, and despite the rocky footing, you can move pretty quickly through here.
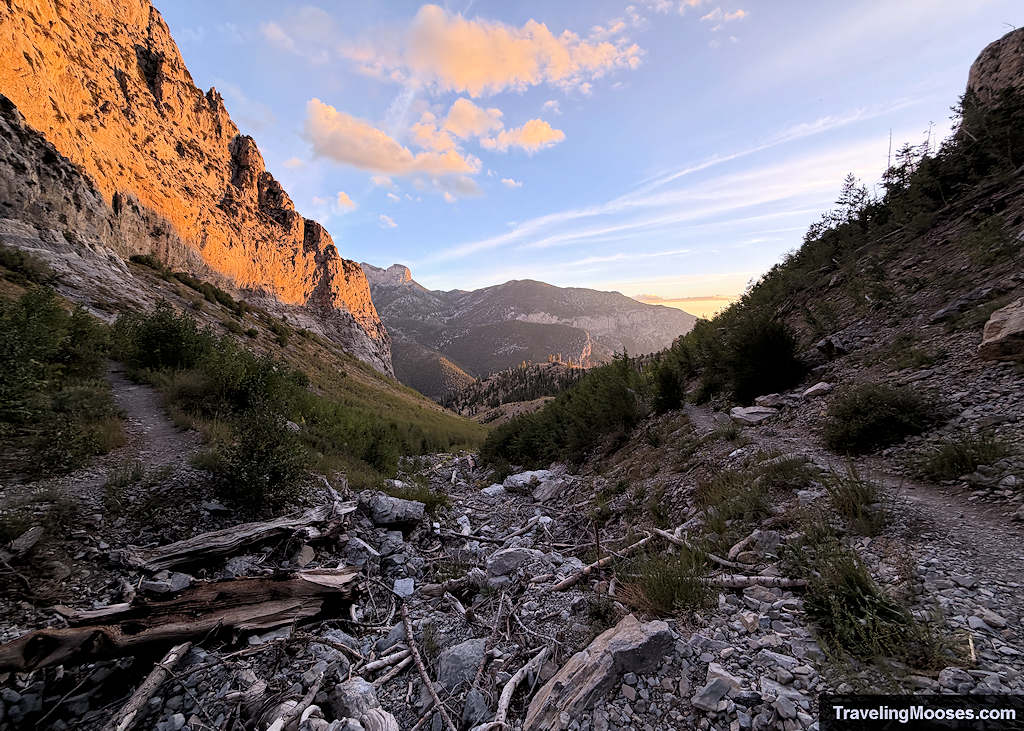
If you have never been to Echo Overlook, take a few minutes to wander out and check out the views. It makes for great photos. Just watch your step near the edge, because the drop-off is immediate and fatal.

Switchbacks to the Saddle
The stretch between Echo Overlook and the saddle is where the real work begins. You gain roughly 1,700 vertical feet across 2.2 miles, and starting that climb above 9,000 feet makes every switchback feel twice as steep.
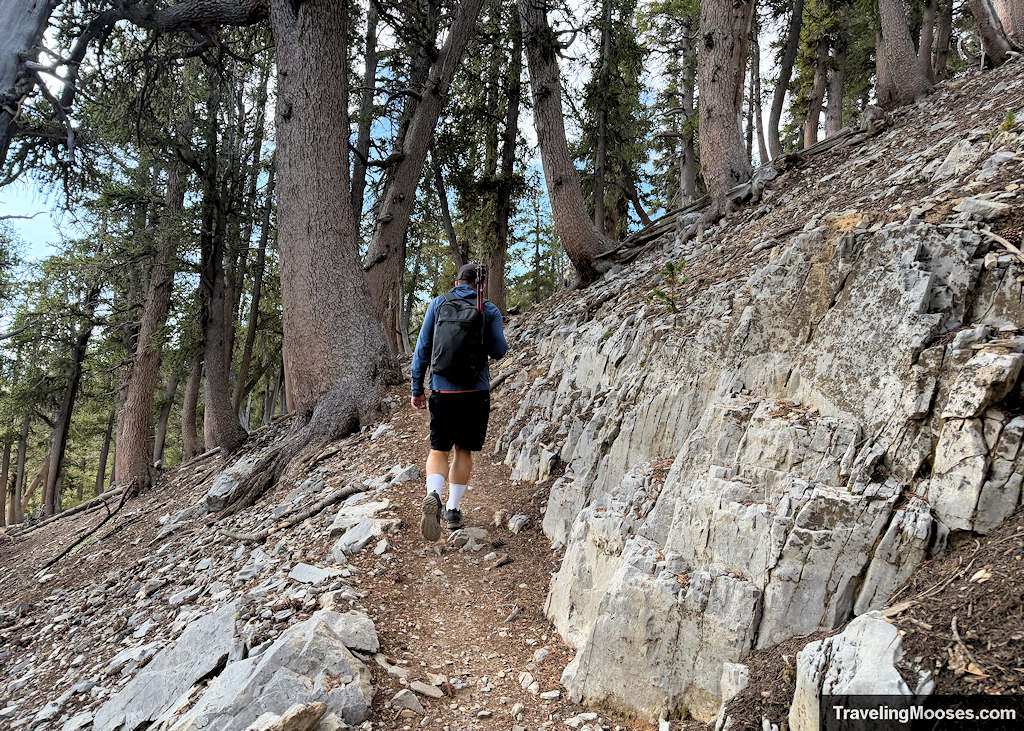
For perspective, this is the hill we had to climb. If you look really close, you can see a hiker far up the ridge.
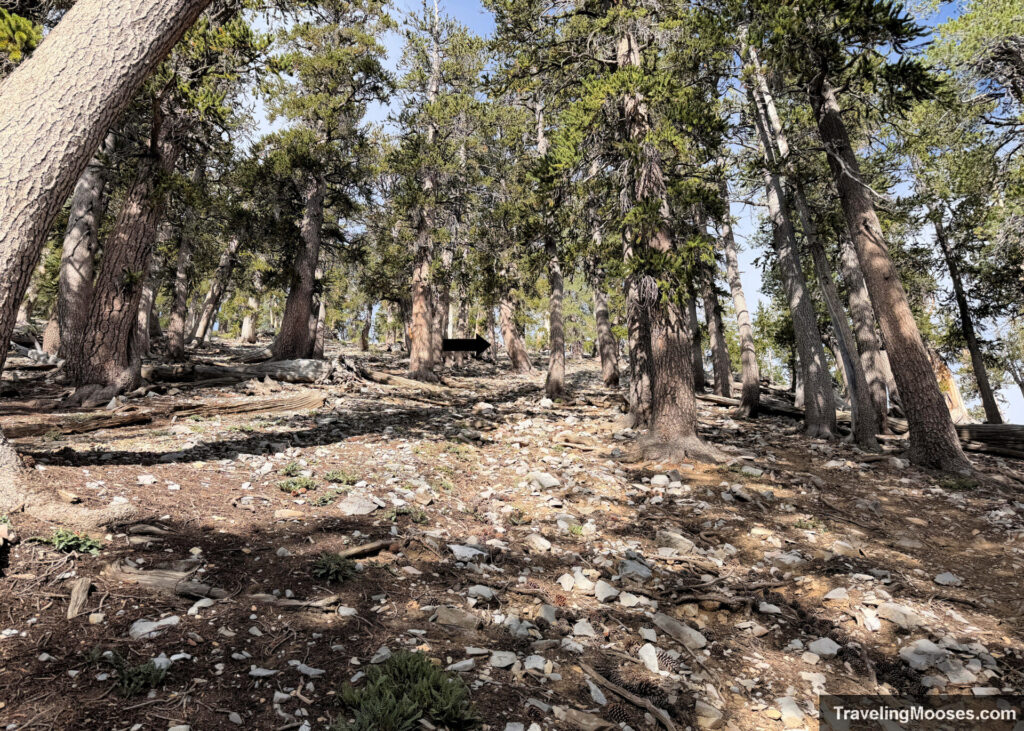
Fortunately, dense tree cover shades most of the route, keeping the morning heat away. It was right around here that my husband shook his head and commented on the “crazy” people who tackle both Charleston and Griffith Peak in one outing. That casual comment would come back to haunt him later. ¬‿¬
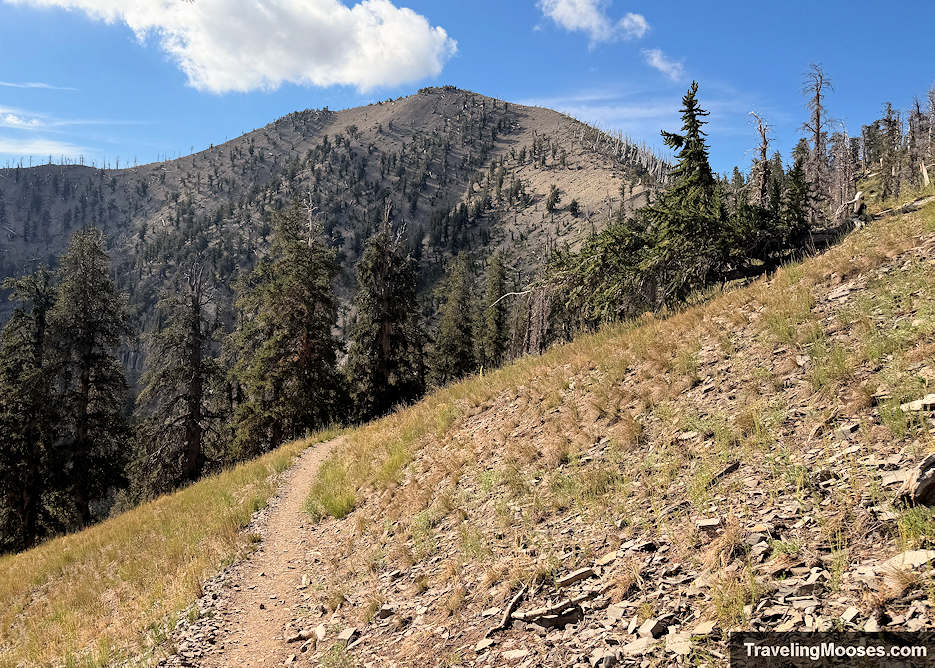
When you reach the saddle, you have two choices: you can turn left and summit Griffith Peak, or turn right and keep going toward Charleston Peak. The day we hiked, we ran into someone out on a training hike who used the saddle as their turnaround point. This part of the trail offers sweeping views, so turning around here still makes for a fantastic day hike. There is also a relatively sheltered, flat area where backpackers commonly pitch tents.
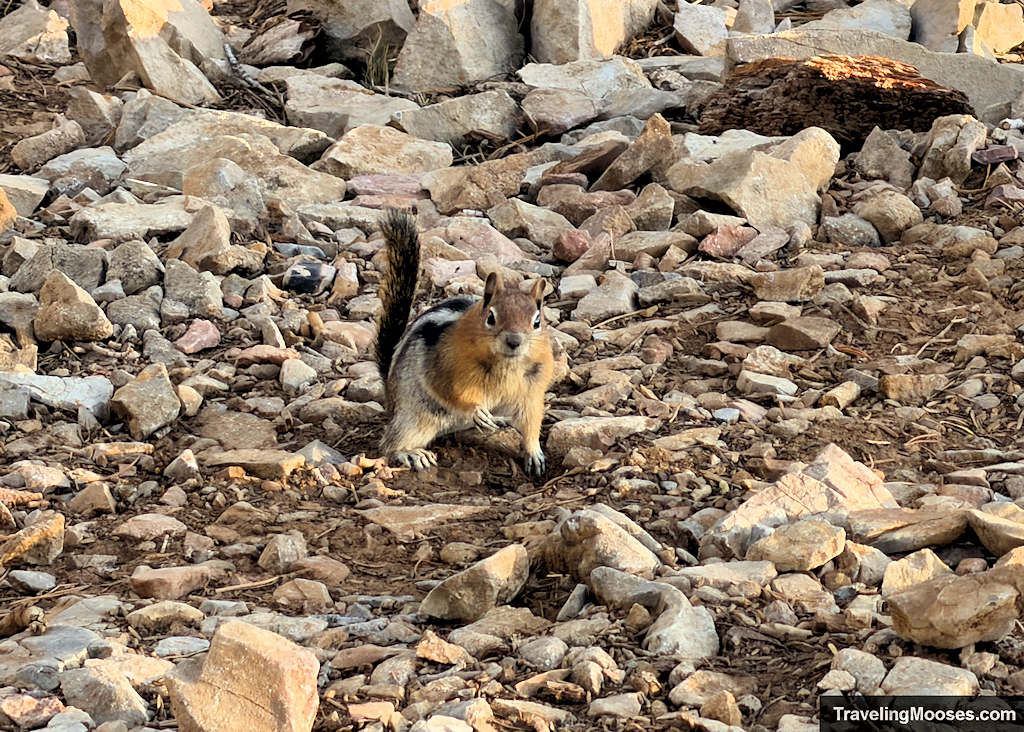
Keep in mind the golden-mantled ground squirrels here are relentlessly bold. You might also spot Palmer’s chipmunks, which are native only to the Spring Mountains and found nowhere else on Earth. Both species will shamelessly mug you for snacks. They are cute, but please do not feed them.
Meadows and burned out forest
After leaving the saddle, you have approximately 4.0 miles and 1,700 feet to go. The trail meanders through an open meadow area offering a welcome reprieve from the relentless uphill climb and sprawling views of Pahrump and Death Valley off in the distance.

If you are paying attention to the terrain, you will notice you actually start losing elevation. It feels great in the moment, until you remember you have to climb back up this exact stretch on the return trip.
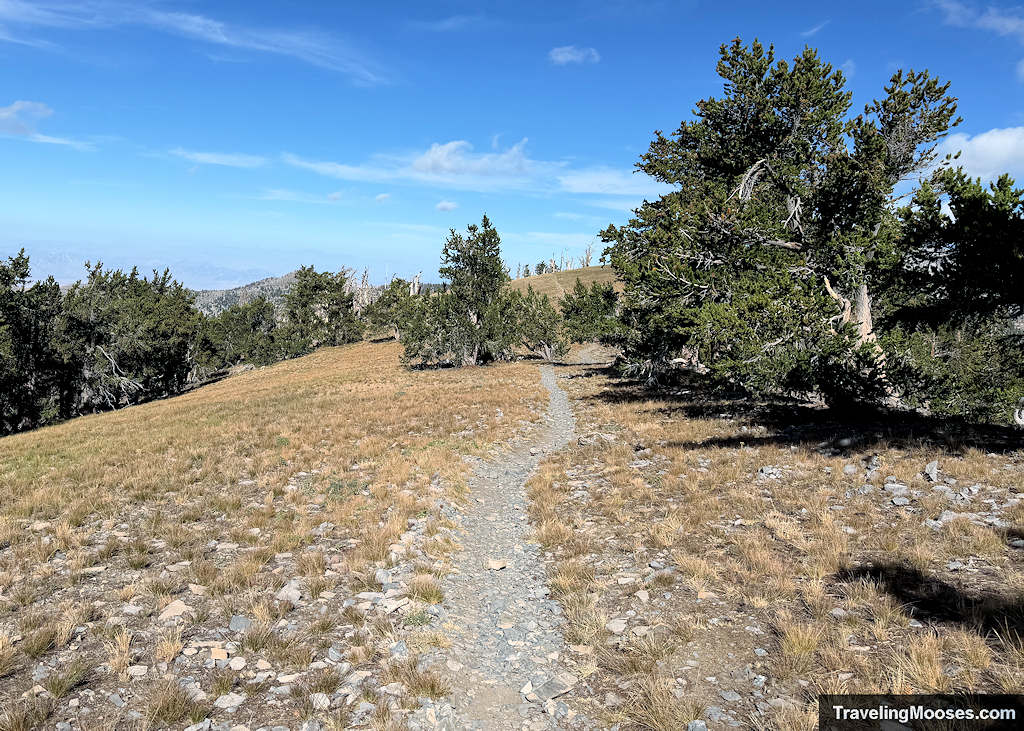
Following the meadow, the trail begins climbing gently through an eerie burn zone. On July 1, 2013, the massive Carpenter 1 Fire tore across these ridges, scorching nearly 28,000 acres of forest. Decades later, the standing remnants of limber, ponderosa, and Great Basin bristlecone pines still dominate the landscape. The mountain air is simply too dry, and bristlecone pine resin far too dense, for the timber to decompose.
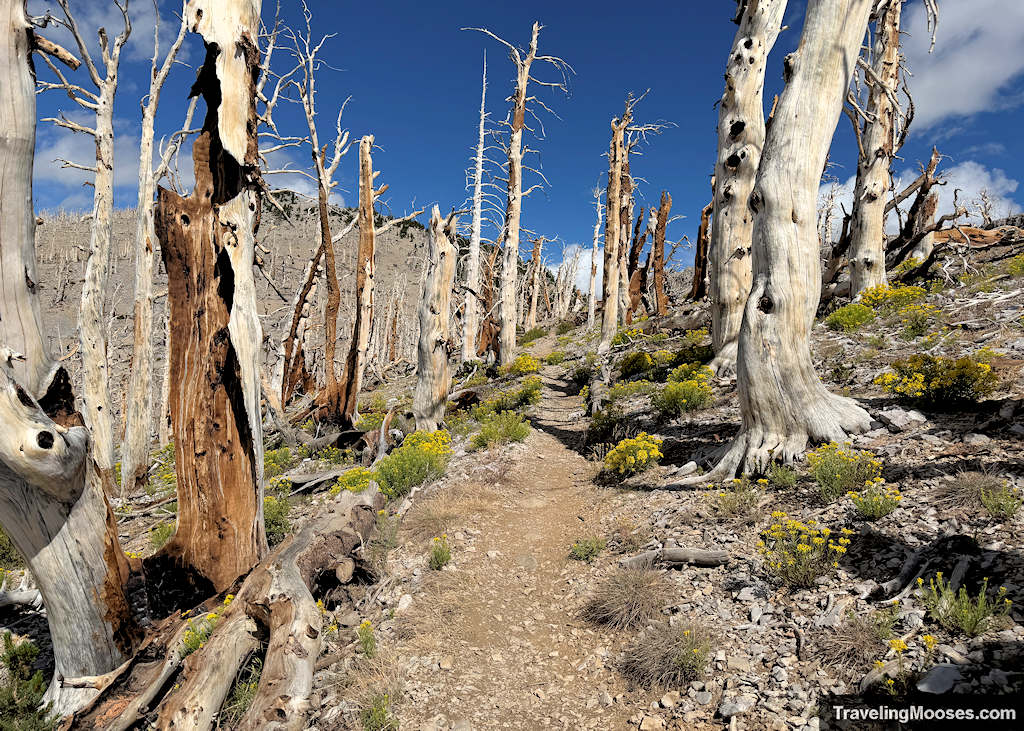
From here, the trail continues to wind up and past a gorgeous vantage point over Kyle Canyon, including an incredible look at Mummy Mountain, before climbing directly to the crest of the ridge. Once you top out on the crest, you finally get your first real look at the objective: the mean-looking, sharp, and entirely bald summit of Charleston Peak looming in the distance.
Traversing the Upper Alpine Shelf to the Plane Crash Site
Spotting the summit in the distance is an instant psychological boost. After hours of climbing, the goal suddenly feels real. The trail dips downward again as you cross the wide limestone shelf, winding through groves of healthy, living bristlecones with massive valley views rolling out to the east.
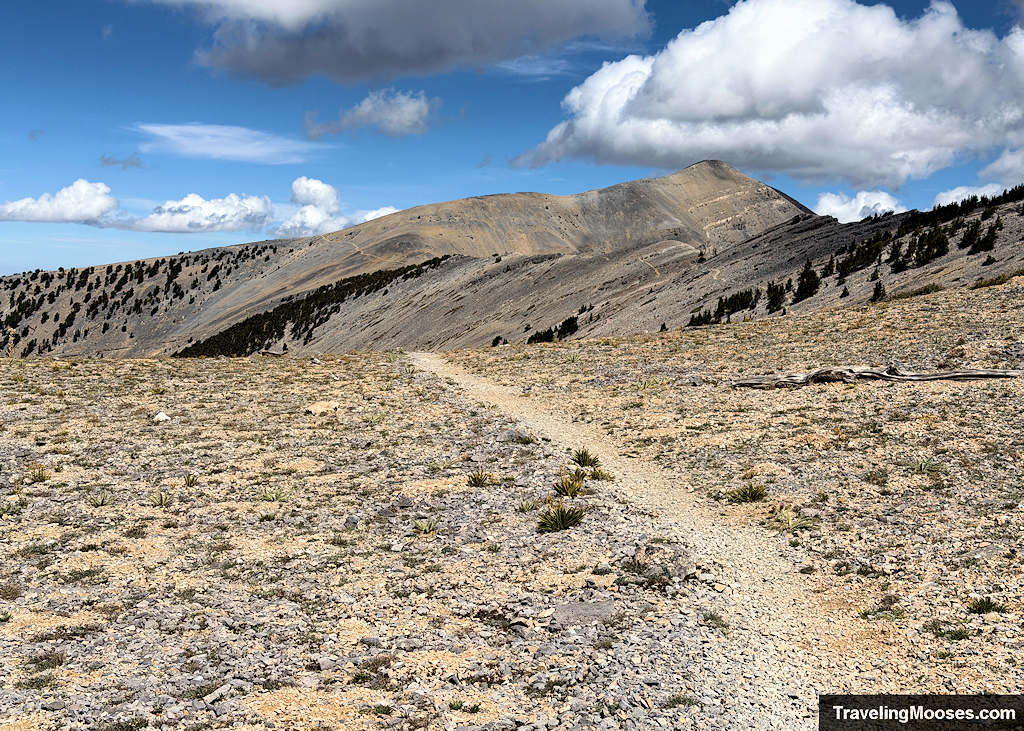
Soon you reach a trail split. The official South Loop path drops off to the left, giving up even more hard-earned elevation before swinging around for the final climb to the top. We stayed on the official trail as it cuts across a wide scree field that proved surprisingly stable and grippy underfoot. Crossing it puts you above the tree line on an open shelf with sweeping views back across Kyle Canyon toward Mummy Mountain.
As you progress up the mountain, you will run into what can only be described as a tragedy on the slopes of Charleston Peak.
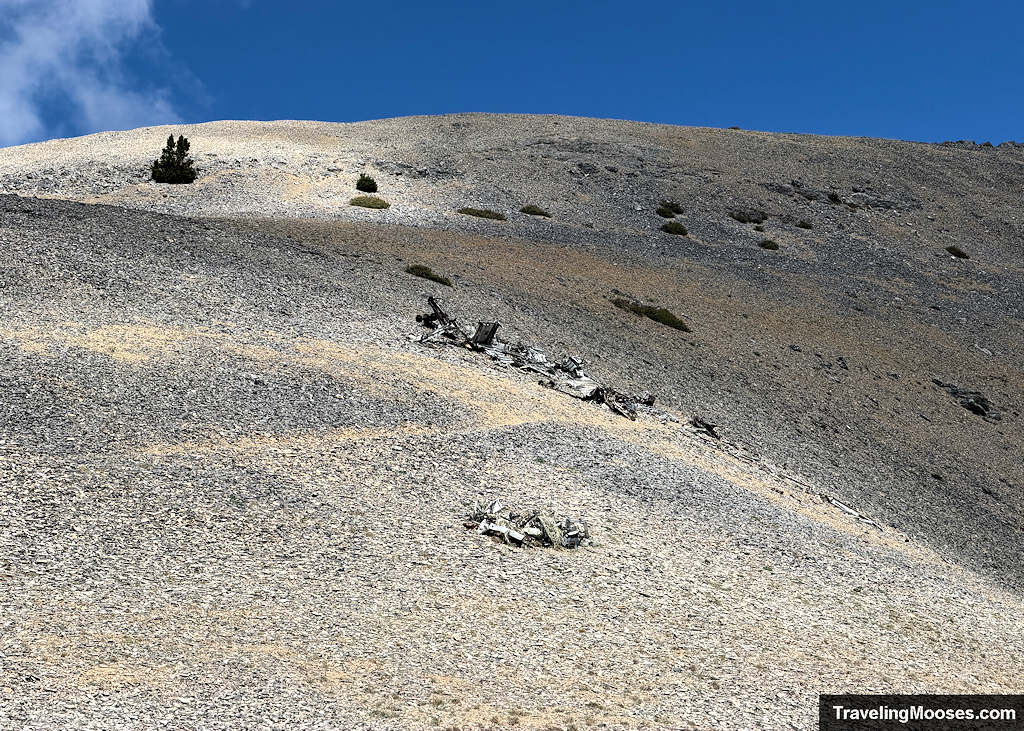
Scattered across the scree above and below the path are the twisted aluminum remains of a U.S. Air Force Douglas C-54M. The transport plane slammed into the peak during a blinding snowstorm on November 17, 1955, killing all 14 military and civilian personnel on board. Because the flight was tied to top-secret CIA work at Area 51, the government kept the details classified until 1998, leaving the families in the dark for over four decades.
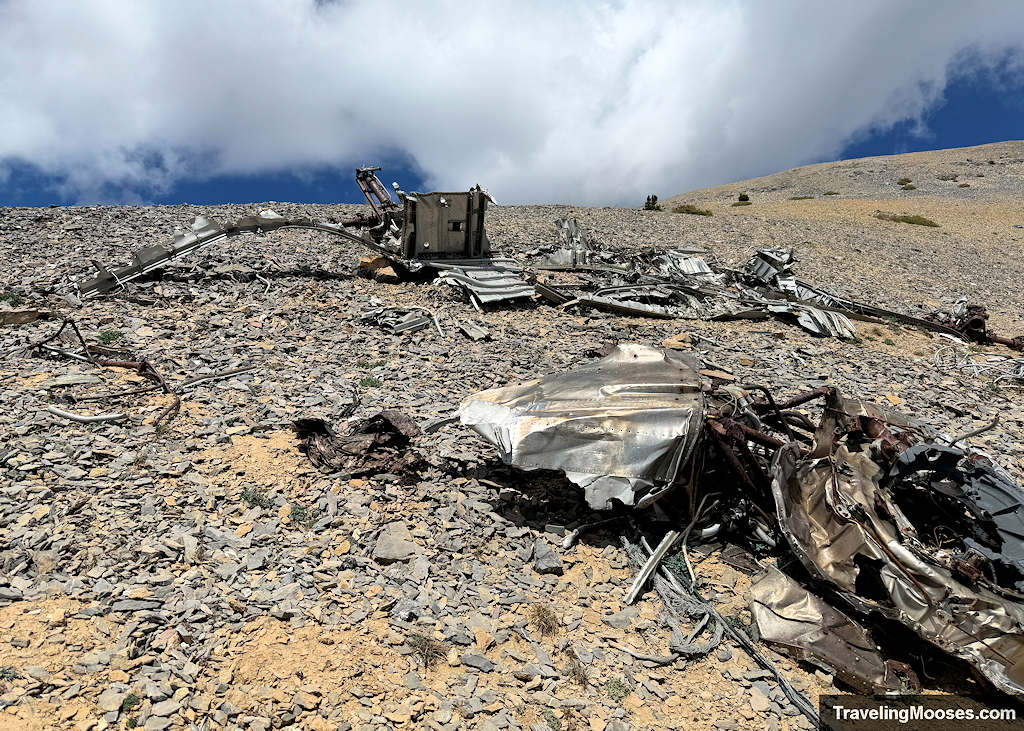
A faint side path cuts past a large chunk of the wreckage. You could scramble lower to view more debris, but the slope is loose and not worth the fall risk. If you want the full story behind the crash, stop by the Silent Heroes of the Cold War National Memorial at the Spring Mountains Visitor Gateway on your drive down the mountain.
The Final Summit Push
Past the crash site, the summit is finally within reach. The trail makes its final switchbacks up the barren ridge toward the rock shelter, solar equipment and American flag marking the highest point in Southern Nevada.
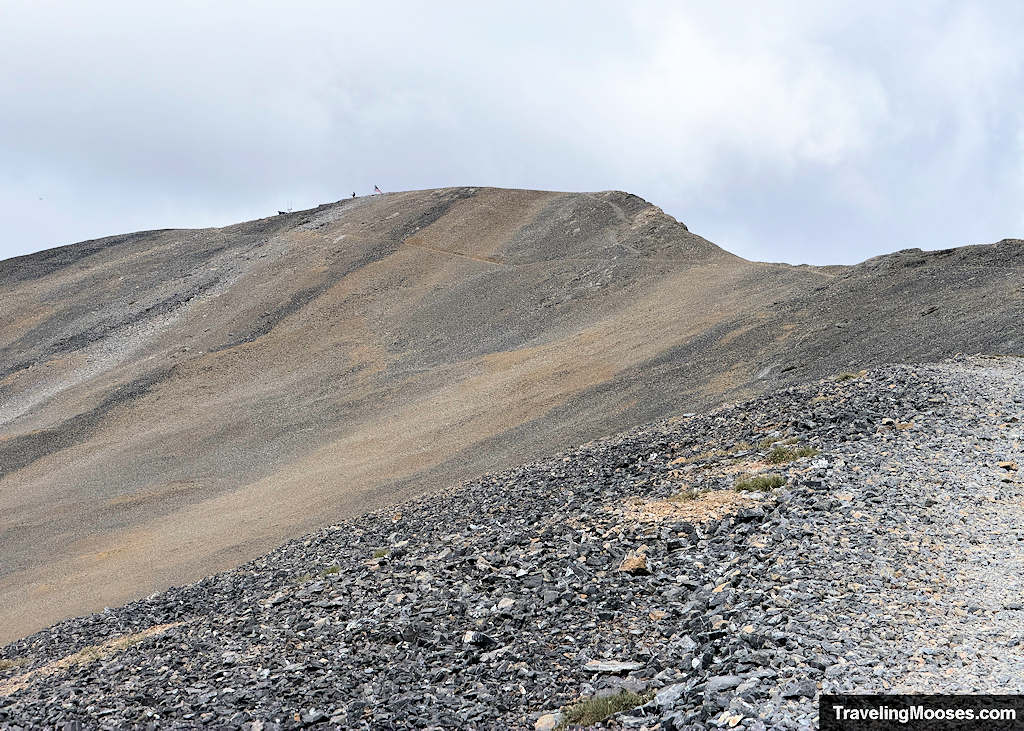
We kept a steady pace on this last stretch, stepped aside for a faster hiker coming up behind us, and made the summit just before noon at the 6-hour, 30-minute mark.
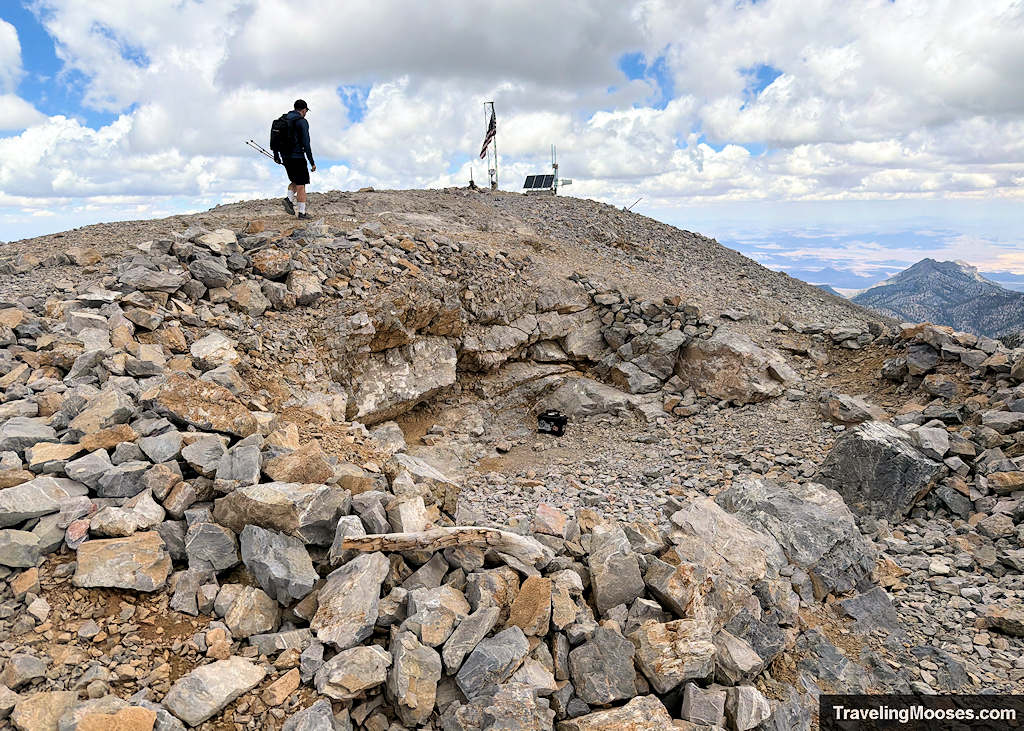
The Summit
Charleston Peak stands tall at 11,916 feet. It boasts stunning 360-degree views of Mummy Mountain, Griffith Peak, Kyle Canyon, and desert expanses stretching west toward Pahrump and Death Valley.

We took our turns snapping summit photos with the painted peak sign, posed by the flagpole, and found a sheltered spot to eat lunch. With not a thunderhead in sight, we lingered for about an hour soaking in the views.
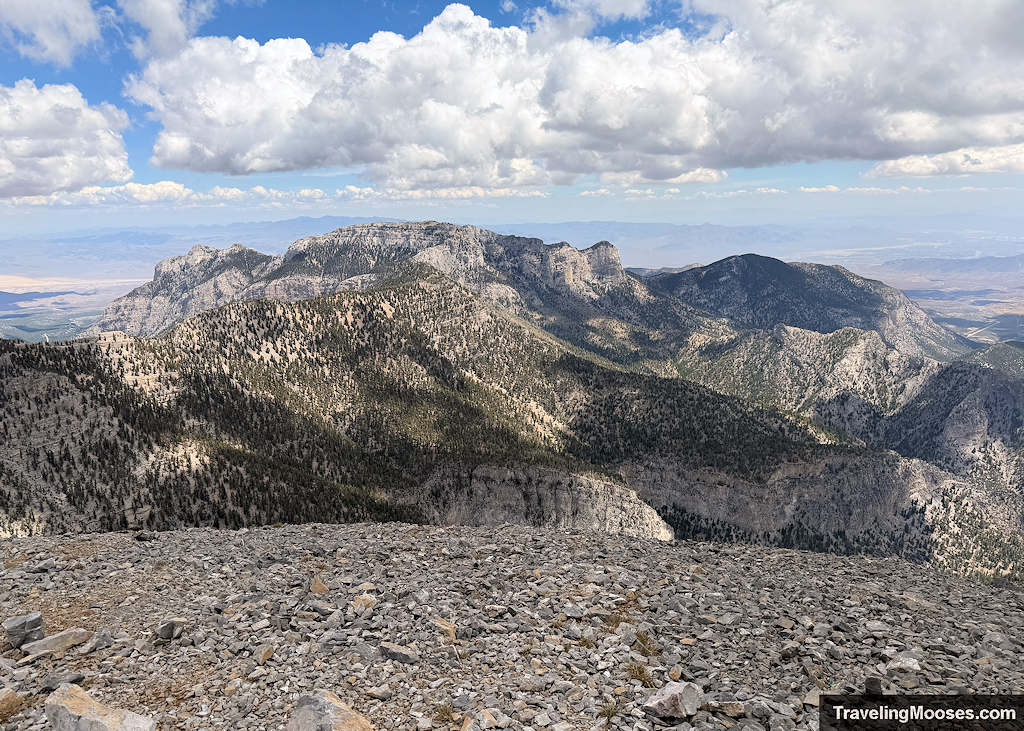
At 1:00 p.m., we strapped our packs back on and started the descent.
The Journey Back to the Saddle
Because we paced ourselves on the way up and had spent weeks acclimating to higher elevations over the summer, the summit push had not completely wiped us out. We started down the first set of switchbacks feeling surprisingly strong.
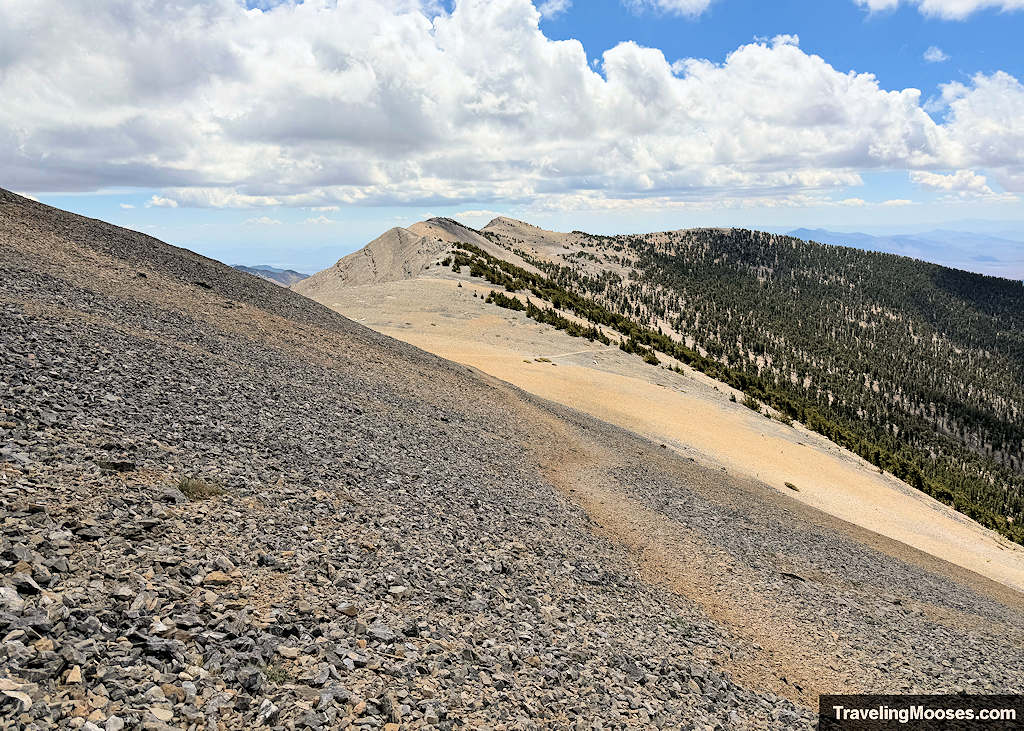
Trekking poles were a lifesaver on the descent, providing solid balance on the loose limestone scree. Most of the other hikers on the mountain that day were not using poles, but for us, having that extra stability made a world of difference.
Retracing our steps past the crash site, across the shelf, and back through the forest was uneventful.
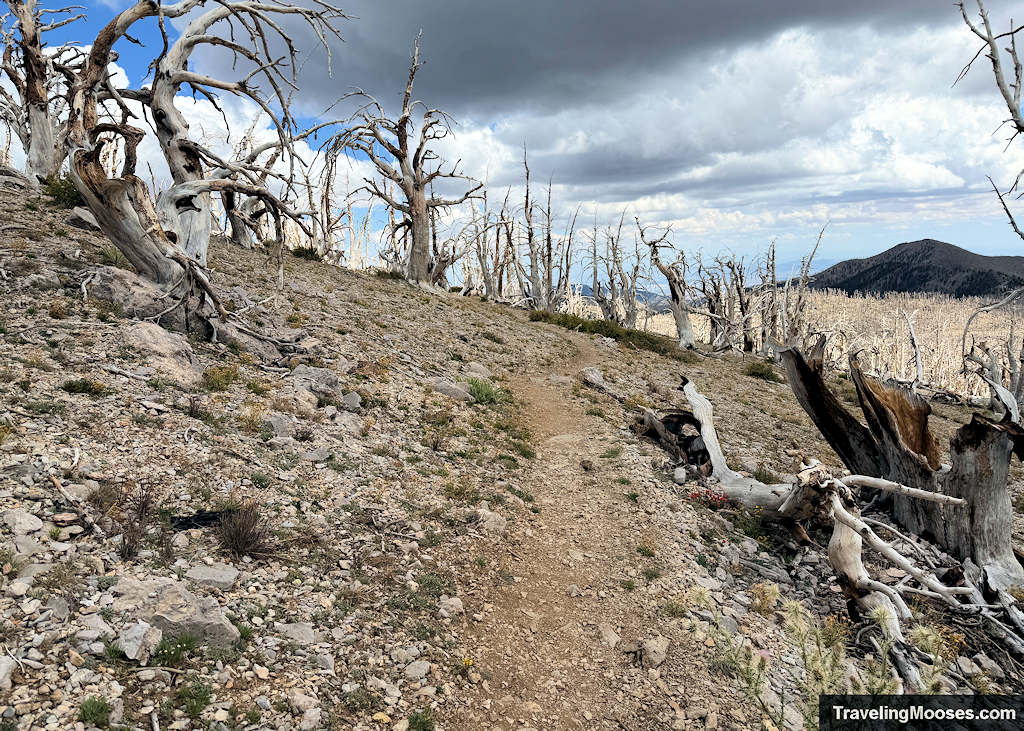
The fatigue hit once we entered the meadow and had to climb back up that lost elevation. The miles started feeling monotonous, and my legs were definitely feeling the work. Right about then, I started seriously questioning if summiting Griffith Peak on the way down was still a realistic idea.
We pushed through, reached the saddle, and took a needed snack break to reassess.
The Griffith Peak Side Quest
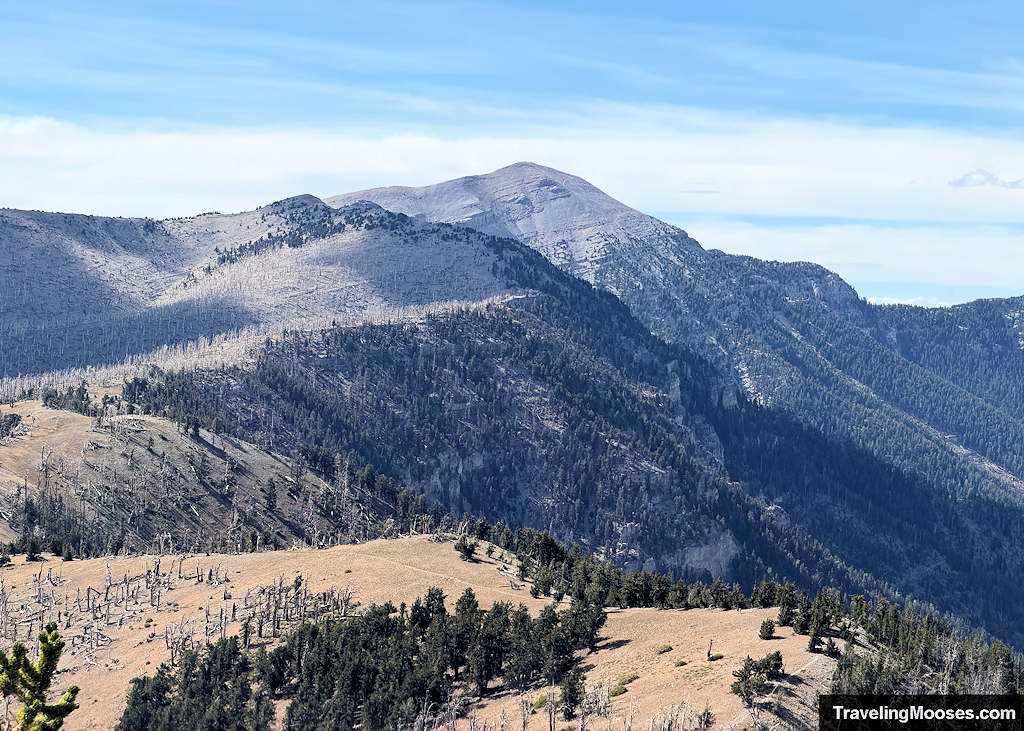
Sitting at the saddle guarding our food from pushy chipmunks, I casually asked my husband how he was feeling. He is perceptive and immediately fired back with a suspicious “Why?” That was my cue to pitch summiting Griffith Peak on the spot. It is only about half a mile and 350 feet of extra elevation, I told him.
After some mutterings of the word “crazy” and getting past the initial shock of what I was suggesting, he agreed we should do it. We ran a quick check on our food and water, decided we were good, and marched up the ridge to knock out a two-peak day.

Incredibly, the entire detour took just 54 minutes, covering the climb, summit photos, and the descent back to the saddle. But looking at our watches, reality set in. It was past 4:00 p.m., and we still faced a daunting four-mile trek dropping 3,100 feet back to the Cathedral Rock lot.
The Saddle to the Parking lot
With the rush of the second summit wearing off, the reality of hiking down the rough trail, tired legs, and limited supplies really set in.
Coming down a mountain is just as hard as going up. It hammers different muscles, and because you are leaning downhill, your knees and quads are constantly braking to keep you from sliding on loose rock.
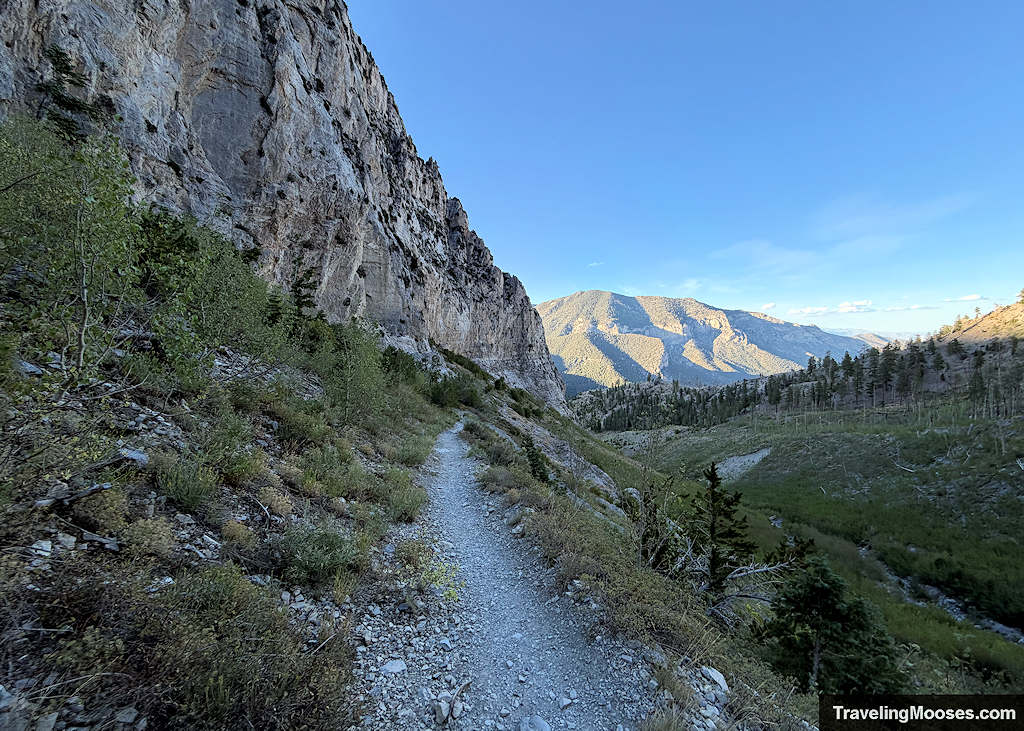
Those final four miles took us nearly three full hours. I take complete ownership of the Griffith detour; I love that we pulled it off, but our exhausted bodies definitely paid for it on the descent.
As dusk settled, we were surprised to pass hikers heading up into the canyon with little gear and no time left. We finally rolled back into the Cathedral Rock lot just after 7:00 p.m., threw our packs in the back, and pointed the car toward Las Vegas.
How long does Charleston Peak really take?
For a frame of reference, here are a few numbers that put the time commitment into perspective:
- Elite Trail Runners: The fastest known time for the Charleston Peak Loop, going up North Loop and down South Loop, is roughly 2 hours and 45 minutes.
- Estimated Averages: AI says the trail takes (for an average hiker) somewhere between 8 and 11 hours.
- Our Real-World Experience: It took us 13 hours and 45 minutes to summit both Charleston Peak and Griffith Peak out and back on South Loop, which included an hour-long lunch on top and plenty of rest breaks along the way. *Our time was probably around 12 hours 45 minutes if we hadn’t gone to Griffith.
Fitness levels vary wildly on a mountain like this. All the internet commenters bragging about finishing in six or seven hours are in incredible shape, and treating their pace as the standard is an easy way to get into serious trouble. Always carry far more food, electrolytes, and water than you think you will need. If it takes you longer, that is completely fine, but make sure your pack is stocked to sustain you for an entire day on the mountain.
How long is the Charleston Peak trail via South Loop?
If you have ever noticed that AllTrails and your GPS watch never match up, you are definitely not alone.
- AllTrails official route (South Loop only): 16.5 miles | 4,855 feet of elevation gain
- AllTrails (our recorded track): 17.44 miles | 5,282 feet of elevation gain (including Griffith Peak)
- Garmin Fenix 3 (our recorded track): 21.55 miles | 5,748 feet of elevation gain (including Griffith Peak)

We included Griffith Peak in our trek, so our recorded numbers are not a direct apples-to-apples comparison to the standard route, but the Griffith spur only adds about one mile and roughly 350 feet of gain. To be fair, our Garmin is always a bit generous with distance when switchbacks get tight and canyon walls bounce the satellite signal around.
Regardless of which device you trust, plan on walking at least 17 miles and climbing roughly 5,000 vertical feet on the standard trail.
Why did we choose South Loop?
It came down to three things: mileage, elevation, and exposure (not the weather kind).
The northern route has significantly more vertical climb and skirts narrow, exposed ridges with legitimate, life-ending drop-offs. Trail Canyon has also been closed due to storm damage, which eliminates the popular four-mile shortcut. The only official way to hike North Loop right now is starting at the North Loop Trailhead off Deer Creek Road. That pushes the published distance out to 20 miles, and you know Garmin will record that significantly higher.
Final Verdict
Standing at 11,916 feet on Southern Nevada’s highest point is an incredible feeling, and checking Charleston Peak off our bucket list was completely worth the effort. That said, this is strictly a one-and-done trail for us. We have zero desire for a repeat performance.