
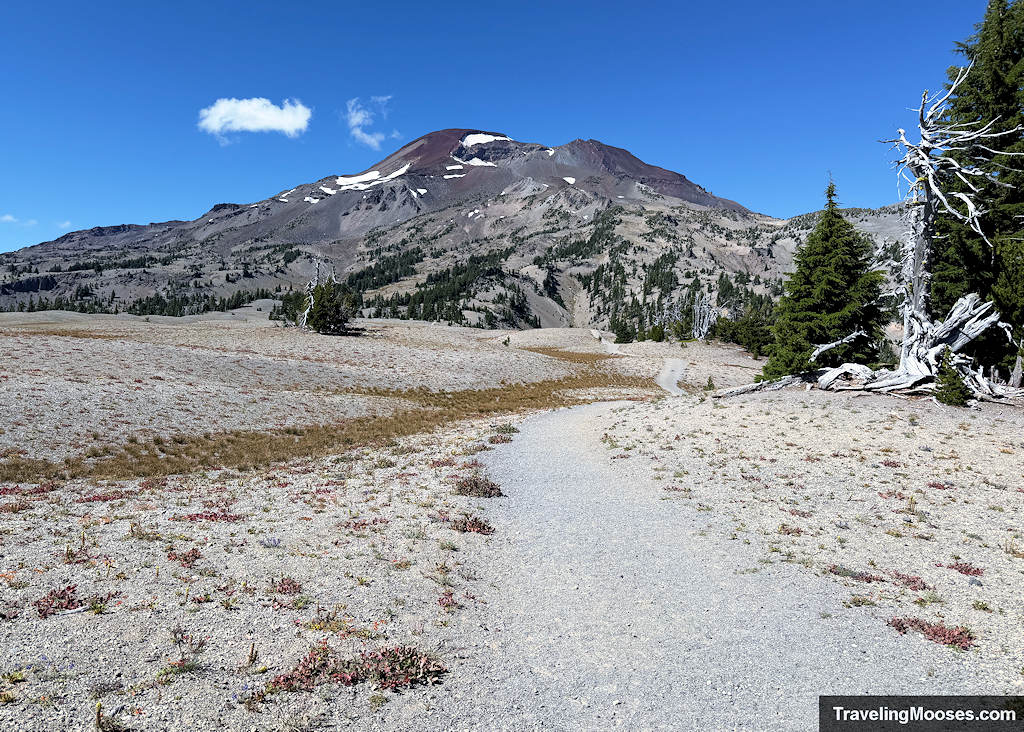
By now, you know South Sister stands at 10,358′, and has an approximate trail length of 12.4 miles and 5,000 feet of elevation gain. This is a tall order for casual hikers, so we set out to see if we had what it takes to summit the third-highest mountain in Oregon.
How hard is South Sister really?
It’s one of the hardest hikes we’ve ever done, taking us over 11 hours to complete.
In my mind, the trail breaks down into four main sections, each with its own brand of difficulty. The ‘Red Mile’ is easily the worst. Here is how each section shakes out.
Trailhead up to the Meadows
The trail starts out with a vengeance. Immediately after leaving the parking area and crossing over an innocent bridge with a babbling brook, you start climbing. No warning, just up and up and up.
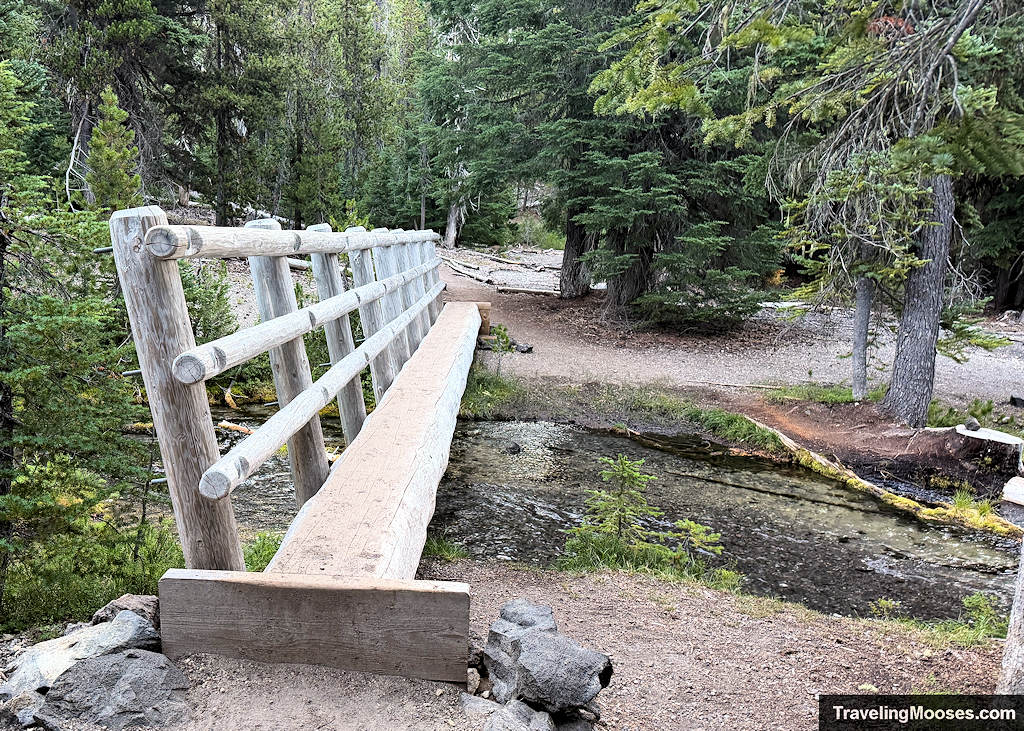
The route is mostly a hard-packed dirt path, though you’ll occasionally tackle stair-like tree roots or brief rock formations. For us, this entire section was shaded in both directions.
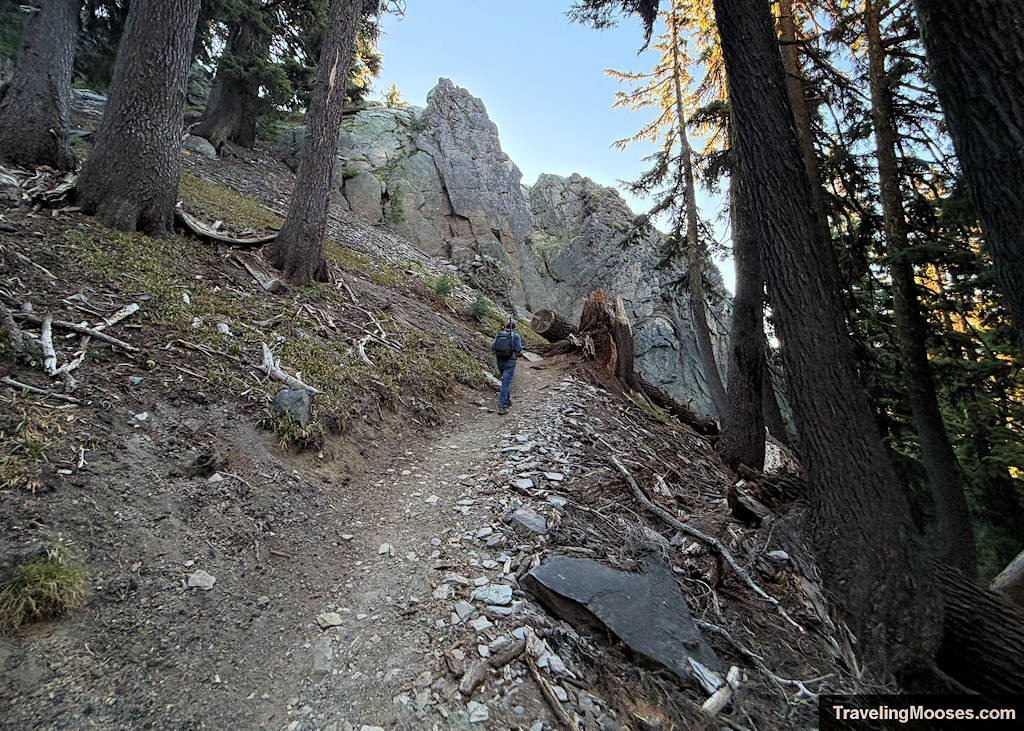
It would also be pretty dark under the canopy if you’re heading back late in the afternoon or evening. When you finally break out of the woods, you’ll find yourself in a large, relatively flat meadow. This is actually a great place to stop if you’re not planning to push for the summit.
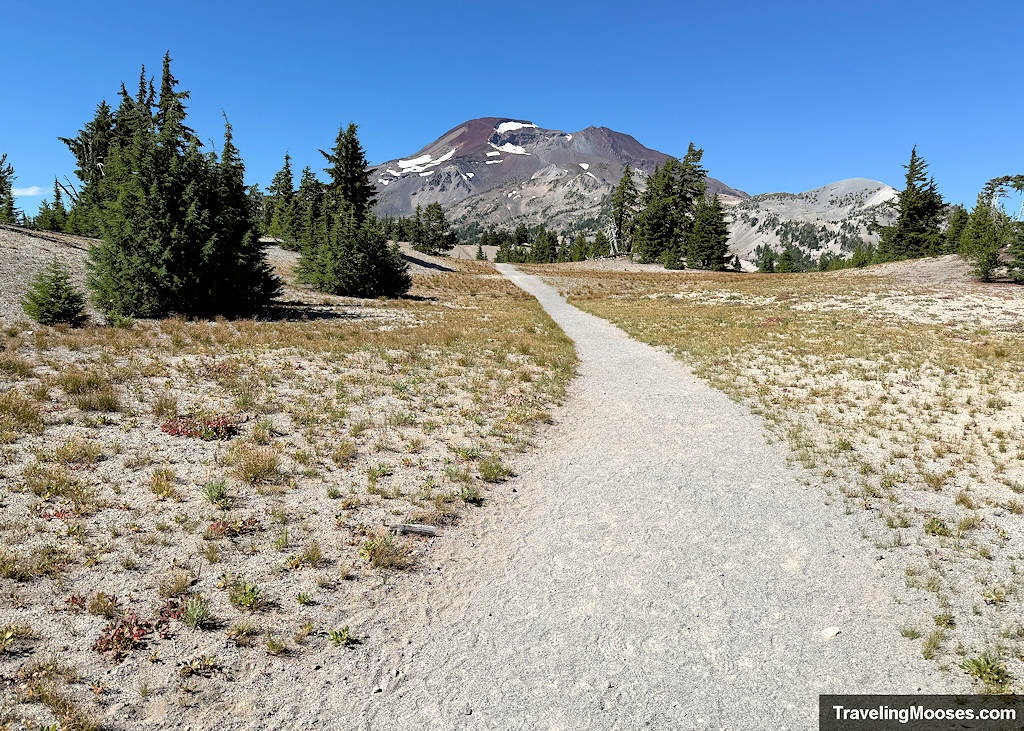
You can also soak in the views of South Sister (which I actually think are the best on the entire hike) or take the short side trail down to Moraine Lake, home to several backcountry campsites.
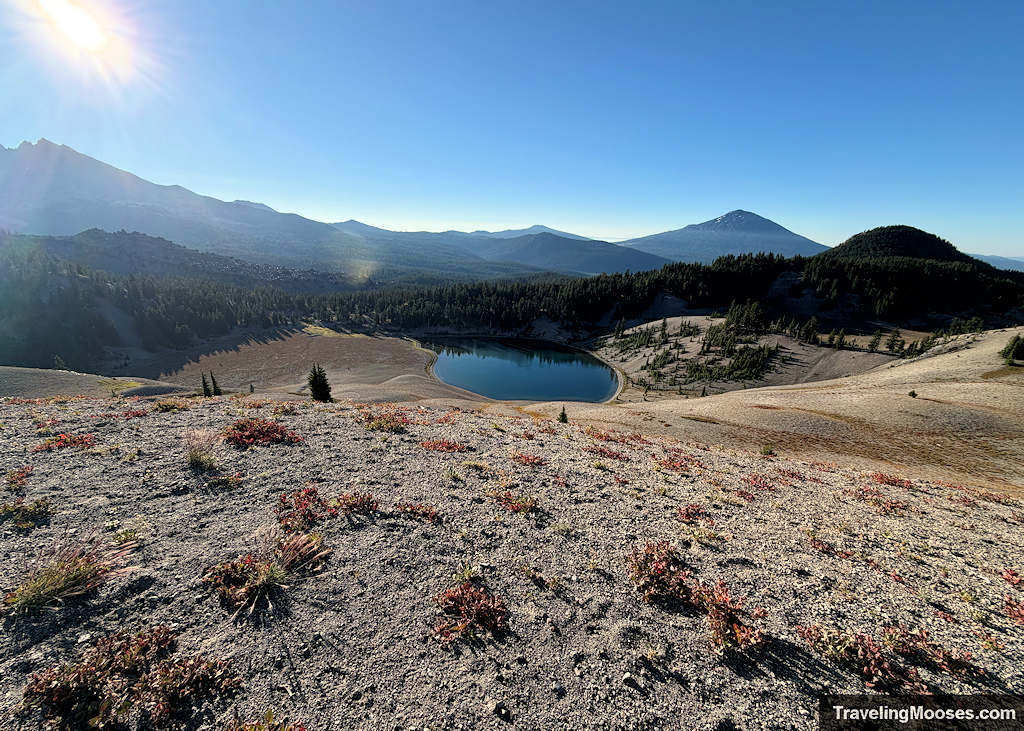
We repeatedly talked about how we’d love to come back in the winter to snowshoe up to the meadow, or simply hike here in the summer just for the views and turn around.
Leaving the Meadow towards the Lewis Glacier Tarn
After walking a little over a mile across the flat meadows, it’s time to ascend to the Lewis Glacier Tarn. This stretch does not get enough attention because everyone focuses on the difficulty of the Red Mile, but parts of it felt like walking through steep gray sand interspersed with slick rock.
The trail was not always obvious. While AllTrails was helpful, we realized you basically had to pick a line and plow ahead. Hikers heading both up and down the steeper gray rock sections seemed equally confused about where to go.
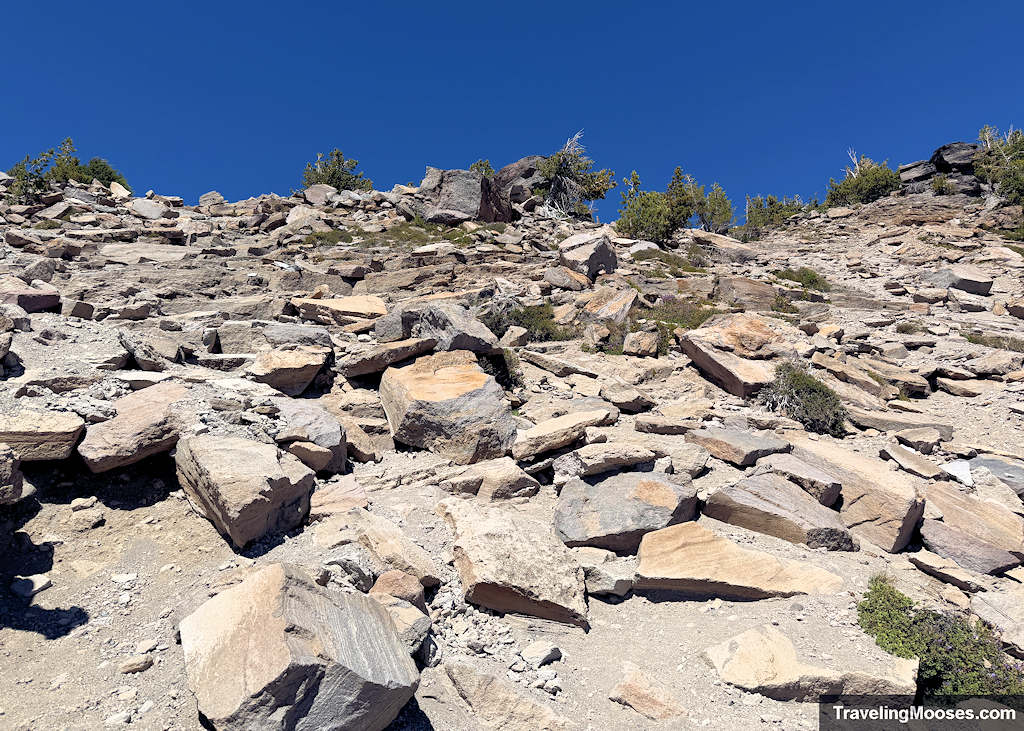
The views get progressively better as you head up this section. Once you reach the tarn, you’ll find another popular turnaround spot. Plus, if you’ve never hiked here before and haven’t checked a map, you might actually think you’ve reached the top. At least one person we talked to was genuinely shocked to learn the trail wasn’t over yet.

A small side trail leads right down to the water at the Lewis Glacier Cirque Lake. We’ve seen videos online of people taking a dip or even skiing across it, but there wasn’t much going on when we visited. It’s an ideal spot to catch your breath, take in the views, and enjoy a brief sense of accomplishment before tackling the imposing Red Mile.
The Red Mile
When you’re standing at the Lewis Glacier Tarn, you can see the trail cut straight up the red volcanic scree to the rim of South Sister. It is steep, slick, and etched with the faint outline of switchbacks carved into the mountainside. This stretch is universally known as the “Red Mile,” though we dubbed it the “Red Wedding” due to the sheer toll it takes on your body.
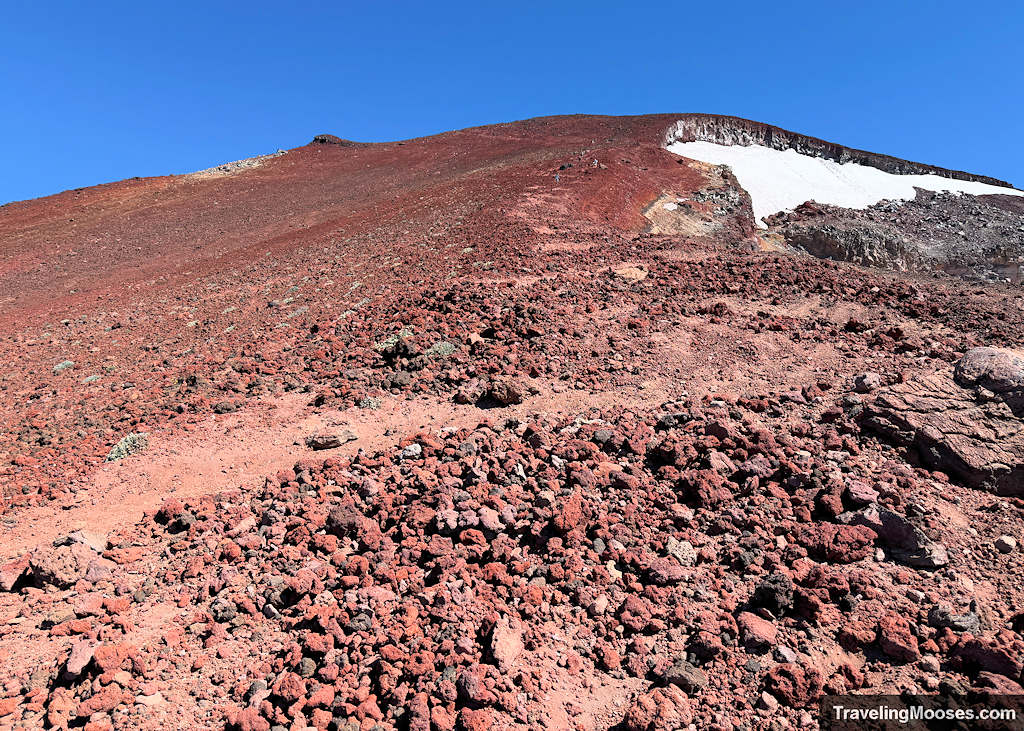
As we stood there psyching ourselves up to start again, a trail runner went sprinting right past us and up the scree. He had a handheld water bottle and nothing else. I guess some people are just built differently.
We started trudging upward, making slow, heavy progress. Every step sank slightly into the loose rock, killing any momentum. Halfway up, we seriously contemplated turning around. You will know the exact spot when you get there; several large boulders sit right in the middle of the slope where hikers naturally collapse for a rest. Fortunately, people descending talked us out of quitting, and later on our way down, we paid it forward by convincing another struggling group to keep going.
The South Sister Rim
After grinding our way up the rest of the Red Mile, we finally reached the rim. The hardest climbing is behind you at this point, but you still haven’t reached the summit. To get to the true high point, you have to traverse around the crater rim.
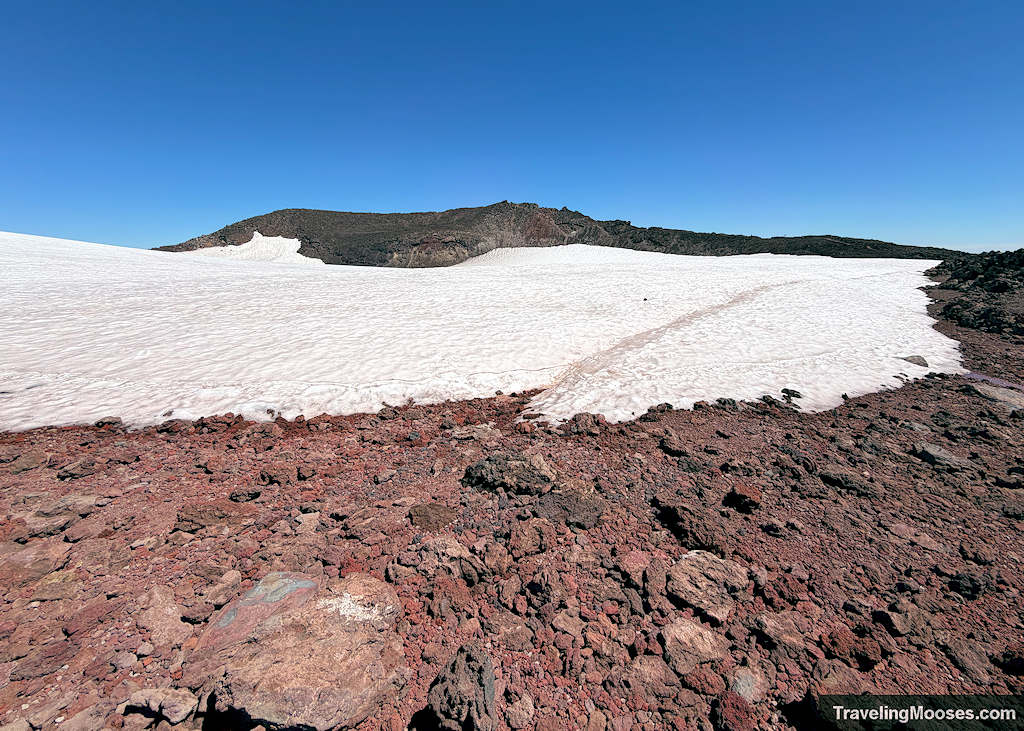
Most hikers head counterclockwise, which is what we did. We’ve heard the clockwise side is noticeably sketchier and tends to hold snow much longer into the season, but we can’t vouch for that since we stuck to an out-and-back on the standard route.
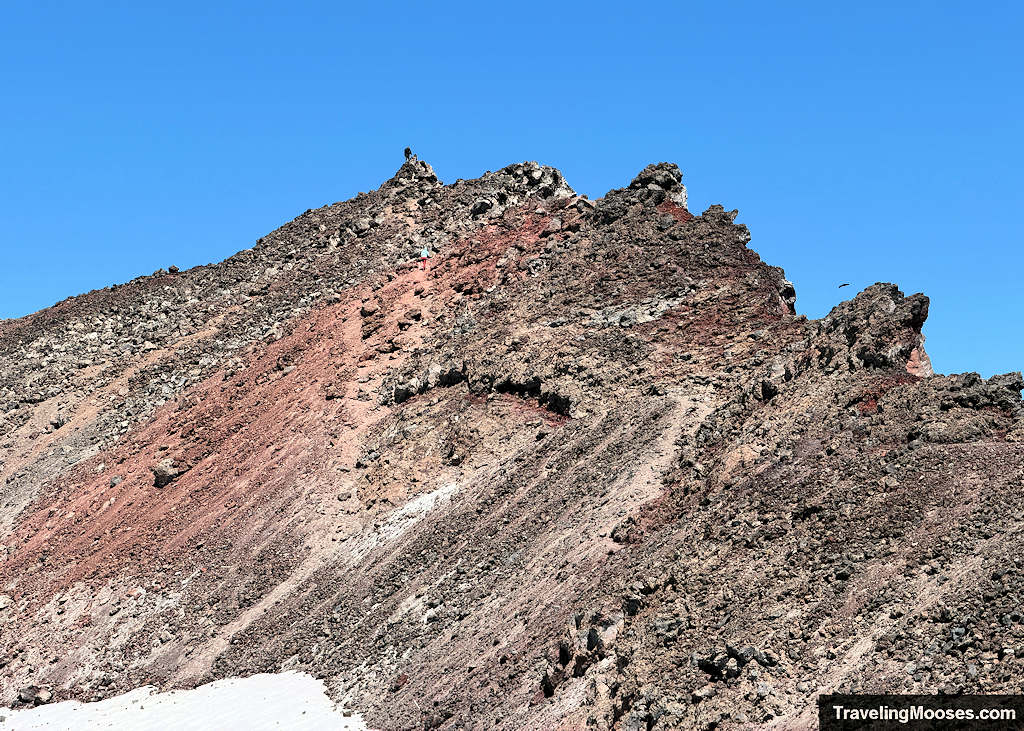
We did talk to one hiker who went the opposite direction that day, and they confirmed the views didn’t really change and the extra effort wasn’t worth it. Unless you’re a completionist determined to trace the entire circle, there’s little reason to bother.

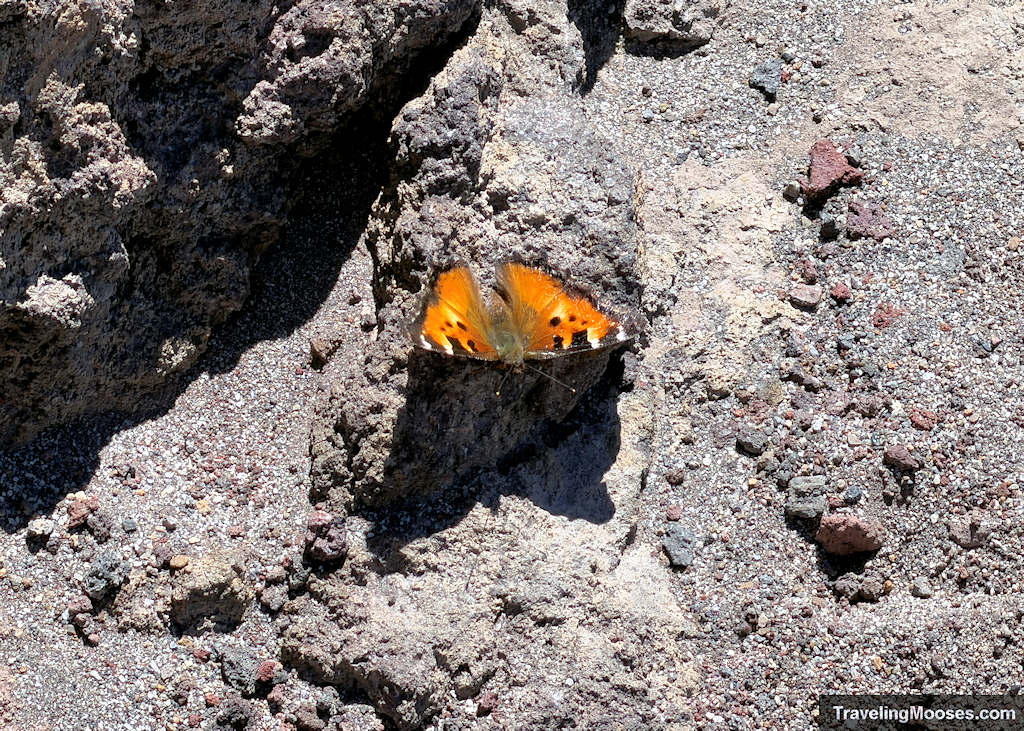
The day we visited, there were dozens of butterflies flitting around the summit and the winds were surprisingly calm. Hikers coming down earlier had warned us the gusts were brutal, so we felt we caught a lucky break. Once you reach the true summit, you get incredible panorama views of the surrounding Cascade volcanoes and can snap a photo with the USGS marker.
Views from the Top
The views from the top were breathtaking. Luckily, when we summited, the smoke had mostly cleared out, giving us excellent visibility.
To the north, Middle Sister and North Sister felt close enough to touch.
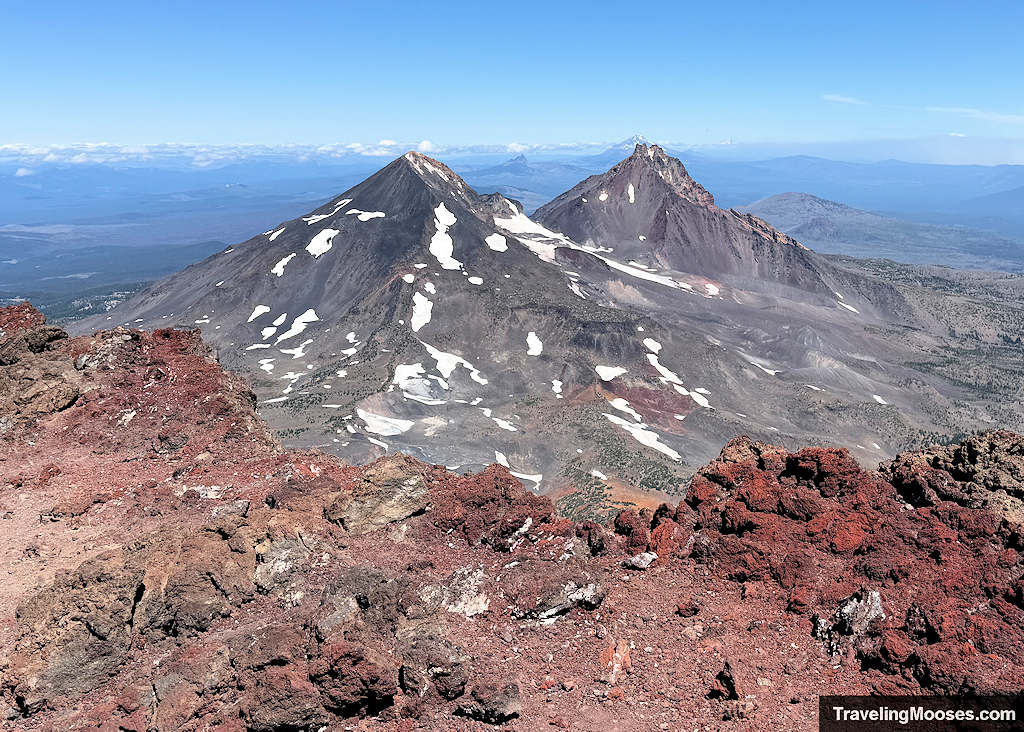
Looking east and south, we had clear, unobstructed views across the jagged rim of Broken Top, down to Mount Bachelor, and out over the Cascade Lakes. After that climb, the payoff was worth every step.

The Trek Down
Now came the hard part: heading back down.
We all know reaching the top is only halfway. Getting back down turned out to be a lot harder than expected.
To start, retracing our steps along the rim was a piece of cake compared to what lay ahead.
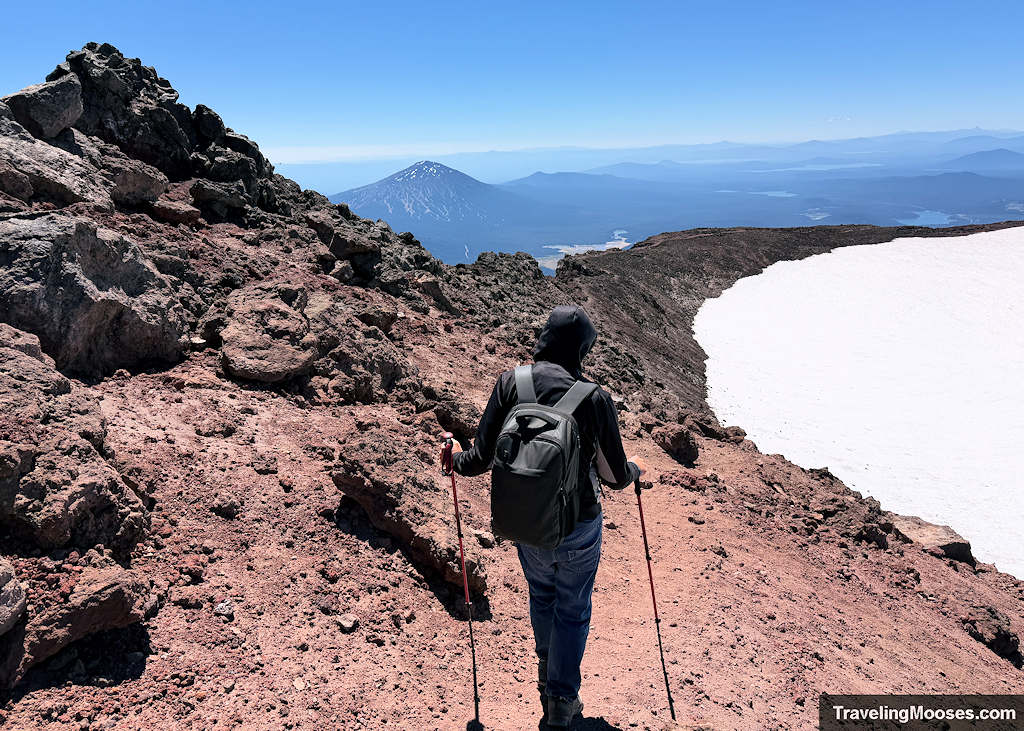
If you backtrack the way you came instead of doing the full loop, the descent along the crater is an easy, enjoyable walk, assuming the winds remain calm.

Once you reach the edge of the rim, the real fun begins: descending the Red Mile. We are not fast, and we are certainly not conditioned for down-climbing steep, crumbly volcanic rock, which did not help.

With every downward step, you either sink into the soft red dust or slide on loose rock. Trekking poles helped immensely to steady us as we carefully picked our path down. Hubby handled this section far better than I did, but neither of us enjoyed it. The views were amazing, but every single step had to be deliberate as we made our way down.

After reaching the Lewis Glacier Tarn, we expected things to get easier. Frankly, we had trail amnesia and had completely forgotten the steep, rocky stretch of loose gray sand we still had to traverse before reaching the meadow. While this area didn’t take quite as long as the Red Mile, it remained steep and relentless. I slipped twice on the Red Mile and once more in the gray rocks below the tarn. I attribute this to sheer exhaustion after tagging the summit and a general lack of practice down-climbing loose scree. The good news is that slipping here usually just means a bruised ego and a few scrapes rather than a catastrophic injury.
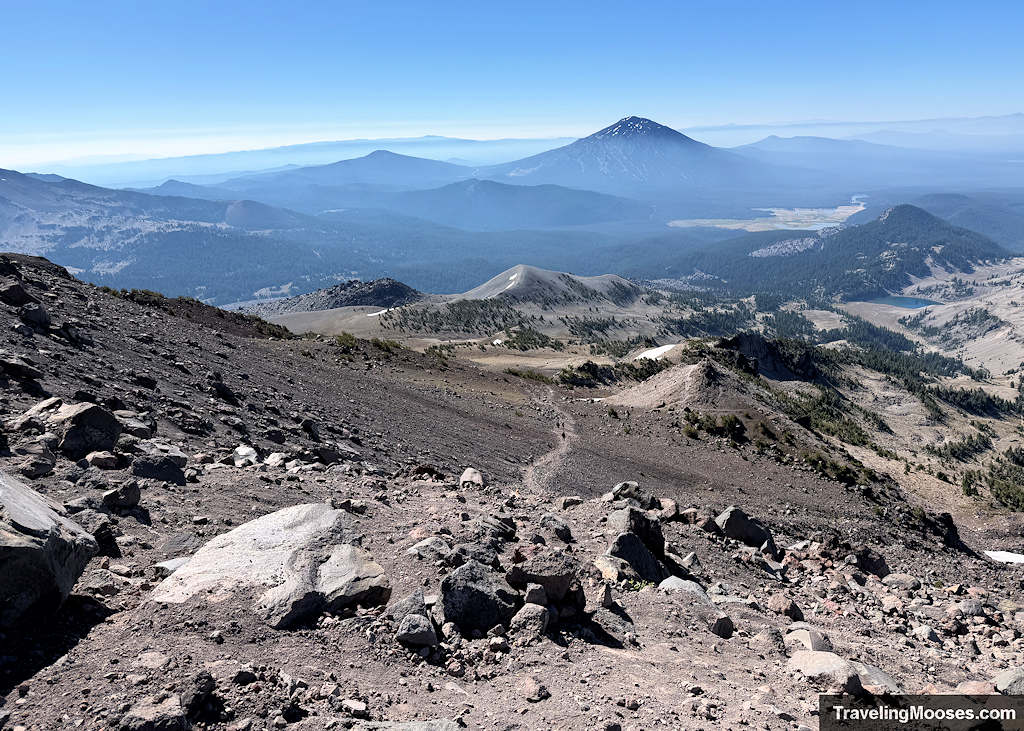
When you hit the meadow, you actually have to hike back up a few rolling hills, but the flat, soft trail is a welcome relief after hours of steep downhill braking. The break is short-lived, though. Once you reach the tree line, the steady descent resumes all the way to the parking lot.
How long does South Sister really take?
For a frame of reference, here are a few numbers that might be helpful:
- The fastest known time to summit and descend South Sister (more like a flat-out mountain sprint) is around 2 hours and 10 minutes.
- It took us 11 hours and 16 minutes, which included about an hour at the top for lunch and plenty of rest breaks along the way.
- We crossed paths with a group wearing questionable footwear that we estimate took close to 15 hours. They started two hours before us and were moving far slower on the descent.
- We saw another party that started an hour ahead of us and was still clawing their way up to the rim at 3:00 PM, when we were already descending past the tarn. For them, it easily could have been an 18-hour day. We strongly recommend setting a hard turnaround cutoff time so you aren’t navigating the terrain in the dark.
- AllTrails used to list an estimate of 8 to 10 hours, though they seem to have removed it.
- Gemini pegged the average between 7 and 10 hours.
- Backpackers frequently break the route into a two-day trip, camping near Moraine Lake.
The point is, fitness levels vary wildly. You should always carry far more food, electrolytes, and water than you think you will need. All the internet commenters bragging about finishing in six hours are in incredible shape, and treating their pace as the standard is an easy way to get into serious trouble. Besides, almost everyone in Bend seems ridiculously fit anyway.

How long is the South Sister trail?
If you have ever noticed that AllTrails and your GPS watch never match up, you are definitely not alone. In my research, I found that the USFS doesn’t publish official trail stats for the route either, so almost everything out there is an educated estimate.
- AllTrails official route: 12.4 miles | 5,036 ft elevation gain
- AllTrails (our recorded track): 13.18 miles | 5,013 ft elevation gain
- Garmin Fenix 3 (our recorded track): 14.46 miles | 5,259 ft elevation gain
To be fair, our Garmin is always a bit generous with distance when switchbacks get tight. In reality, the true mileage almost certainly falls somewhere right in the middle: expect around 13 miles and 5,000 feet of climbing.
Exposure and Drop Offs
One of the first things I check before hiking any mountain is whether the trail involves high exposure or steep drop-offs. Since mountaineers love to correct people on what “exposure” actually means, I break it down into two types: weather exposure and physical drop-offs.
Weather Exposure
The first type of exposure is weather-related. I always want to know how long we will be above the tree line and whether winds or afternoon storms could become dangerous. On South Sister, once you break out into the meadows, you are completely exposed for the remainder of the hike. This accounts for the vast majority of the mileage. While there are a few sparse patches of trees along the lower stretch, it is essentially a wide-open climb all the way to the rim.
Because of that, sun protection, plenty of water, and real-time weather monitoring to avoid sudden lightning storms are essential. Summit winds can also be fierce. Always check mountain forecasts specific to the summit rather than relying solely on the weather down at the trailhead parking lot. Alpine conditions shift fast, so you need to be prepared for sudden swings.

Death Exposure
It sounds dramatic, I know. I have a genuine fear of heights, so I spend an embarrassing amount of time researching trail exposure to gauge how much anxiety I will have to manage. Here is the good news: I rarely felt anxious on this hike. There were really only two brief spots where I felt even slightly uneasy.
The first was along the switchbacks on the Red Mile where the path skirts near the edge overlooking the glacier. Even there, the route gives you plenty of room to stay well back from the drop-off. While I slipped twice descending this area, both slips simply resulted in sitting down abruptly in the loose gravel. There was no runaway sliding or panic about tumbling over a cliff.
The second spot is up along the rim, but the vast majority of the path feels broad and secure. We skipped the full loop, and while word on the trail is that the clockwise side (turning left at the rim) gets far sketchier, our out-and-back route felt safe. At the summit itself, you can walk right up to sheer ledges if you choose to, but you certainly do not have to in order to tag the high point and enjoy the panoramic views. All in all, this was not a terrifying hike if heights trigger your anxiety.
That said, keep in mind that fatalities and severe accidents have occurred on South Sister over the years. This mountain should never be taken lightly. While the vast majority of search-and-rescue calls and tragic falls in the Sisters wilderness happen on neighboring North Sister due to its highly technical terrain, serious injuries still happen here. Take every step deliberately and stay aware of your footing.
Know before you go
Here are a few things we wish we had known before tackling this trail:
- Water: We brought 6L of water for two people, plus two quart-size bags full of ice to keep our food and drinks cool. By the time we arrived back at the car, we had used all the ice bags in our drinks and had about 1.5L of water remaining. The temperature that day was probably 45–50°F at the summit with 10–15 mph winds; we could have easily burned through more water on a hotter day. Before we went up, I read many reviews on AllTrails about how much water people brought. The people that brought 2L or less seemed universally unhappy. If you’re like us and don’t use any streams or lakes to fill up on the trail, all I can recommend is to bring a lot of water. Everyone is different, and if you get stuck up there without enough, you’ll be miserable.
- Footwear: I wore Keen hiking shoes and hubby wore Adidas Terrex hiking shoes. Both worked pretty well, though I did slip several times coming down the Red Mile. We watched many people slip and fall on that section (even with trekking poles). It’s slick, and if you’re not used to hiking downhill in those conditions, it’s not unusual to take a tumble. We even watched one girl slide down on her butt to get through a steep section. I think that was a little extreme, but she did get a good video out of it. We also saw someone coming down in regular sneakers—the ones with the really thick soles that look like designer non-functional shoes. She was struggling even near the flatter sections. I can’t stress enough how important good footwear is on this trek. I still haven’t found the perfect shoe that offers a good balance of comfort and traction, but I know it’s not regular sneakers.
- Gaiters: We saw a fair number of people recommending gaiters or saying they got sand in their shoes. Plus, every AI will insist it’s the best thing ever to wear them. We didn’t need them. Were we completely rock-free? No. But it wasn’t annoying, and we weren’t wearing tall hiking boots.
- Trekking Poles: I resisted trekking poles for years. To this day I’m not sure why. Regardless, trekking poles for this hike are a lifesaver. They make going up and especially going down far easier and faster than it would have been without them. For us, we don’t hike anymore on steep inclines or rocky surfaces without them.
- Central Cascade Wilderness Permit: Getting a permit can be difficult for this hike. We recommend repeatedly hitting refresh starting at 6:59 a.m. for the official 7:00 a.m. permit drop. Permits are purchased through Recreation.gov. The good news is once you get one, it really keeps the crowds down. We can’t imagine what the trail would look like without permits, but it’s quite enjoyable when you finally get one.
Final Verdict
We are both glad we did this hike. We also wonder how on earth we completed it, especially looking back at some of the photos. 10/10—would never do it again.