Notice: Mt. Charleston recently experienced substantial storm damage from Hurricane Hillary. Be sure to check for updated information about closures here.
The Pack Rat Route trail takes hikers on a 1.4-mile moderate loop through the Kyle Canyon area of the Spring Mountains.
Starting at the Spring Mountains Visitor Gateway, the path leads to a historic exhibit about the 1955 Mount Charleston plane crash. It also boasts views of Cathedral Rock, Charleston Peak, a huge limestone escarpment, wildflowers and several packrat middens.
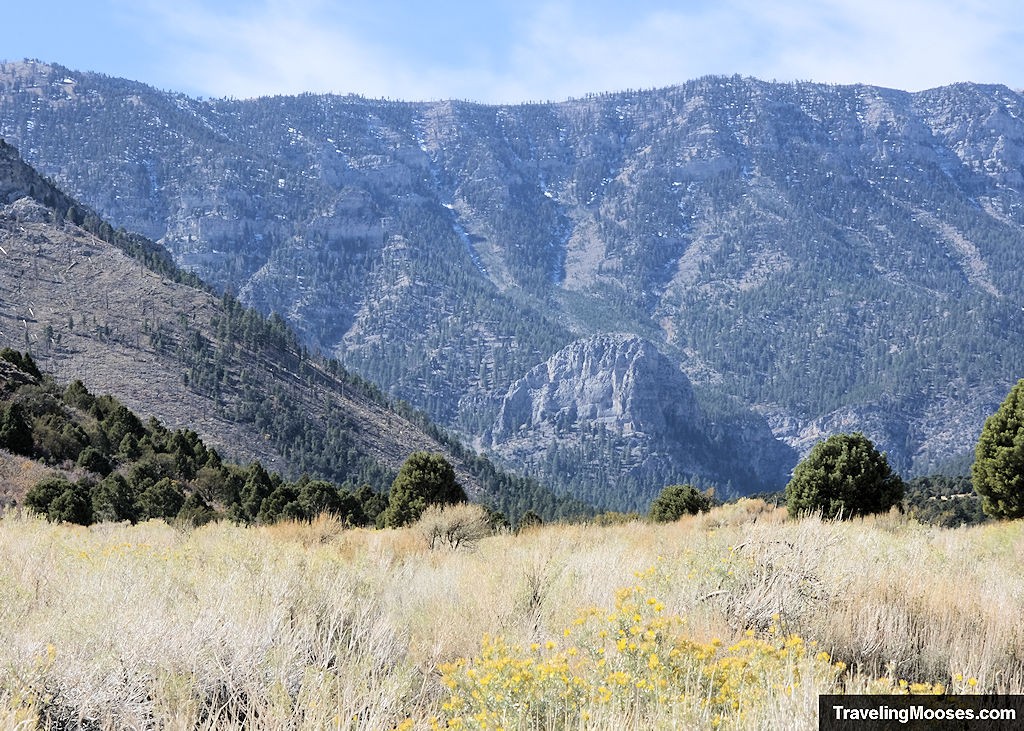
Pack Rat Route Trail Hiking Stats
| Trail Description | Loop |
| Trail Start | Pack Rat Route Trail |
| Parking Lot | Spring Mountain Visitor Gateway. Note: When the visitor gateway is closed, park at the Cliff Rose Trailhead (also called Step Ladder) across the traffic circle. |
| Round Trip Mileage | ~1.4 miles |
| Difficulty | Moderate |
| Average Time | 1 to 1.5 hours |
| Elevation at trail start | ~6,594 feet (Source) |
| Accessible | Year-round |
| Amenities at Trailhead | Visitor Center, parking lots, restrooms, benches, information sign boards |
| Entrance Fee | None |
| Rating | 3.0 Mooses |
Where does the Pack Rat Route get its name?
This area of Kyle Canyon and the Spring Mountains features several Pack Rats that live in the area.
If you keep your eyes peeled, you’ll notice several “middens” along the trail. Pack Rat middens are nests constructed out of nearly any materials they can get their hands on. Examples include various plant materials, sticks, twigs, etc.
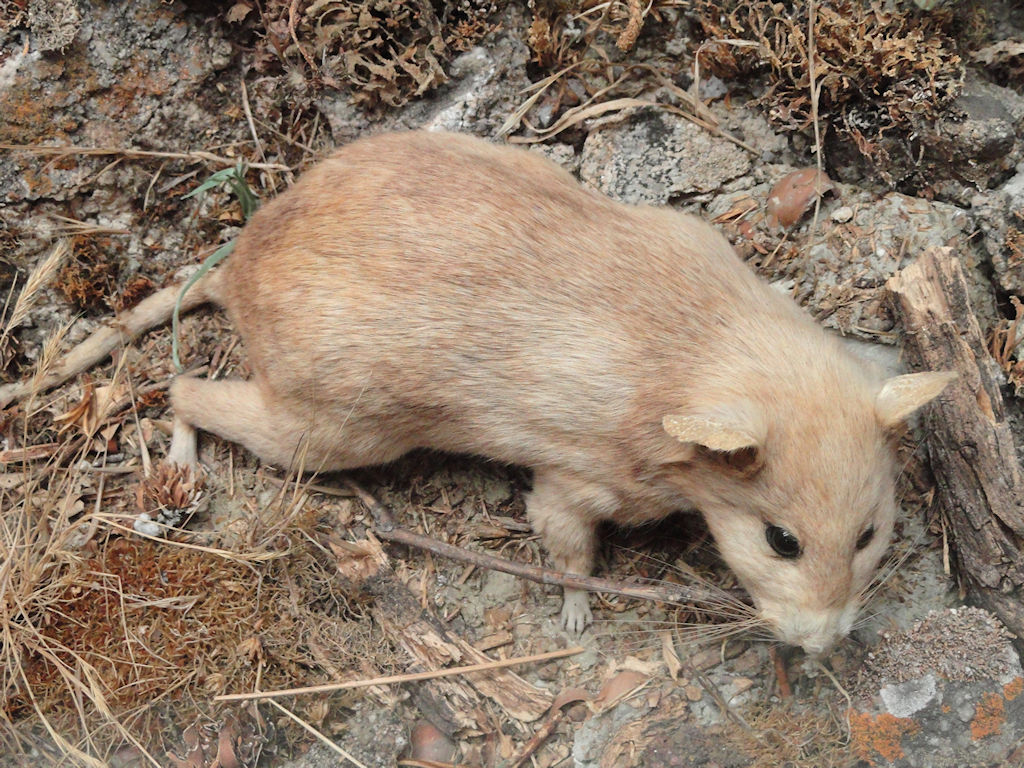
Pack Rats are unique in that they don’t drink water, but produce a plant-derived waste product which they excrete on their nests. This in turn creates a hard crust that preserve their nests for thousands of years.
You can find several of these middens (nests) along the Pack Rat Route trail.
You can read more about Pack Rats and their middens here.
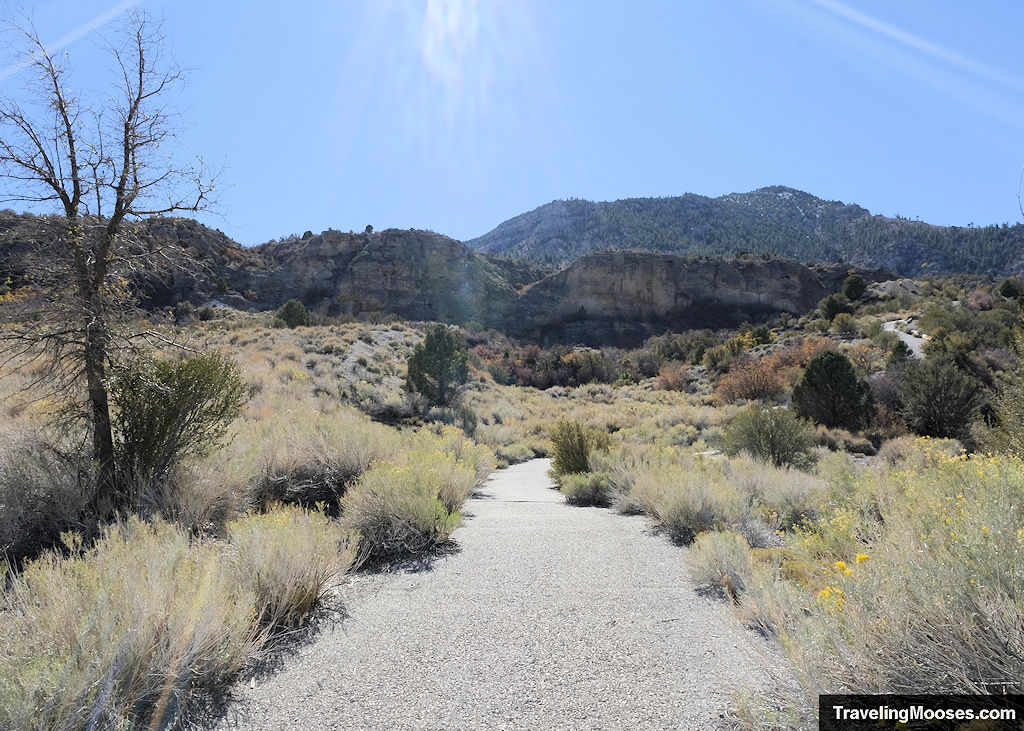
What to expect on the Pack Rat Route trail
The Pack Rat Route trail is accessible from the Spring Mountains Visitor Gateway Center.
To begin, follow the signs to “hiking trails” (on the southern side of the visitor center).
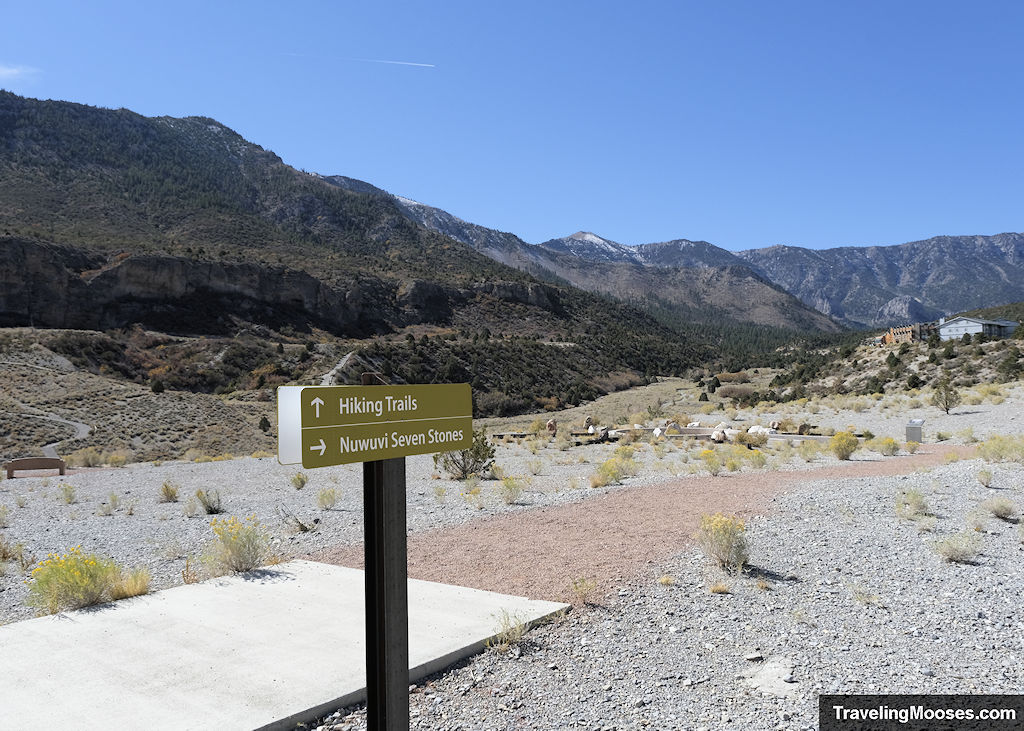
You’ll start on the Kunav Huveep Trail before taking a left to stay on the Pack Rat Route trail.
Tip: Before you head off down the Kunav Huveep trail, look off across the valley and picture being able to walk in a straight line. If you could, you’d end up at the looking glass for the plane crash exhibit.
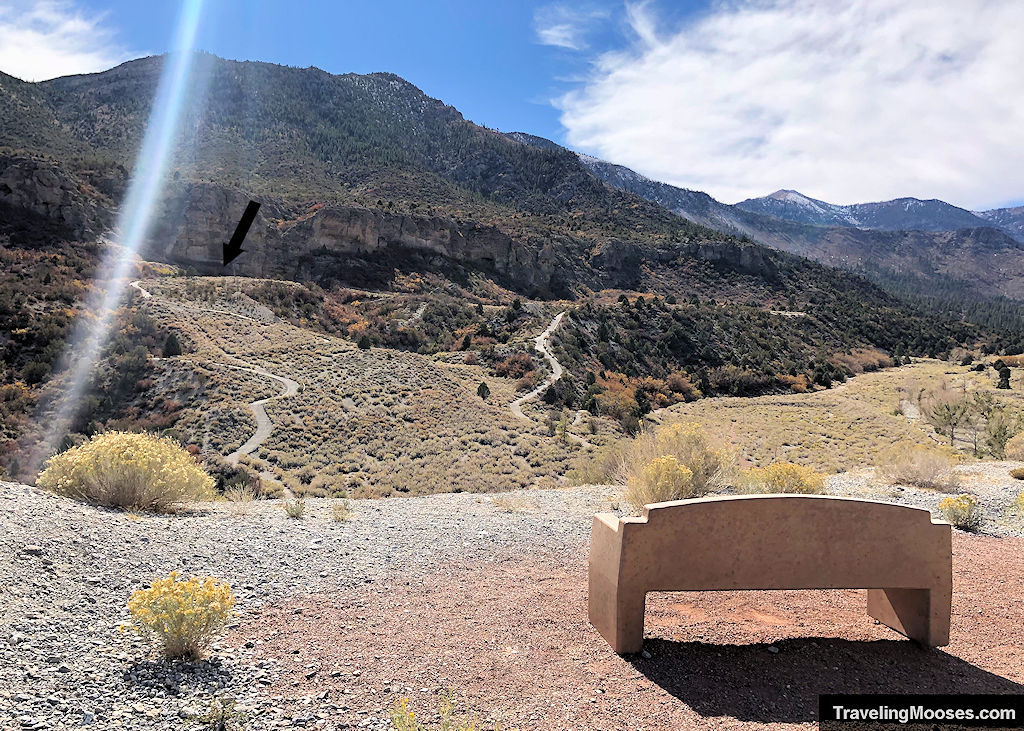
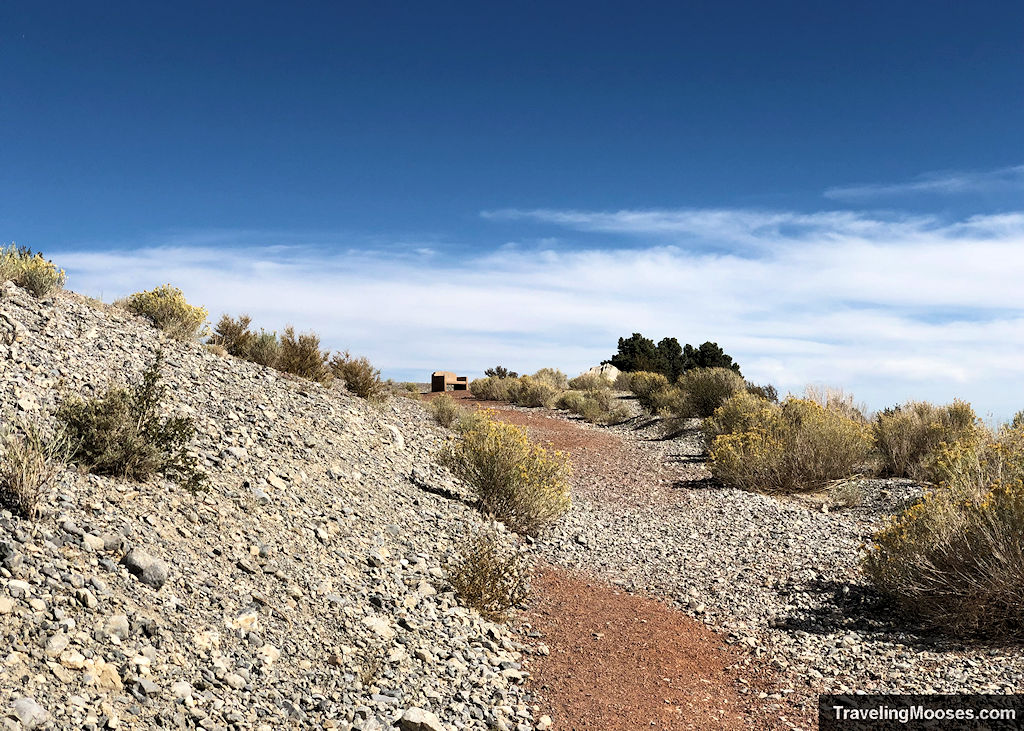
We noticed the first part of the trail was well-marked, but the signs quickly become non-existent or just plain confusing.
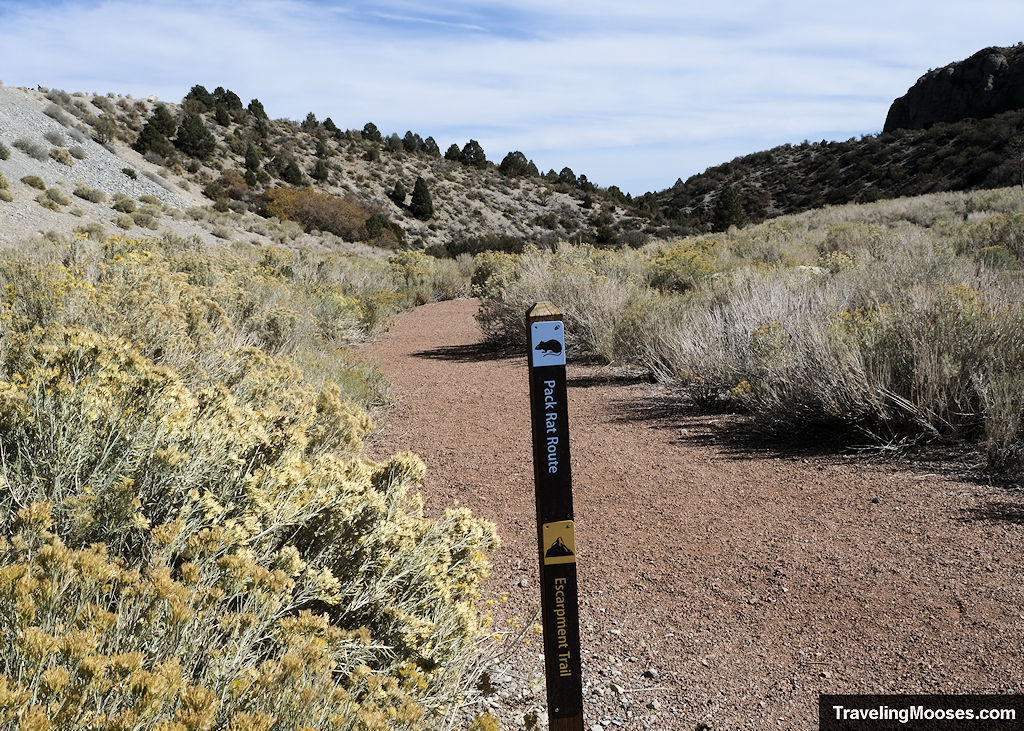
It’s not an area you’re likely to get lost as we could always see the visitor center from the trail, but finding the exhibit was a little harder than we expected.
The trail alternates between a paved walk-way and hard packed-gravel. There are plenty of benches along the trail to stop and rest but there was very little shade.
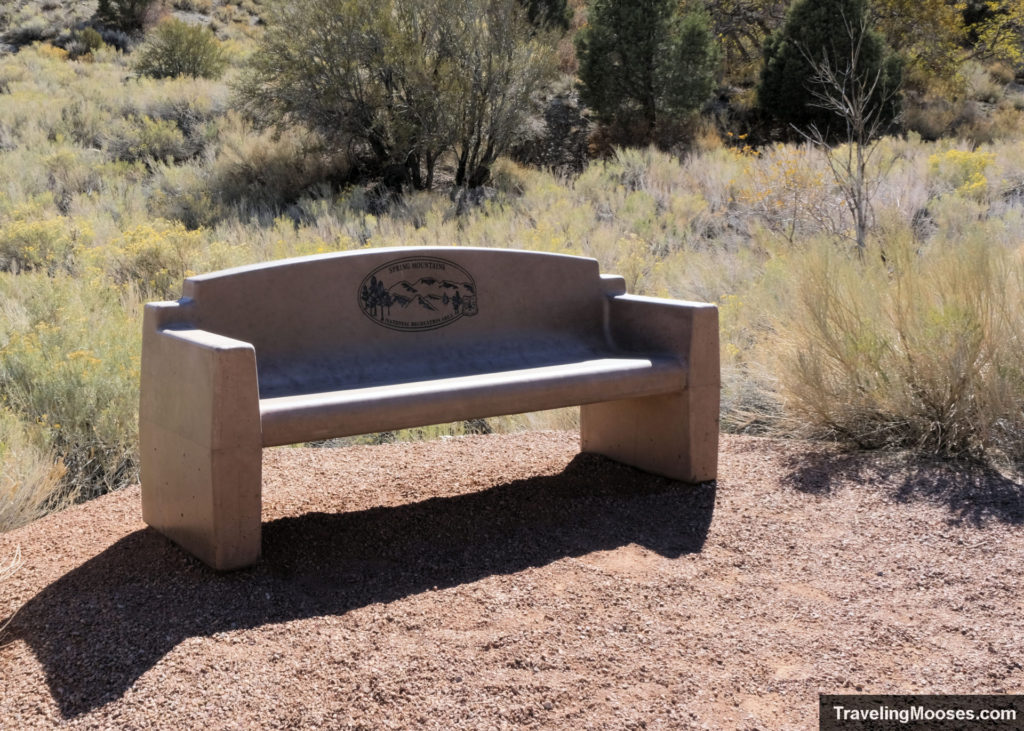
There is some elevation loss and gain over the course of the trail, and we found one of the paved sections of the trail to be pretty steep.
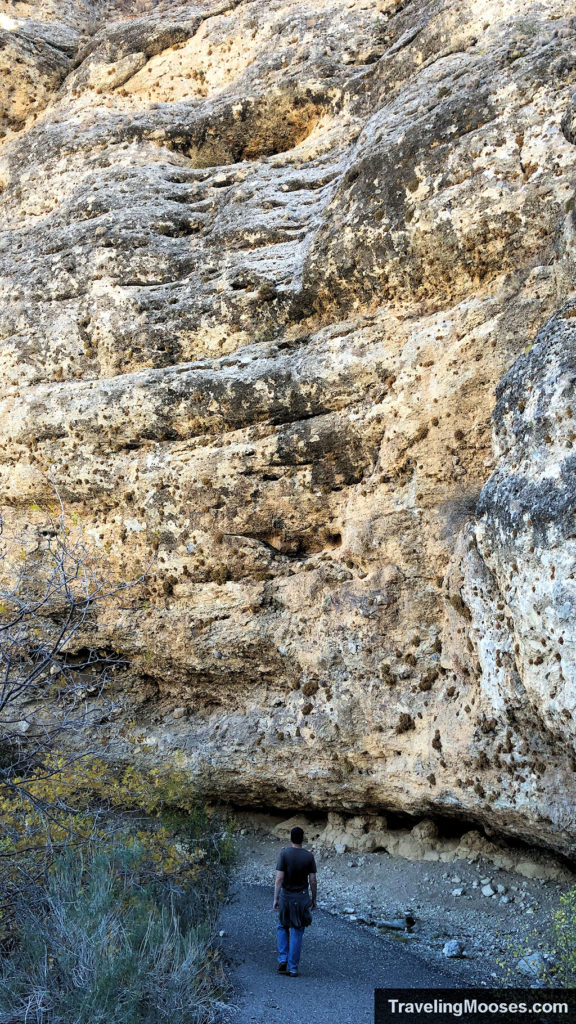
You’ll end up heading around the loop and getting closer to the canyon walls. As you see the large limestone escarpments, you’ll know you’re getting close to the looking glass exhibit.
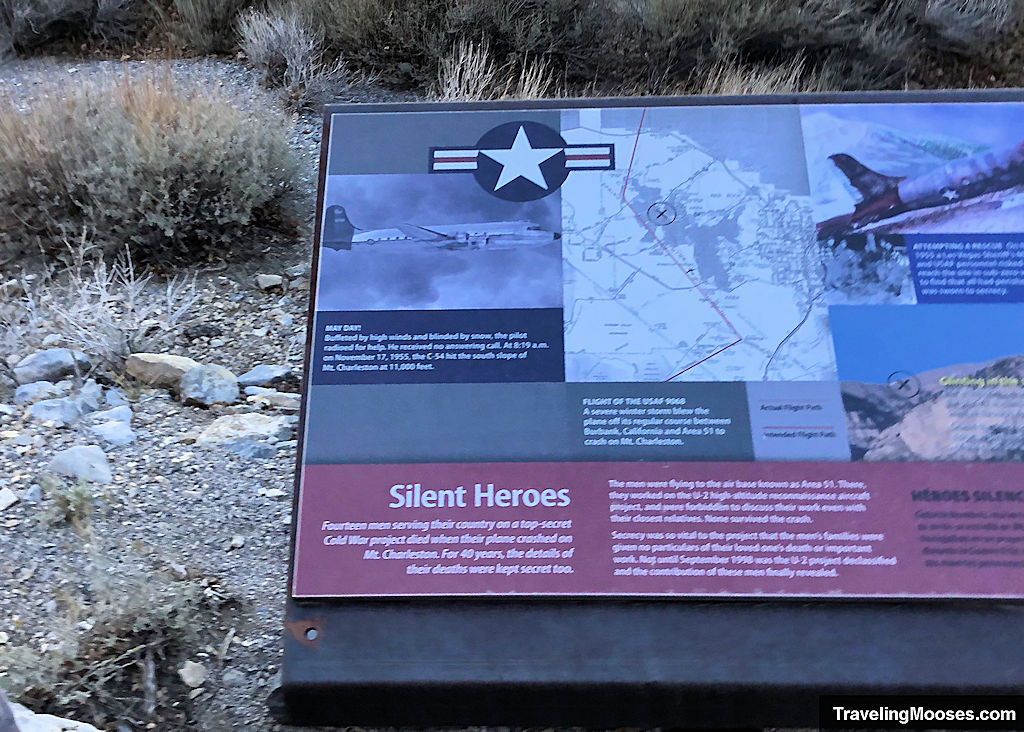
We eventually came around a corner and found the viewing glass. There is a sign explaining exactly where to look on the mountain to see the plane crash location.
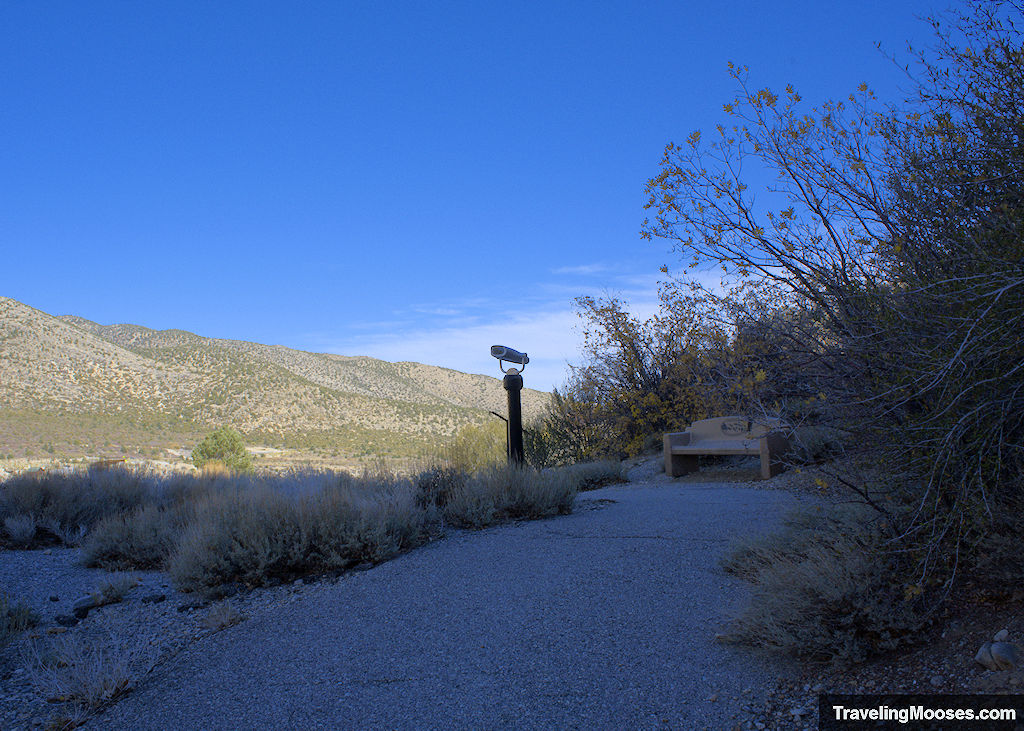
We couldn’t see any of the wreckage from the looking glass, but imagined what it would have been like for the rescuers trying to get to the plane in the dead of winter. The remoteness of the area and steep mountain side would have been incredibly difficult to get to.
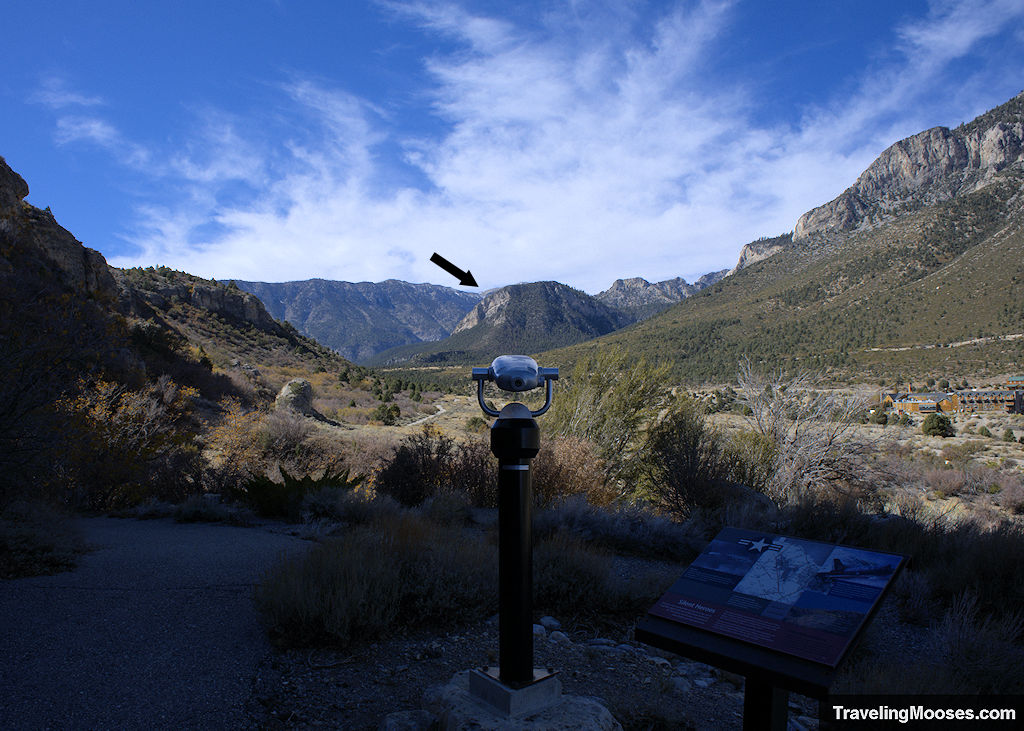
It is possible to climb up to the site of the plane crash, but it is a long and arduous journey. We plan to make the trek up there at some point.
After you’re done with the exhibit, be sure to look around at the canyon walls and keep your eyes open for potential climbers. There are many fixed climbing anchors embedded in the steep walls.
Head back the way you came to the visitor center, or continue to follow the trail around in a circle.
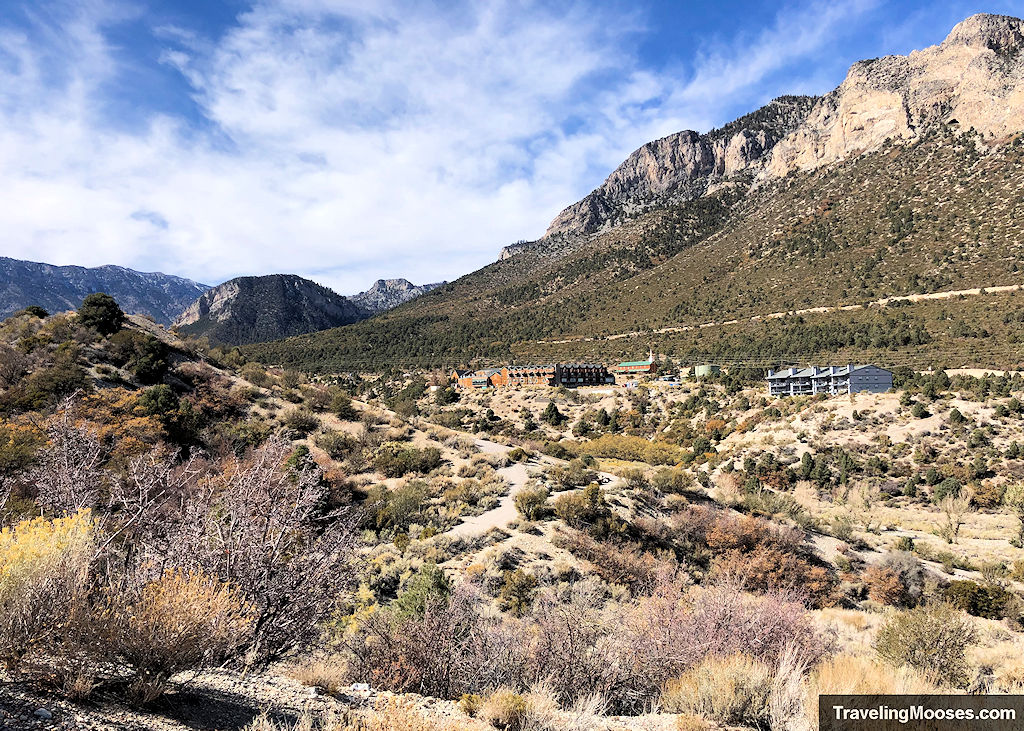
Be aware you may end up in a wash like we did to get back to the main trail, as the paths were somewhat confusing on the way back.
Is hiking the Pack Rat Route trail worth it?
Rating: 3.0 Mooses

This hike is short and has some great views, but overall, with the confusing path and steep grades on parts of the trail, it wasn’t our favorite. The educational component saved the rating for us on this trail, otherwise I would say it was a 2.0. There are better moderate trails in the area such as Fletcher Canyon or Echo Overlook.
What we liked:
- We appreciated the viewpoint with the looking glass honoring those who perished in the 1955 plane crash on Mount Charleston.
- We liked the huge limestone escarpment walls near the interpretive area.
- It was a beautiful sunny day when we were there and the mountains were fully on display.
What we didn’t like:
- The trail is not well-marked and we found it confusing.
- There’s virtually no shade on the trail, so bring lots of water when you go.
Practical Information for your hike
Trailhead Amenities
- Large parking lot with ample spots. If visitor center is closed, park at Cliff Rose Trailhead across the traffic circle.
- Visitor center and gift shop
- Trail Information and trail map of surrounding areas
- Restrooms
- Trash receptacles
- Benches
Trail Maps
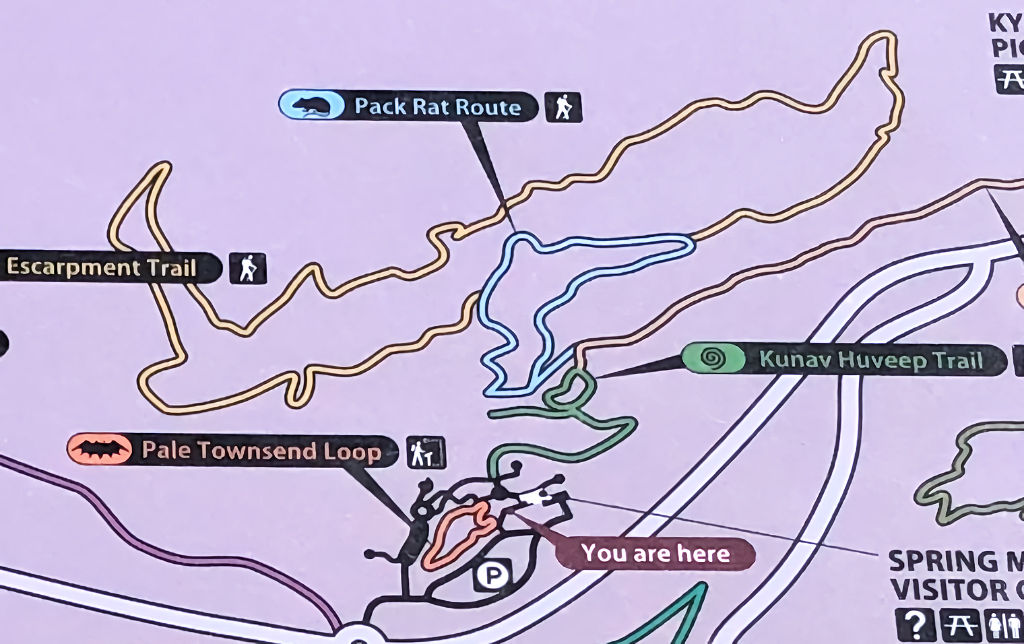
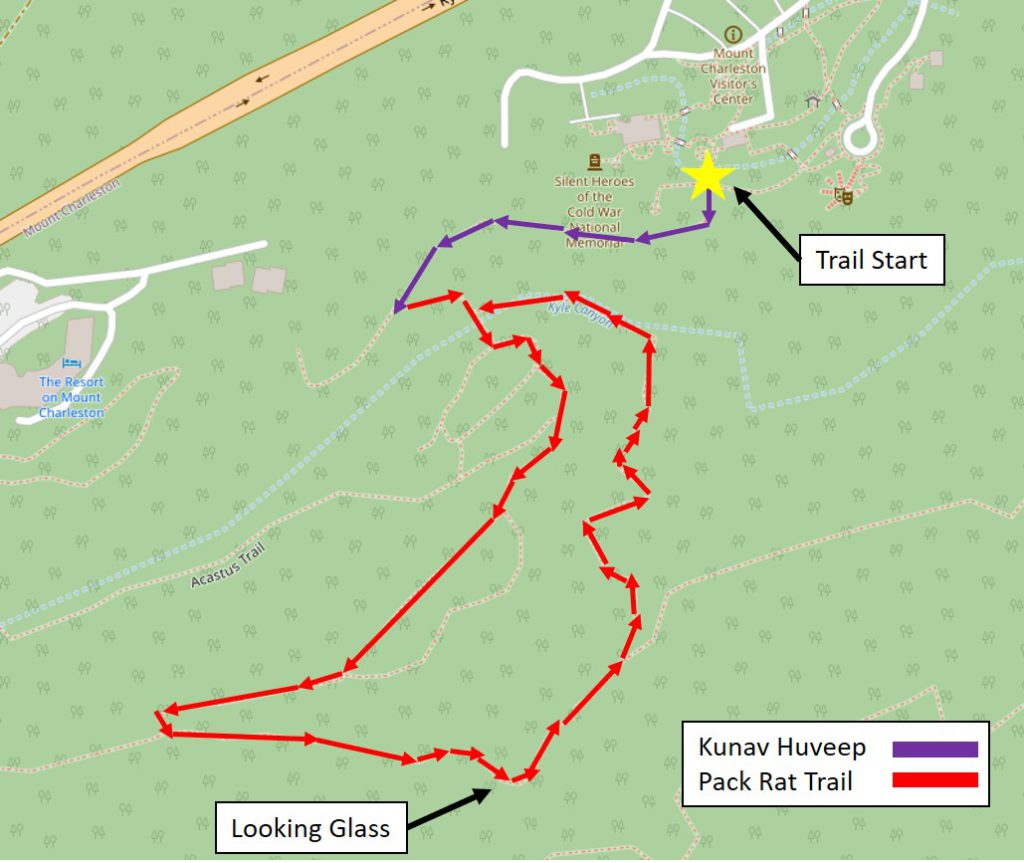
Parking Information
The primary parking area for the Pack Rat Route trail is at the Spring Mountains Visitor Gateway Center. They have abundant parking when the center is open.
We recommend checking their official website to determine if the center is open or not.
If the visitor center is closed, you can park at the Cliff Rose Trailhead (aka Step Ladder), across from the traffic circle.
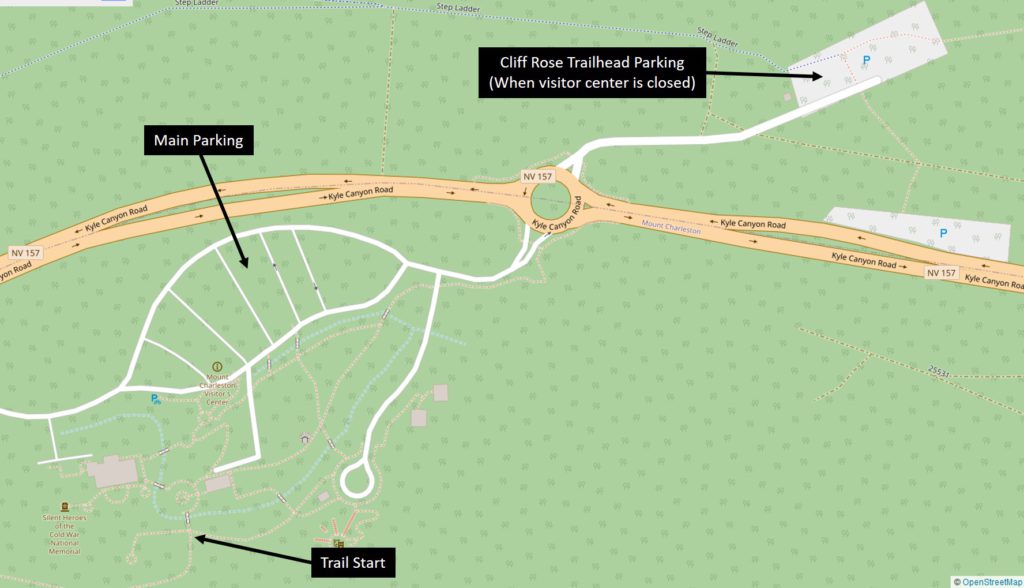
Trail Tips
We did not see any specific hiking tips for this area, but the Spring Mountains National Recreation Area has the following recommendations on some of their other trails:
- Bring extra water
- Wear sturdy hiking shoes or boots
- Wear sunscreen and a hat. At higher elevations, the atmosphere provides less protection from the sun’s harmful rays.
- Flashlight – Allow for ample hiking time.
- Bring clothing for cool or wet weather. Weather changes rapidly in the mountains.
- Leave wildflowers, plants and artifacts. Please leave these behind to be enjoyed by others.
- Take photographs and memories and pack out any trash.
- Stay on trails.
- Let family or friends know where you plan on hiking and when you expect to return. Know your limits and remember, you will need to walk back as far as you have walked in.
More hiking trails near Mount Charleston
- Guide to Mount Charleston – An overview of the area
- Cathedral Rock – A local’s favorite view hike
- Eagle’s Nest Trail – One of Mount Charleston’s easy hikes
- Bristlecone Loop – Epic views and possible wild horse sightings
- Robber’s Roost – Explore the famous caves
- Fletcher Canyon Trail – Amazing slot canyons
- Mummy Springs Trail – A year-round spring
- Raintree – A 3,000-year-old-bristlecone tree
- Mary Jane Falls – A famous waterfall near Las Vegas
- Echo Overlook Trail – A viewpoint overlooking Cathedral Rock
- Fletcher Peak Trail – Our favorite view trail
