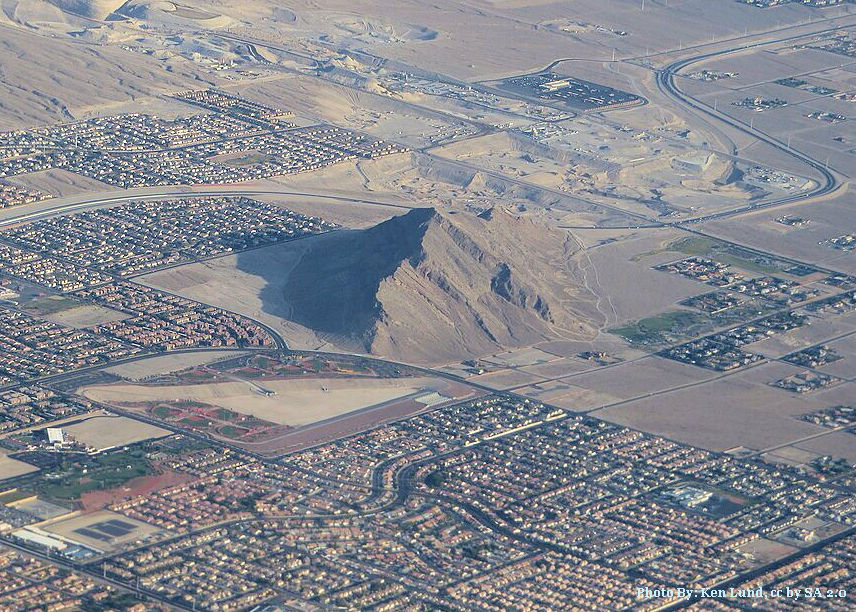
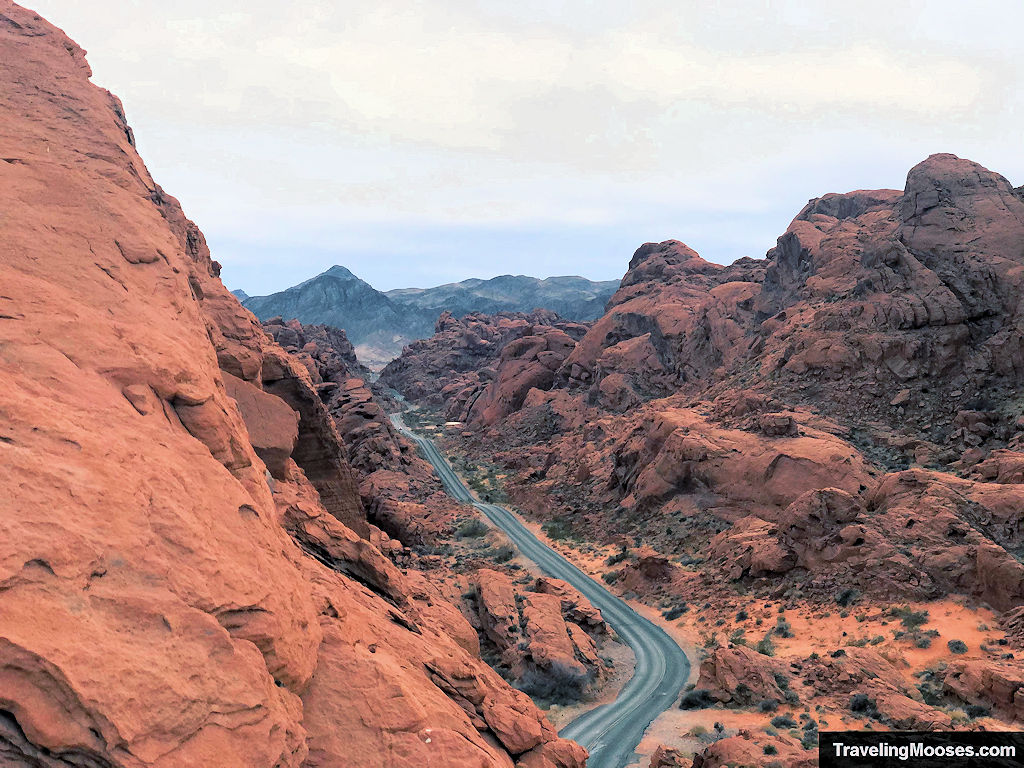
Nestled in the northwest suburbs of Las Vegas, Lone Mountain offers hikers a quick yet rewarding escape from the city’s hustle. This isolated, rocky peak provides panoramic views of the Las Vegas Valley and surrounding mountain ranges, making it a favorite among locals seeking a convenient outdoor adventure.
In this guide:
- Lone Mountain Peak trail stats
- What to expect on the trail
- Is the Lone Mountain Peak trail worth it?
- Practical info for your trip
Lone Mountain Peak Trail Stats
| Trail description | Out and back |
| Location | Lone Mountain Peak |
| Parking lot | Lone Mountain Trailhead (most popular) 15 Vegas Vista Trail, Las Vegas, NV 89129 (for Google Maps). |
| Round trip mileage | ~1.5 miles (depending on where you start from) |
| Average time | 1.5 – 2 Hours |
| Difficulty | Moderate (due to terrain, not distance or elevation gain) |
| Elevation gain | ~550 feet |
| Elevation start | ~3,300 |
| Elevation max | ~3,850 |
| Best time to visit | Fall through Spring (watch out during hot summer months) |
| Amenities | Official trailhead has only garbage cans. If you start at Lone Mountain Park, they have picnic tables, walking trails, playgrounds, restrooms and more. |
| Entrance Fee | Free |
| Rating | 3.5 Mooses |
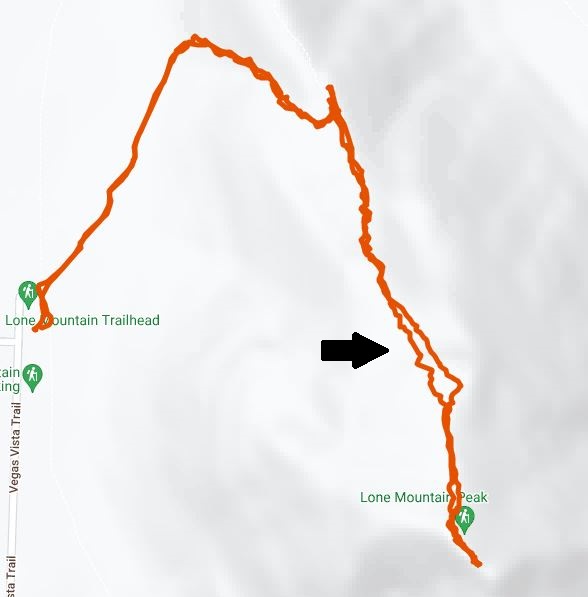
Interactive Trail Map
Below is a map of our route up Lone Mountain Peak. If you can’t see the map below, you can view it directly in Google Maps here.
What to expect on the trail
The hike begins from a large gravel parking area, leading you to the base of Lone Mountain.
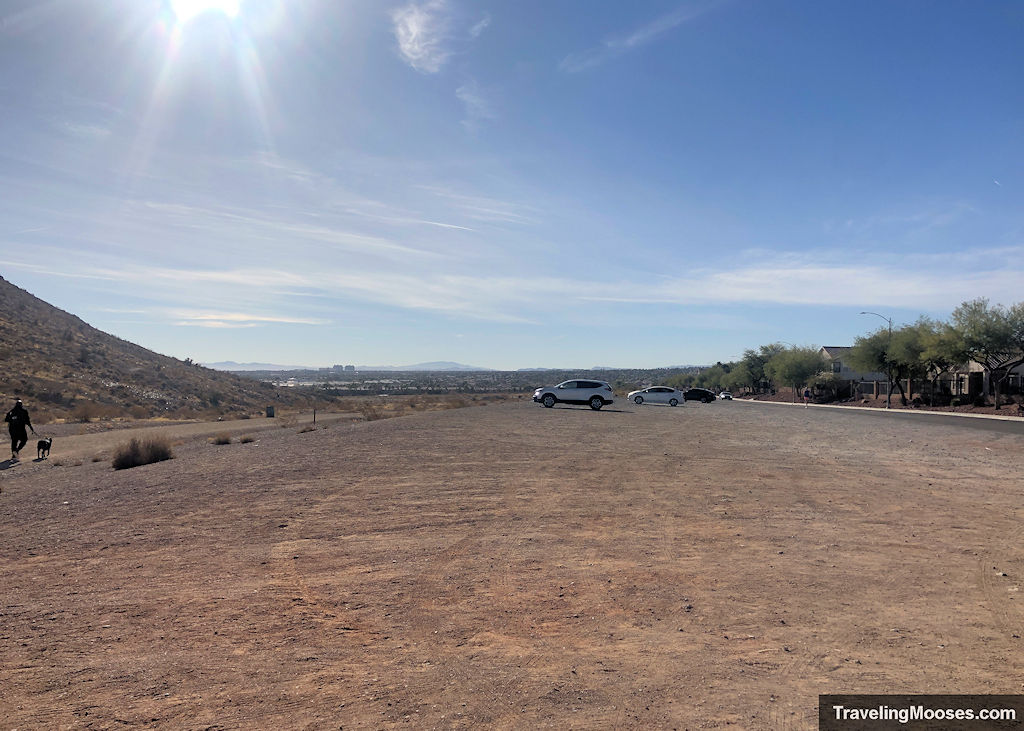
The initial segment is relatively flat as it starts on the same trail that traverses around the base of the mountain peak.
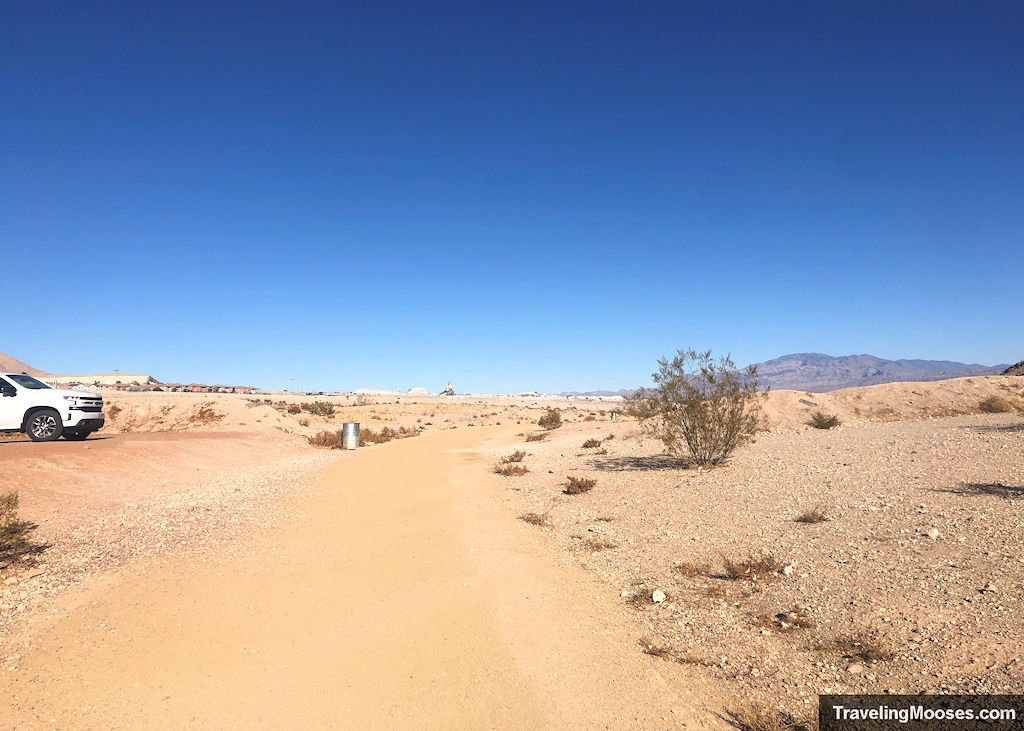
Take a right at the first sign of a path traveling up towards the peak. It’s around 100 feet from the end of the parking area.
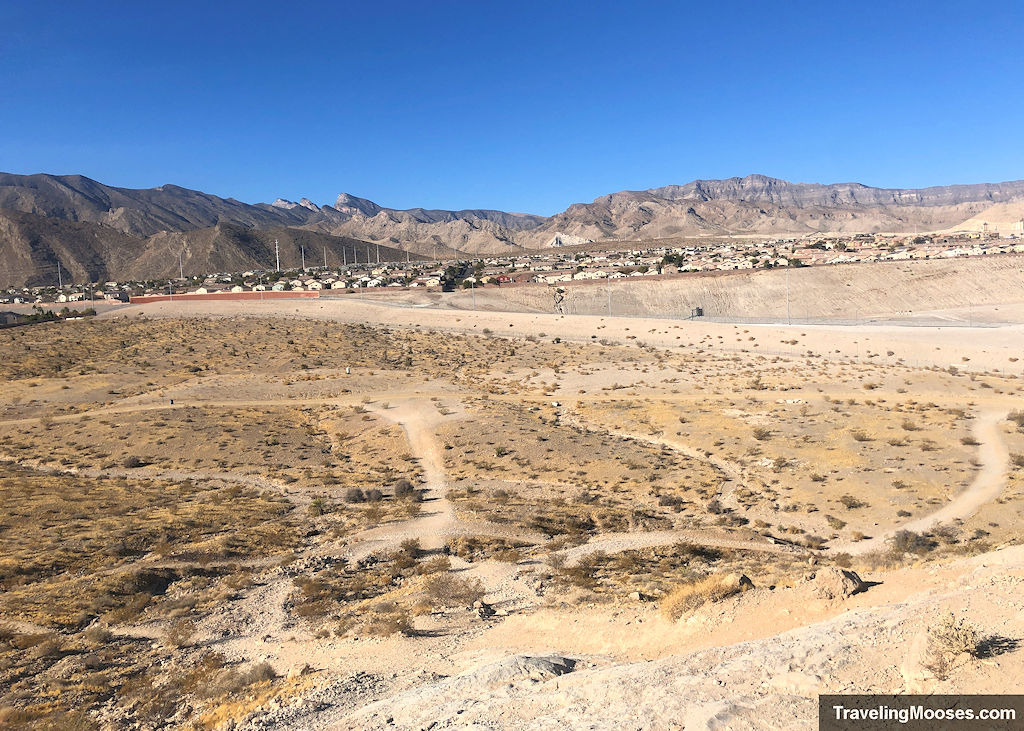
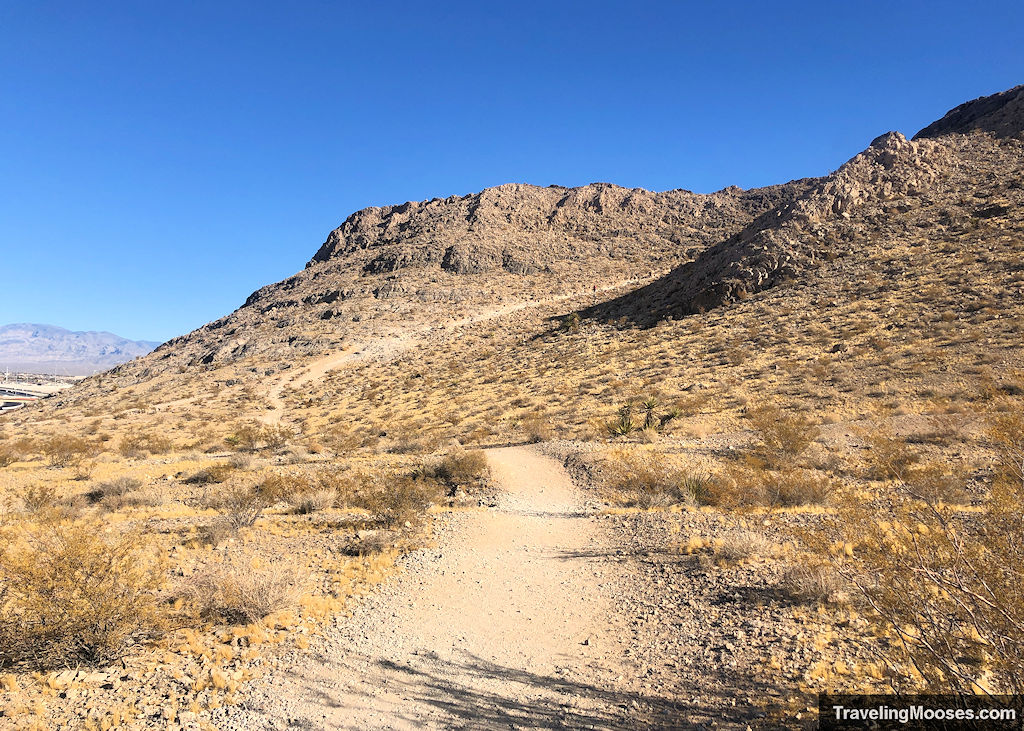
If you miss the first turn – take another trail. You can see from the picture below there are several intersecting paths that lead you to the first climb.
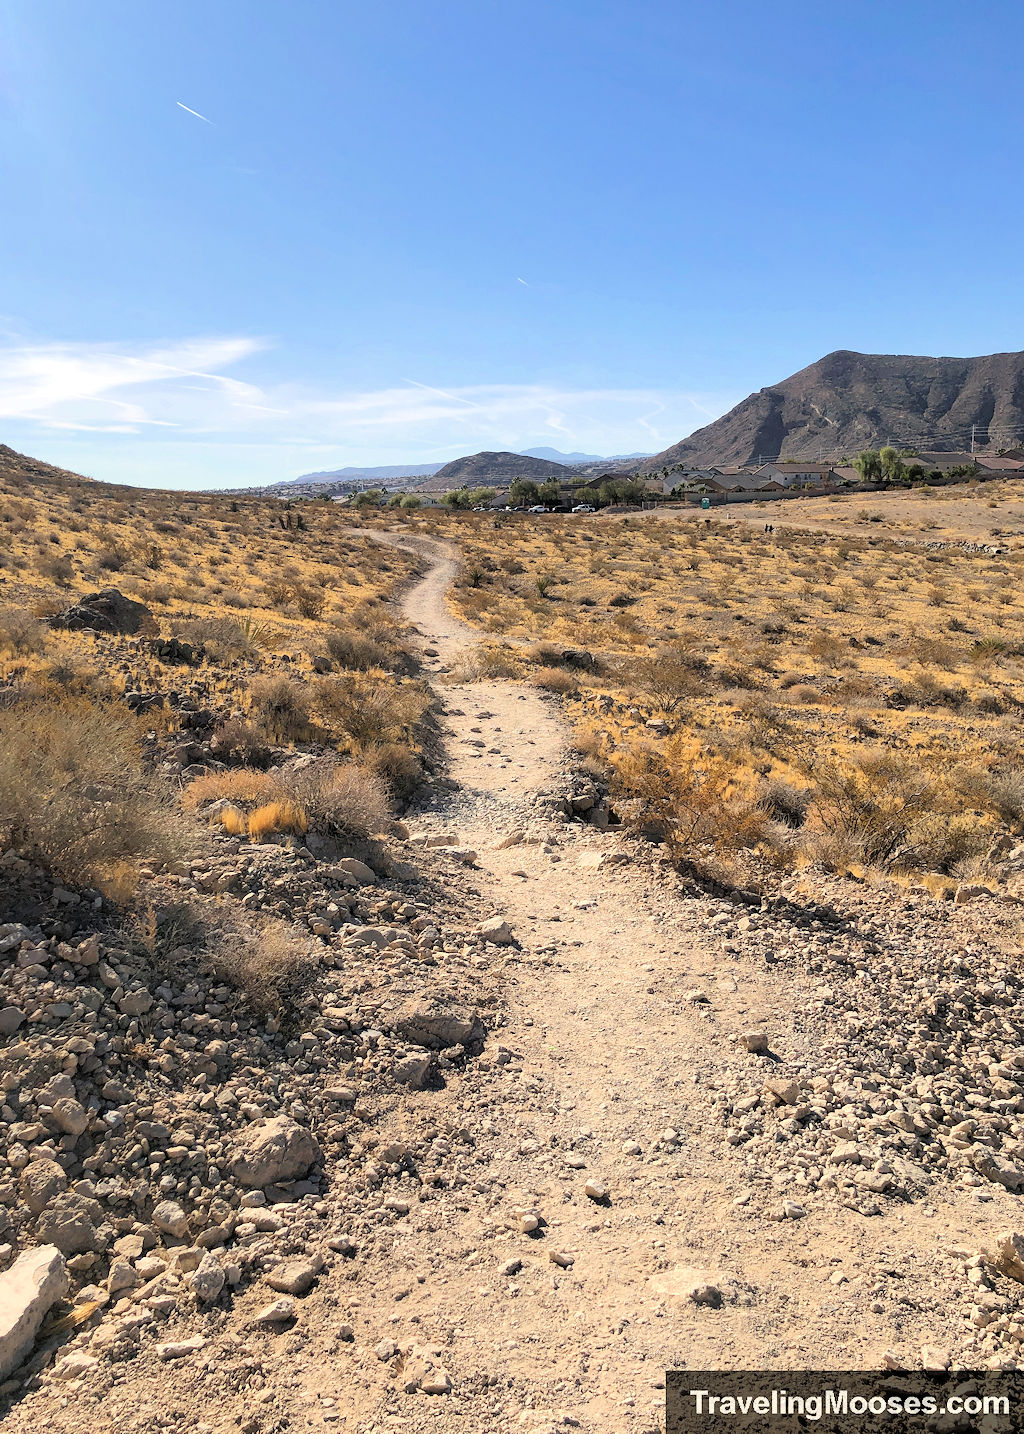
The path will meander through the desert landscape before starting the incline towards the summit.
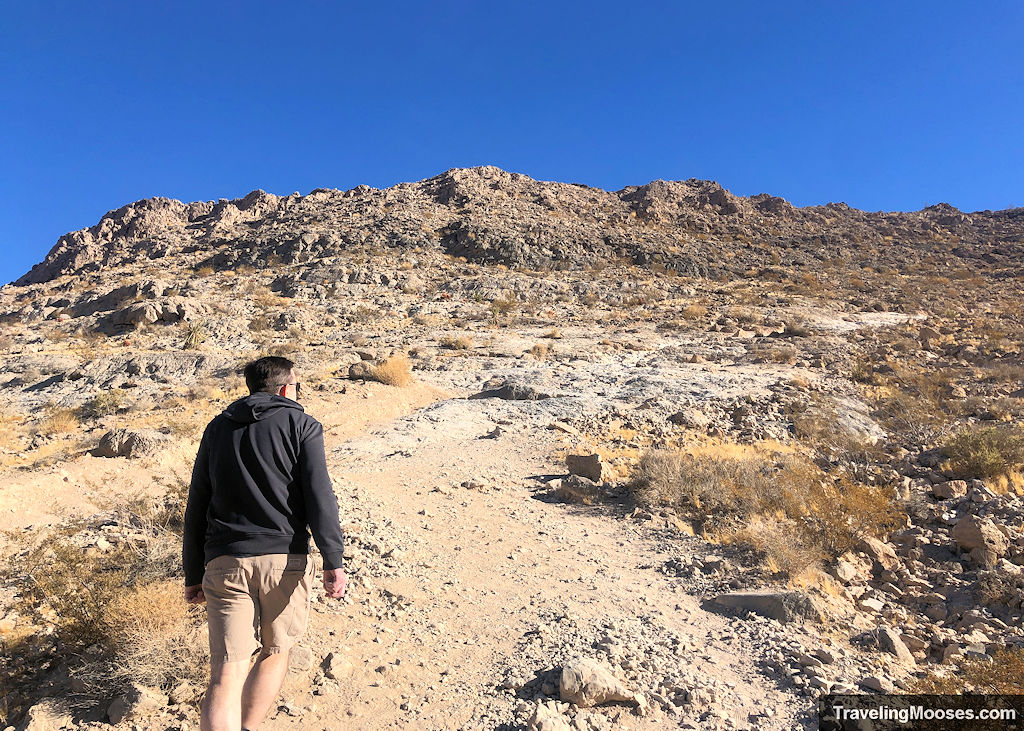
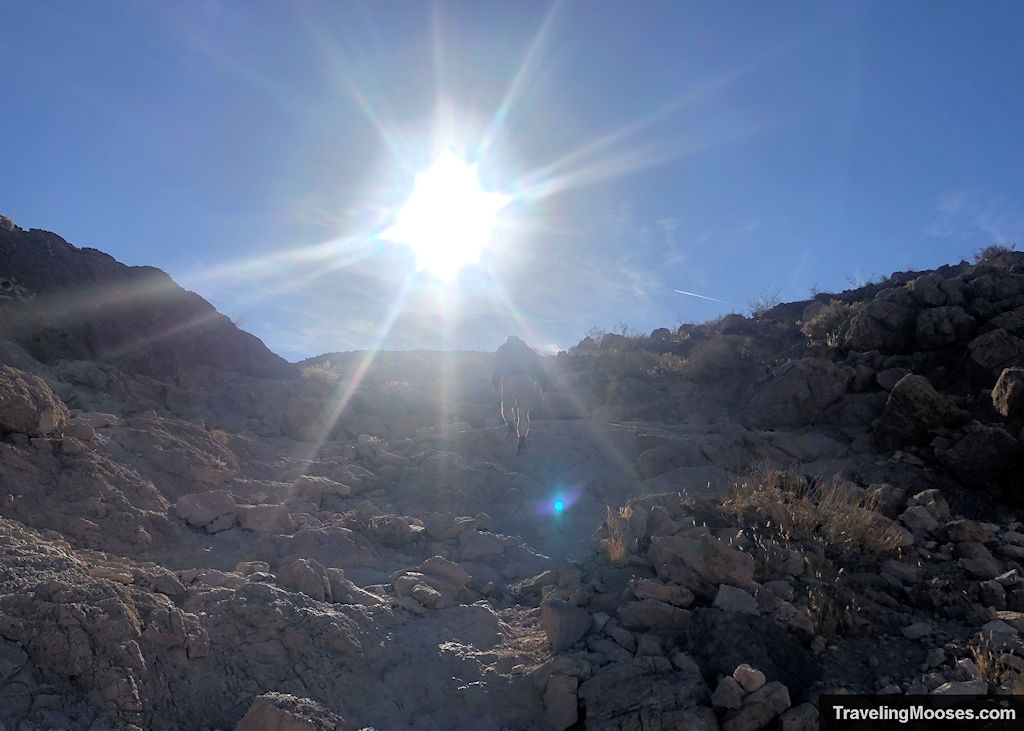
The first part of the incline, while semi-steep, is only challenging due to the loose rock. Even then, we didn’t have much trouble coming back down it.
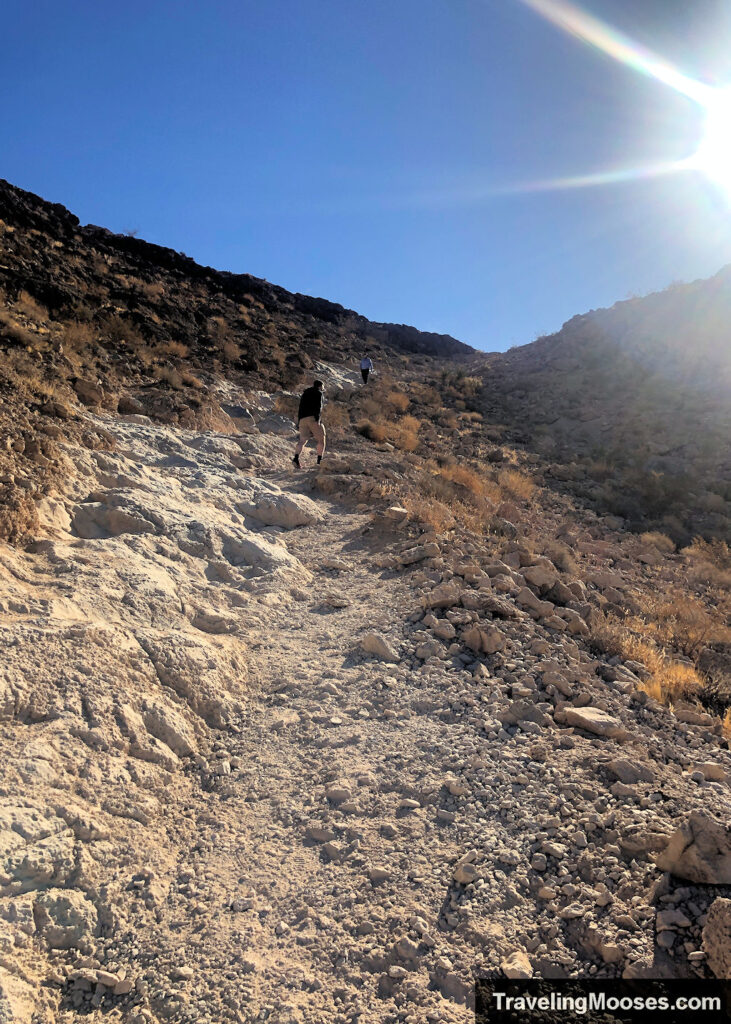
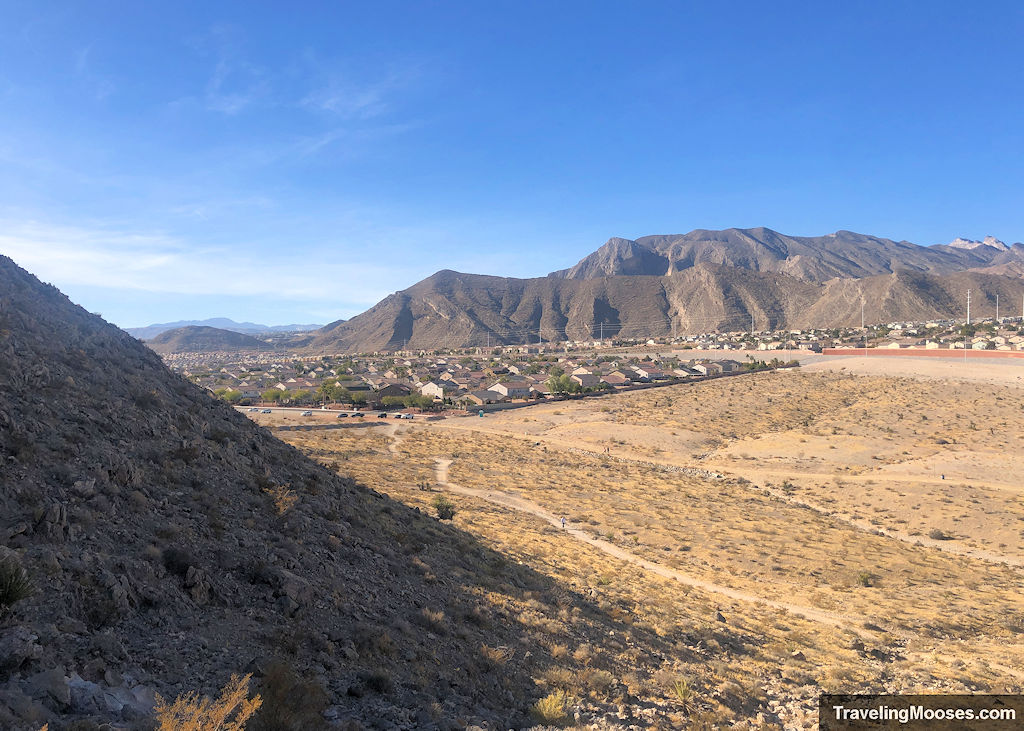
Be sure to turn around and enjoy the views from where you came.
The last little bit before the bench and resting area is an early indication of the steepness to come.
Once you reach the top of the first hill, you’ll see a bench off to the left and some initial views of the Vegas valley.
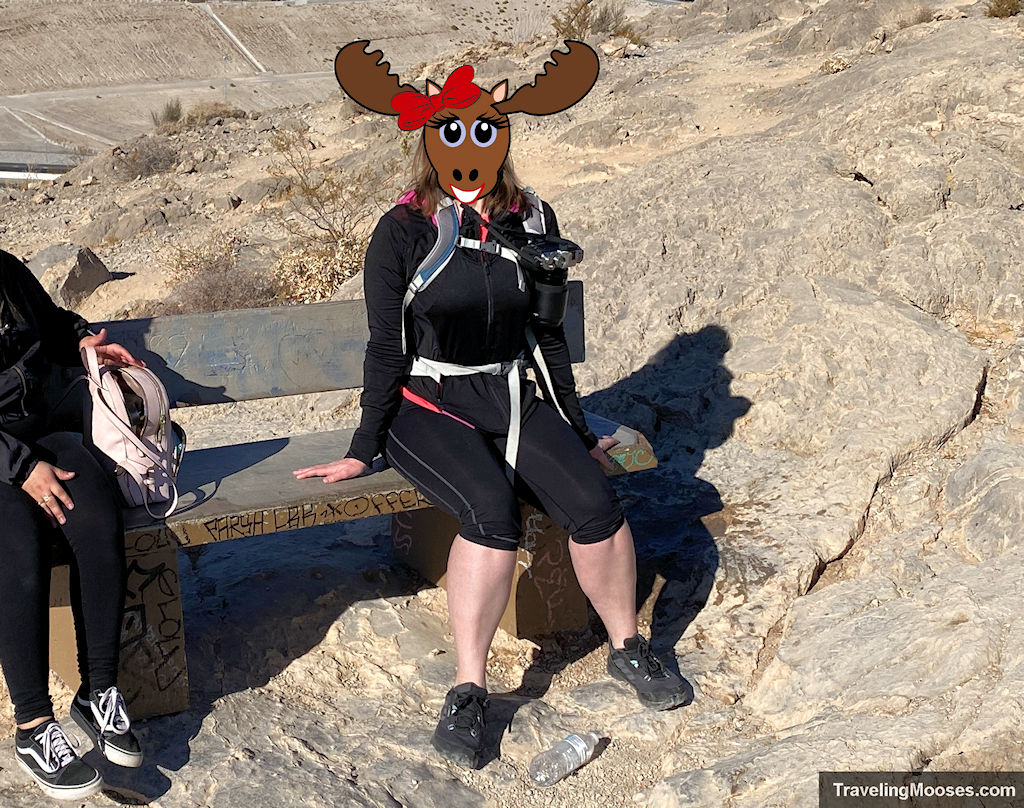
If you aren’t feeling up to continuing, this is a great place to relax and take in the sights.
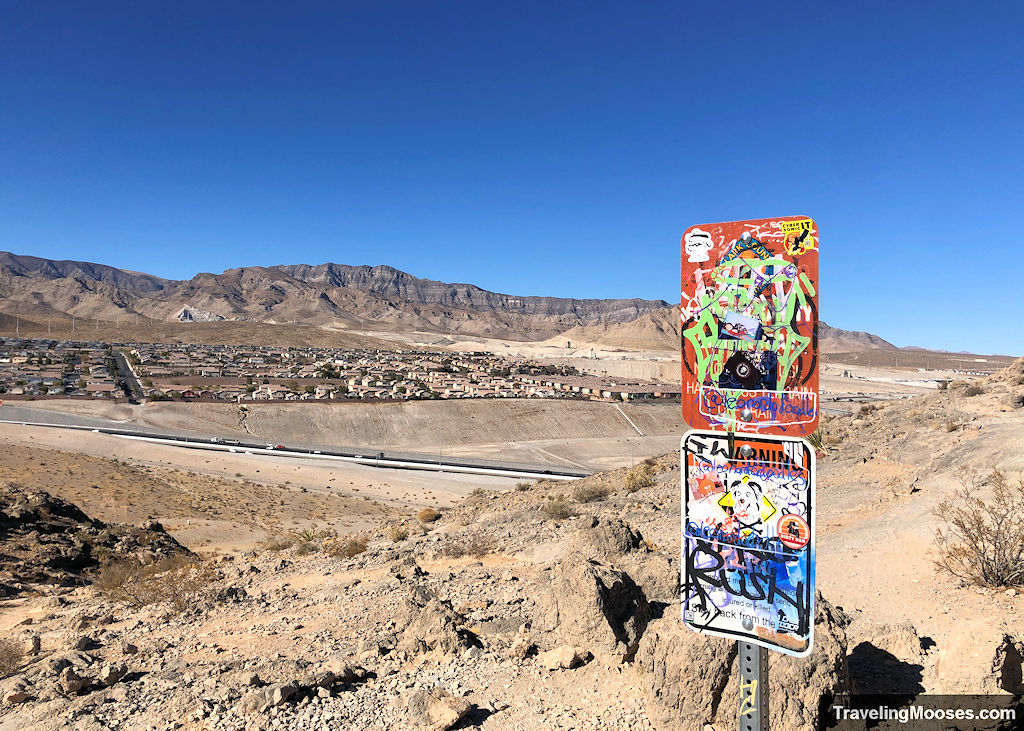
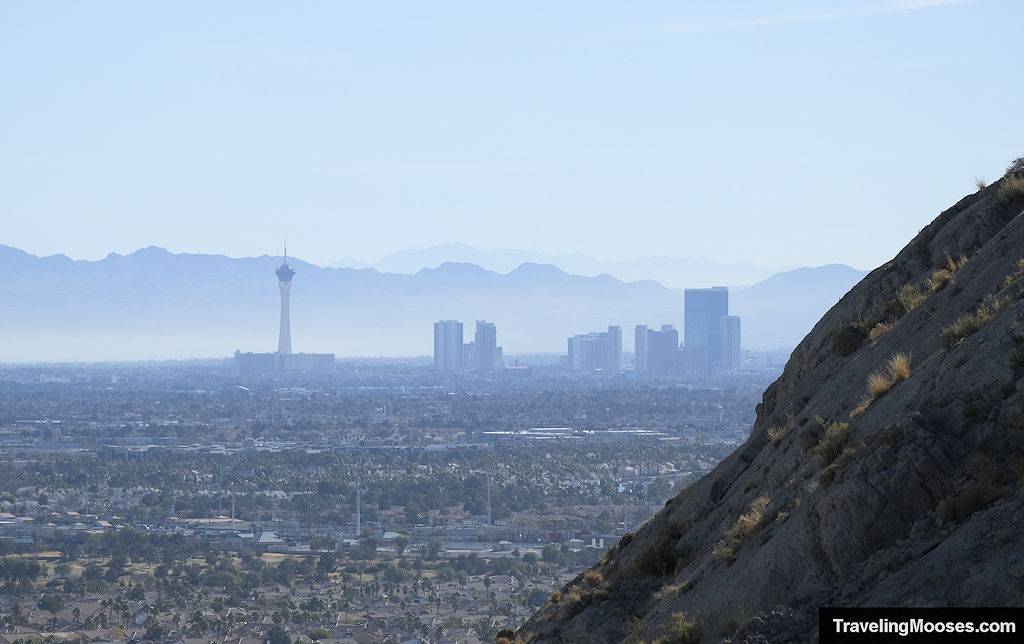
After leaving the bench area for the next climb, the path becomes steeper, more rugged and demands careful footing.
Despite the urban proximity, the trail offers a sense of calm, with occasional sightings of local vegetation.
Though if you’re not lucky, you’ll also hear the sweet sounds of music blaring from the occassional rude hiker while their multiple dogs run off leash.
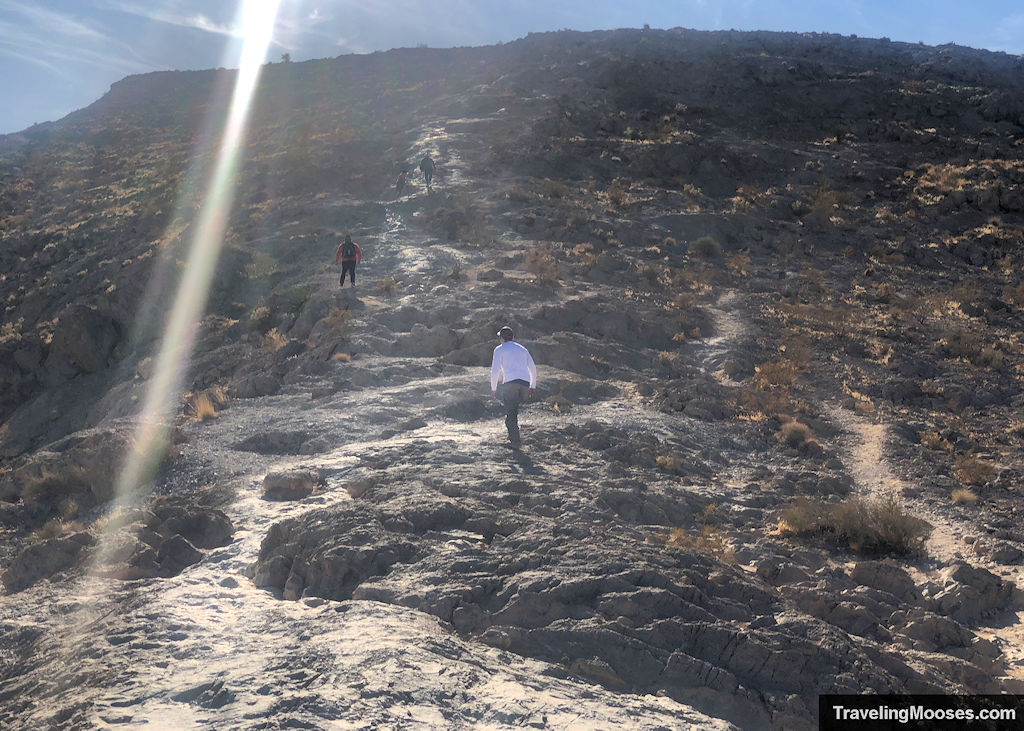
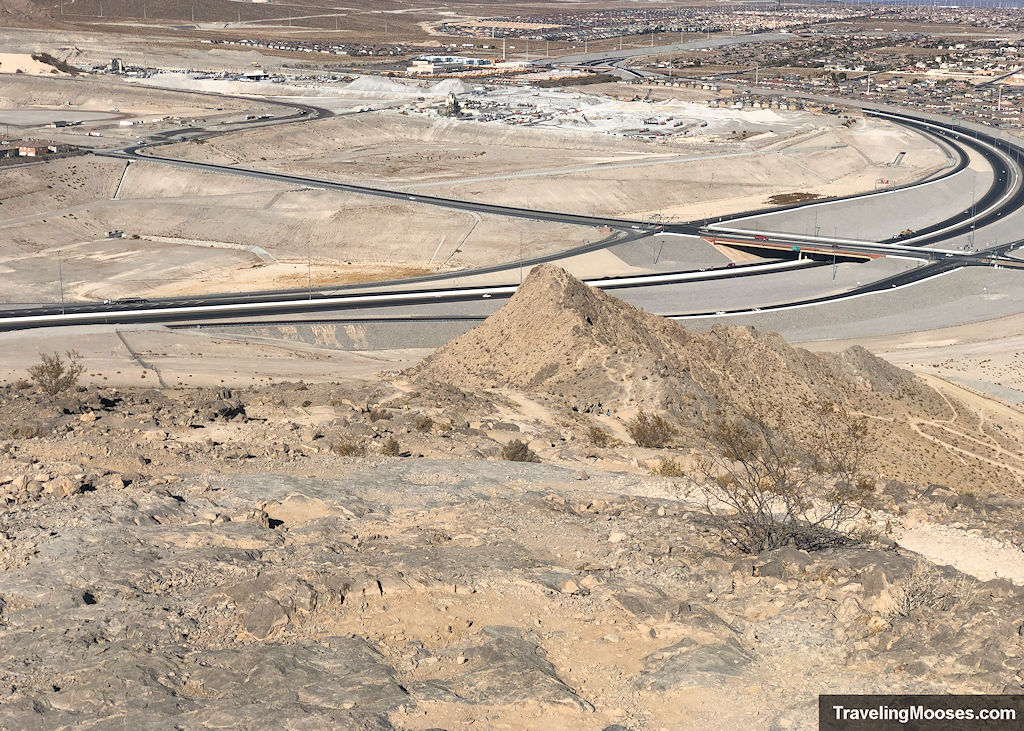
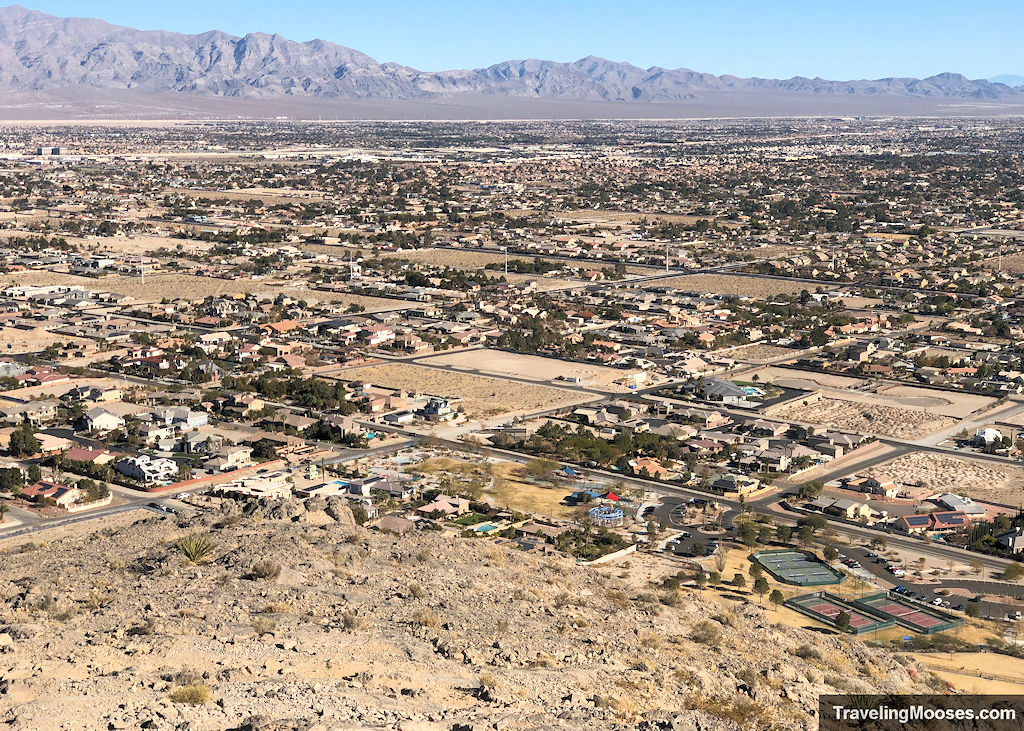
Enjoy the sights on the way up.
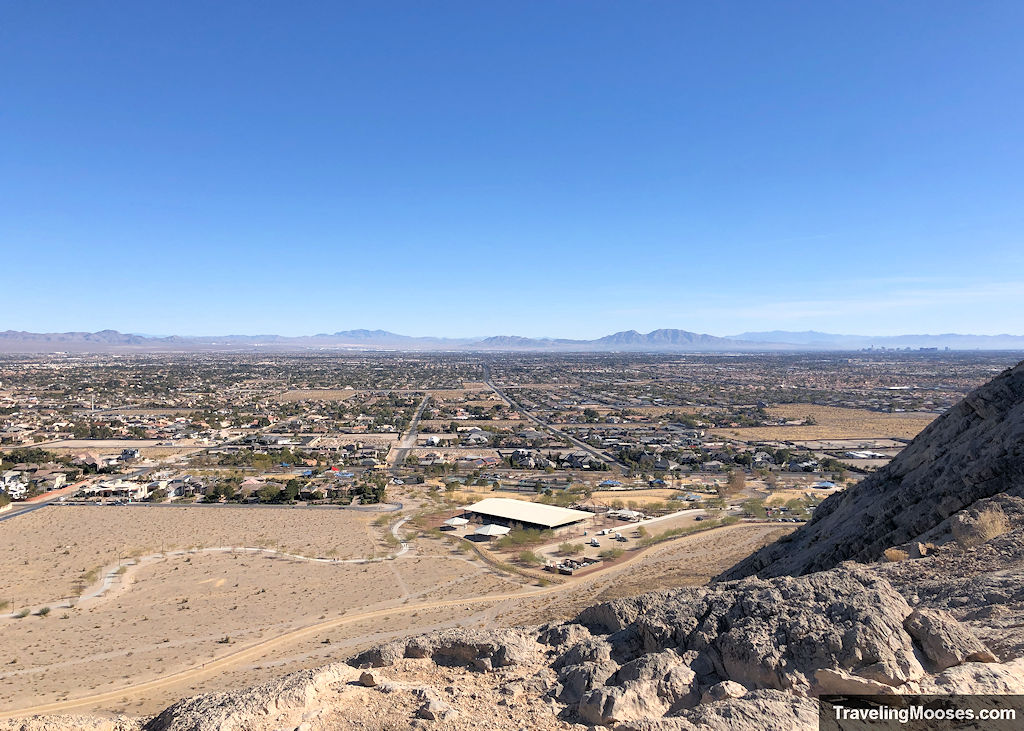
And the steep rocky outcrops on the push to the “false summit.”
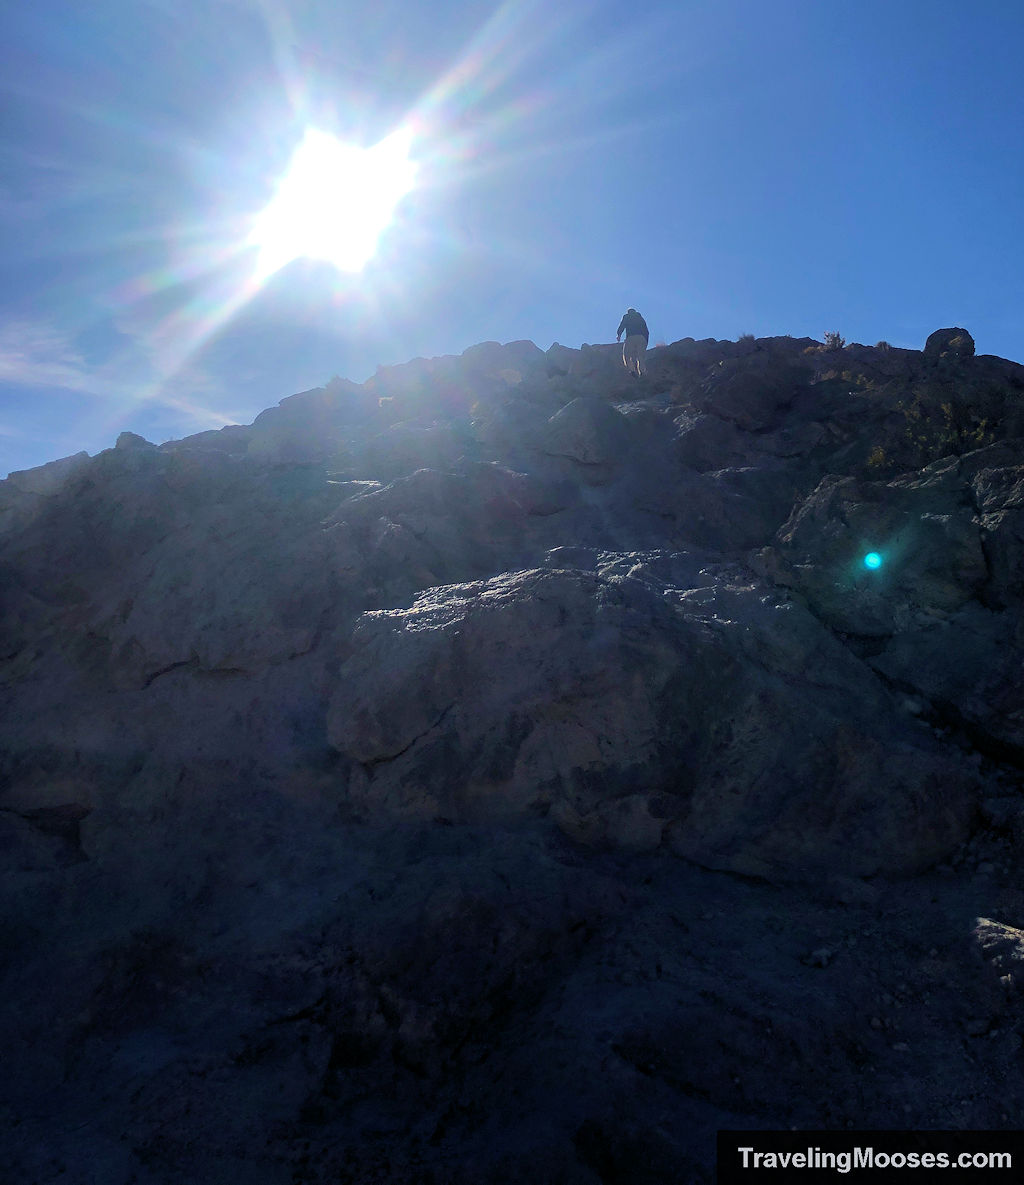
Arriving to the top of the photo above (which we thought was the end) – we see this.
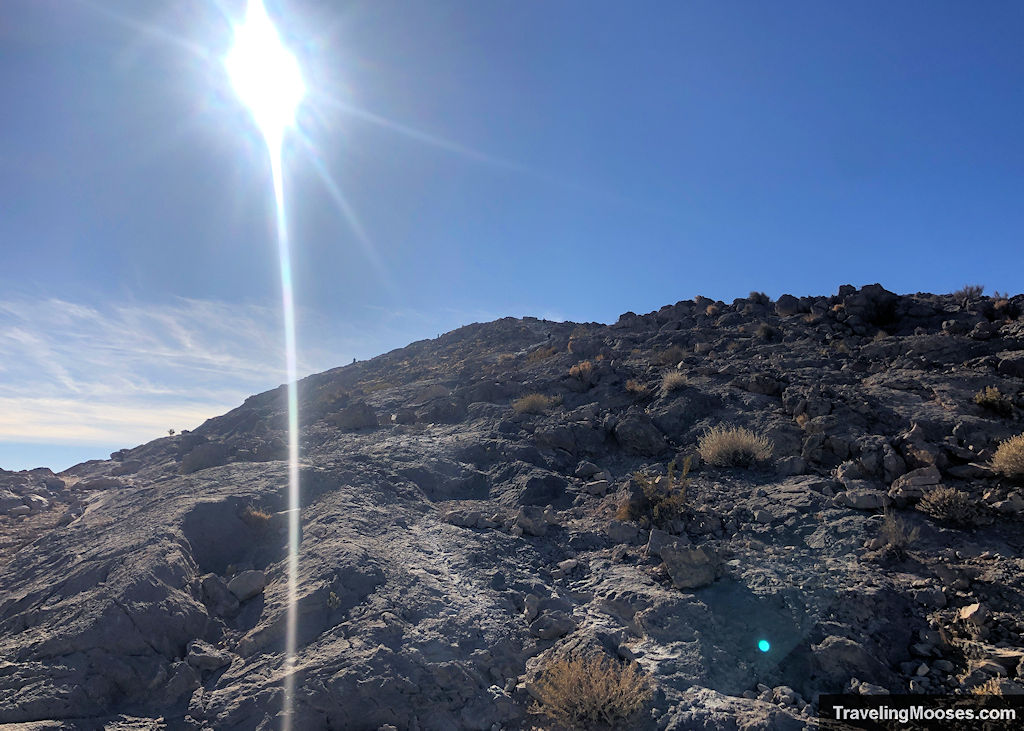
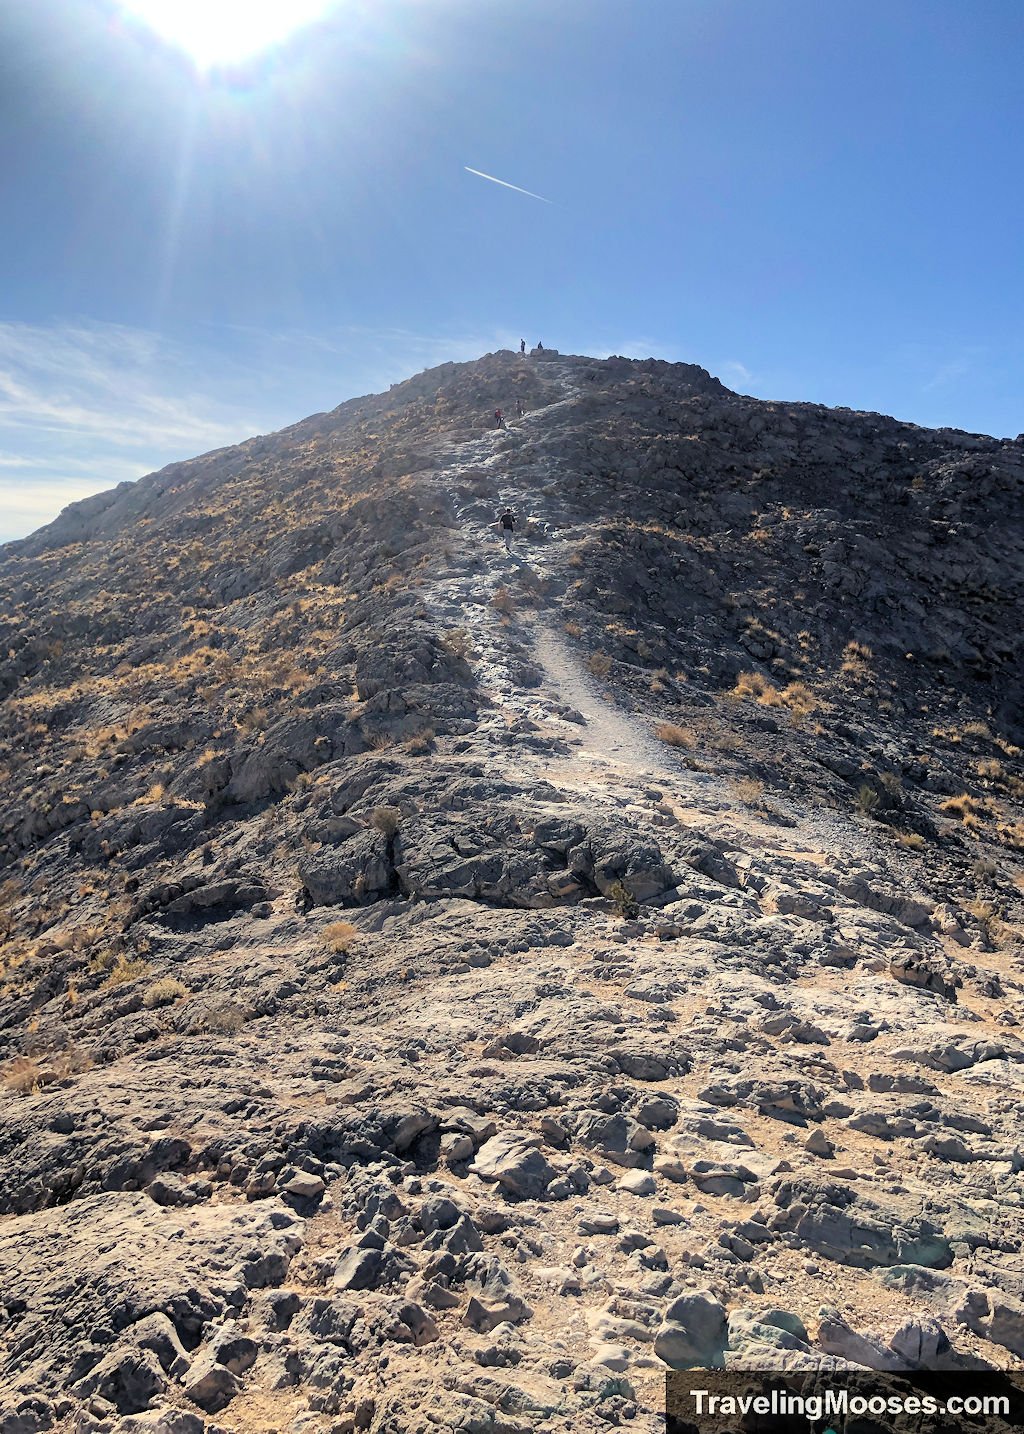
Final push to the summit
After the disappointment of the false ending, you’ll see what you’ve been looking for, the summit of Lone Mountain Peak.
The remainder of the trail is mostly a “choose your own adventure” route – with vaguely defined paths up to the summit. During our hike we ended up coming down a slighlty different path than we went up.
The last push is by far the steepest section and you’ll be glad you have good grippy shoes to help you up.
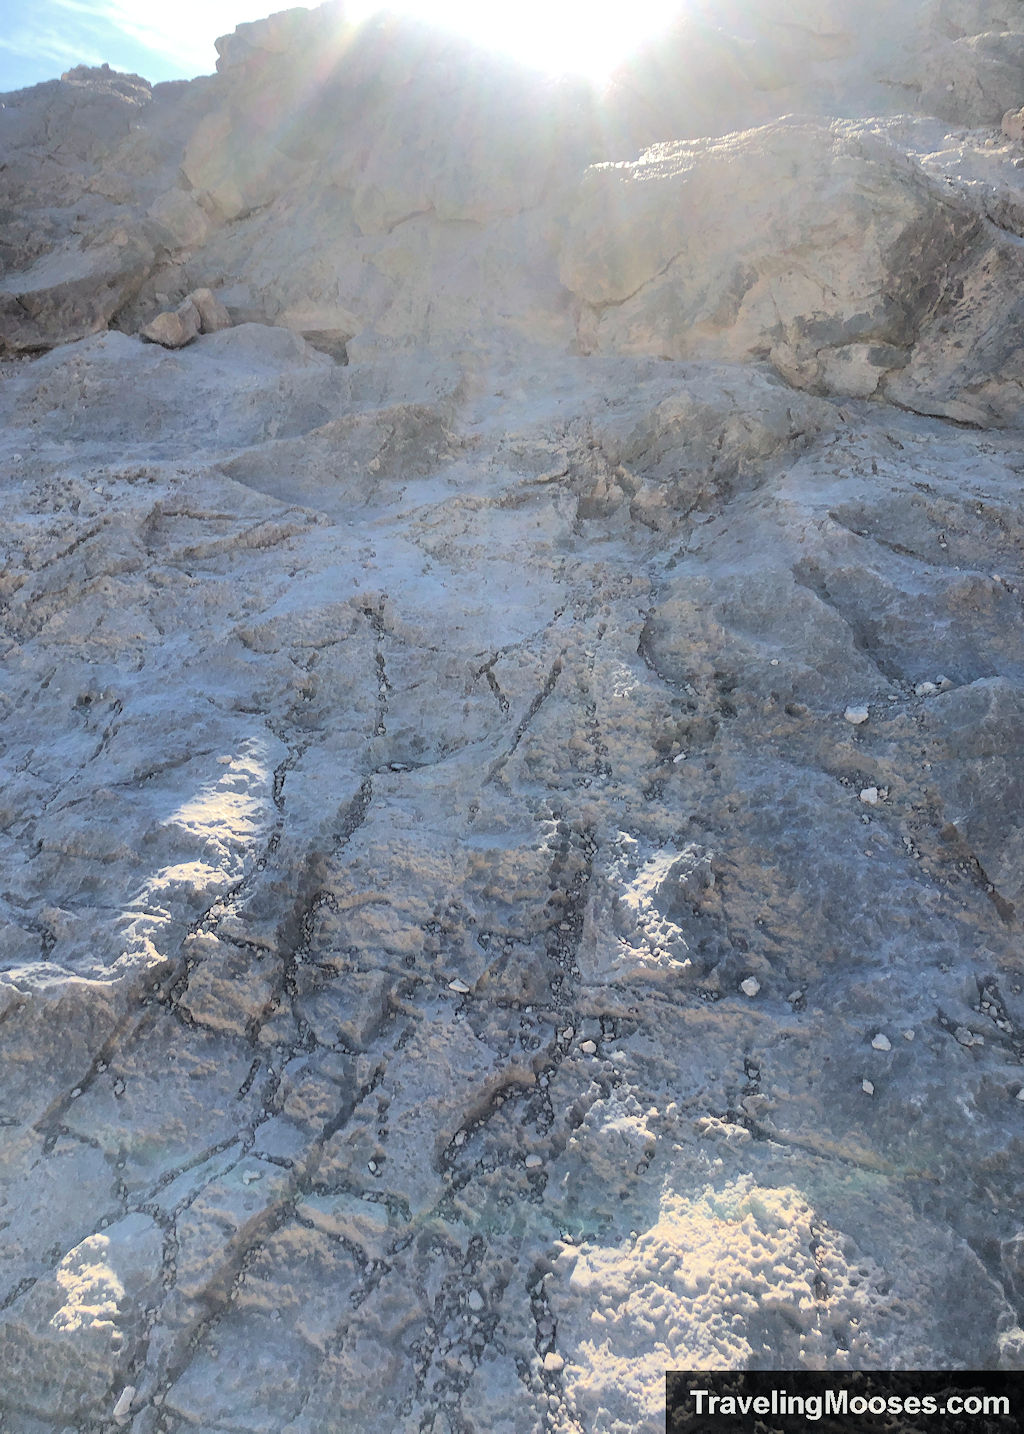
Here’s a close up of the type of rock you’ll find. Along with the steepness.
Yes, I did end up using my hands to scamble over a few sections.
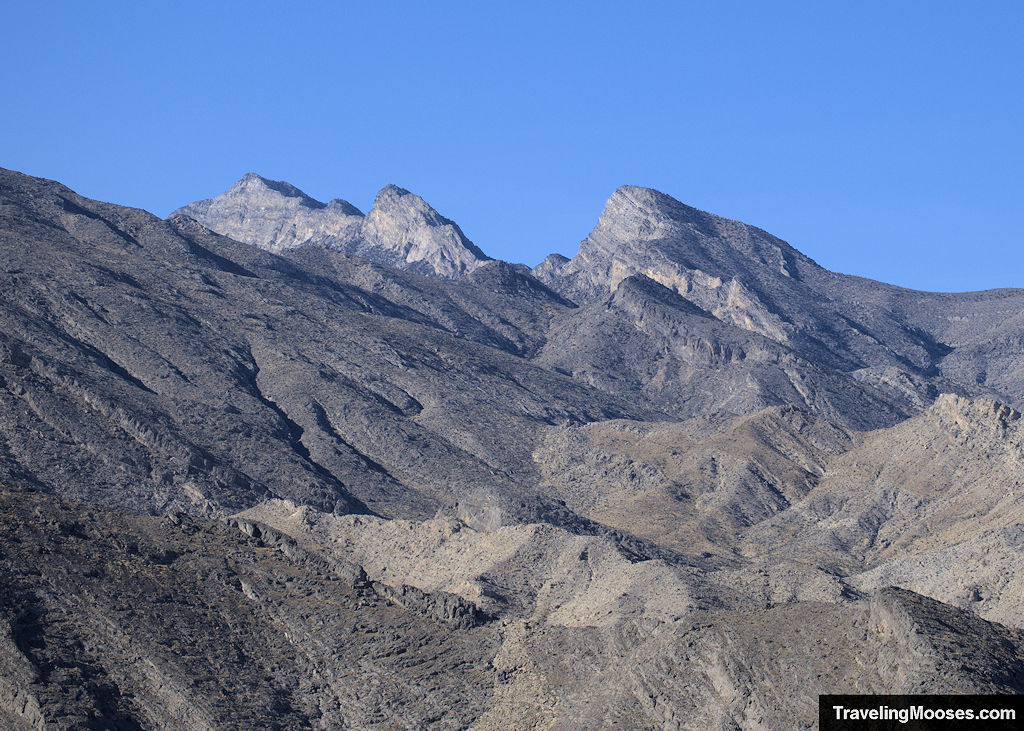
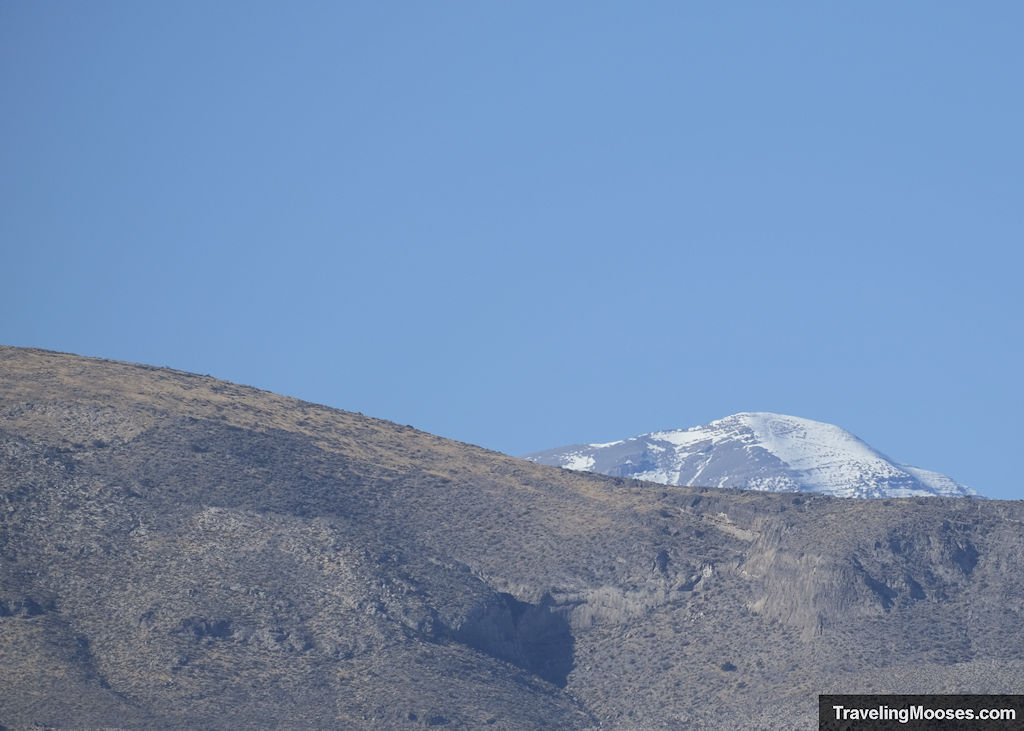
Along the way, enjoy views of Turtlehead Peak to the southwest and perhaps a snowcapped Mt. Charleston. We recommend climbing up Turtlehead on another day if you’re up for a challenge.
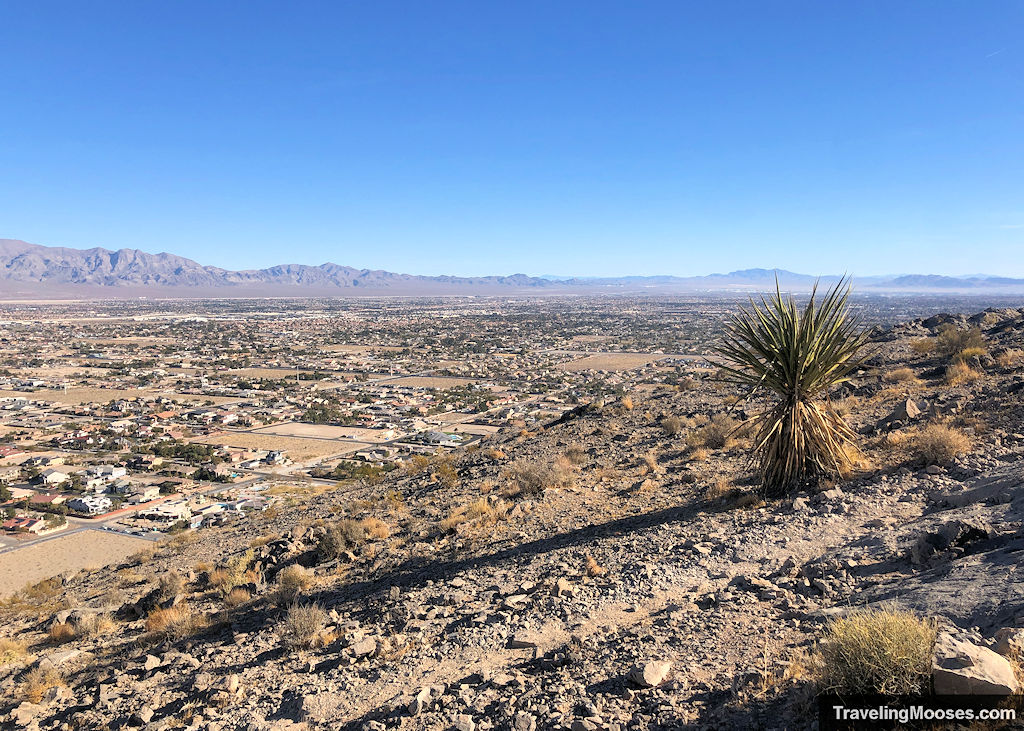
To the east you’ll enjoy the valley full of houses.
Carefully wind your way up the mountain and reach this final hurdle.
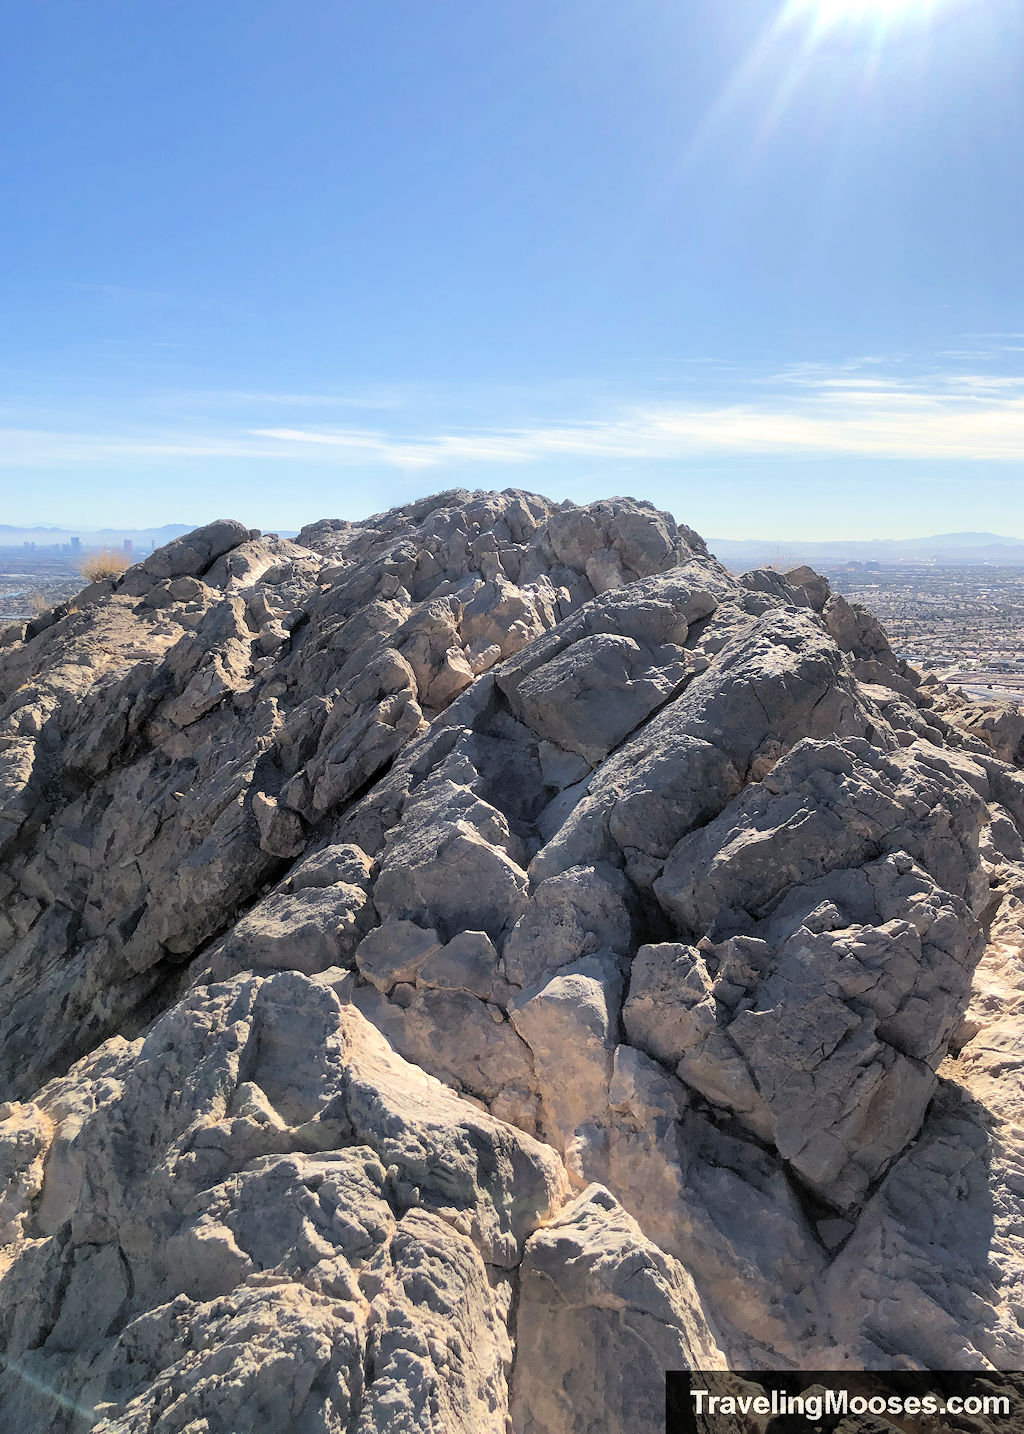
A “narrow” (well that depends on your definition) rocky outcrop you must cross to reach the end.
The right side was a very steep drop off, while the left was more gradual.
To be fair, I watched children, adults and dogs hop over the rocks with no issues at all. If you have any fear of heights – this part may get you. It is doable, even if you need to be coaxed through it by your hiking partner. Thanks Mr. Moose!
Upon reaching the summit, you’ll be rewarded with 360-degree views of the Las Vegas Valley, the Red Rock Canyon boundary area, and glimpses of Mount Charleston.
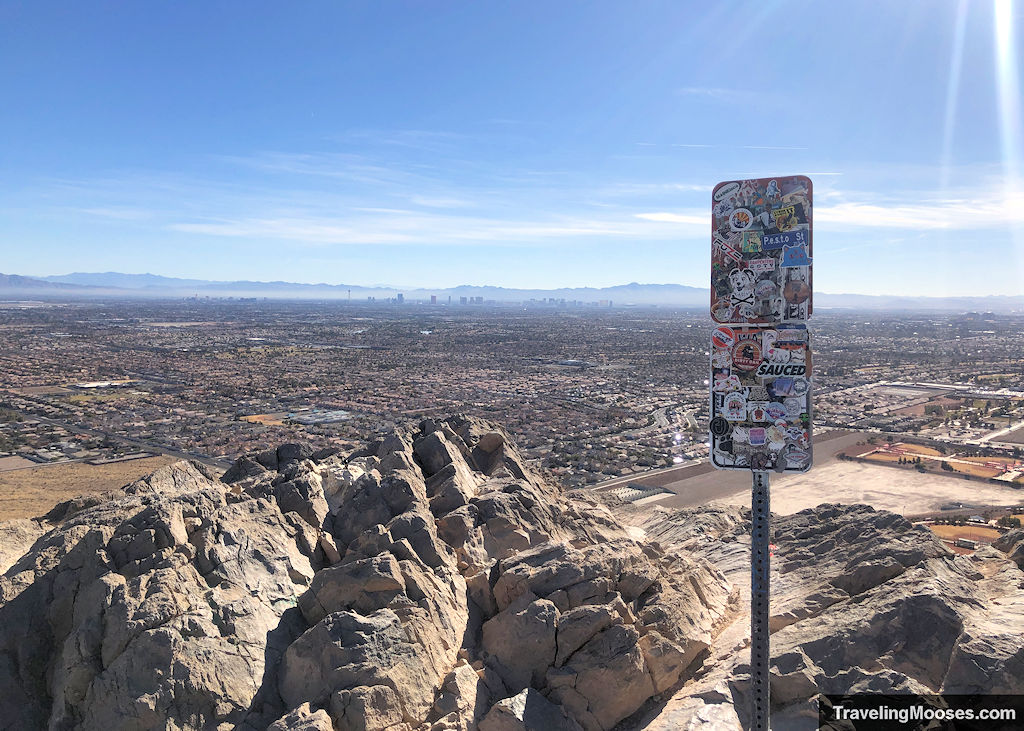
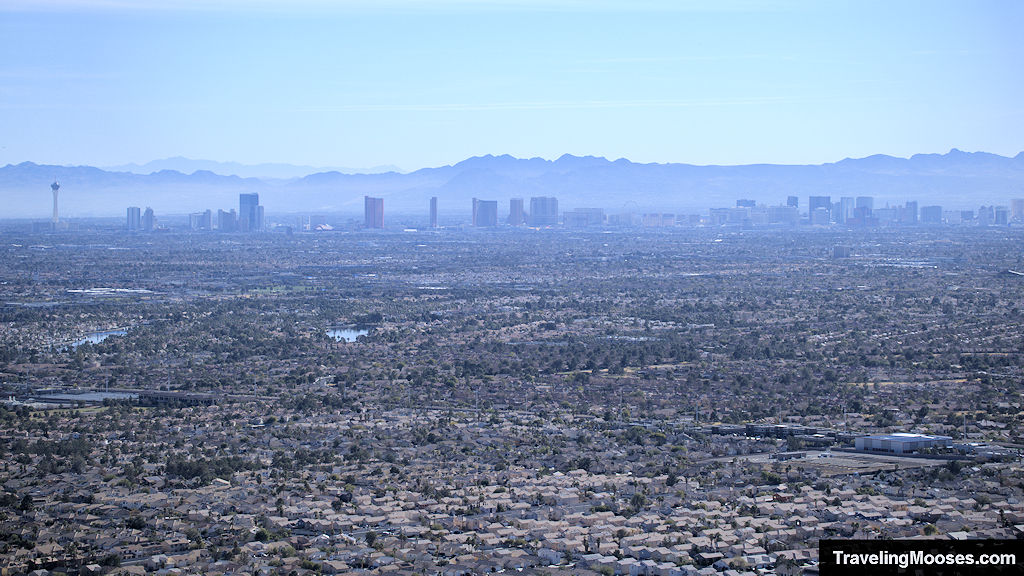
It’s time to head back down the way you came and make your way back to the parking lot.
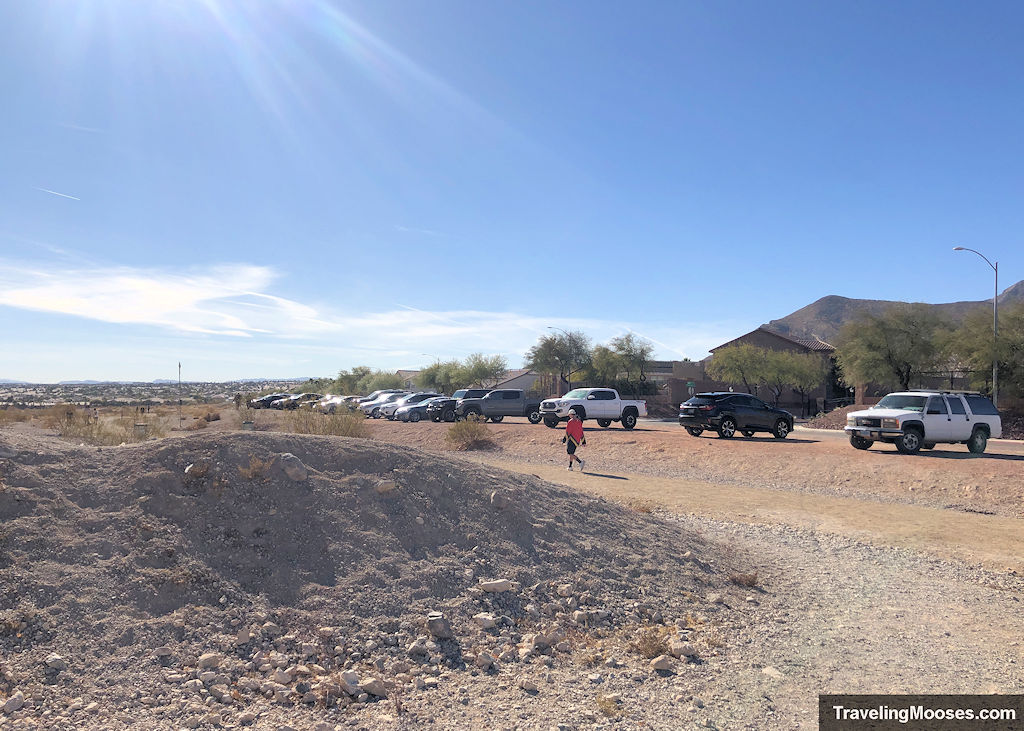
Of note, when we reached the car just around 1.5 hours later, the parking lot had filled up a lot. We recommend you go early for a spot and to avoid the afternoon sun.
Is hiking Lone Mountain Peak trail worth it?
Rating: 3.5 Mooses

What we liked:
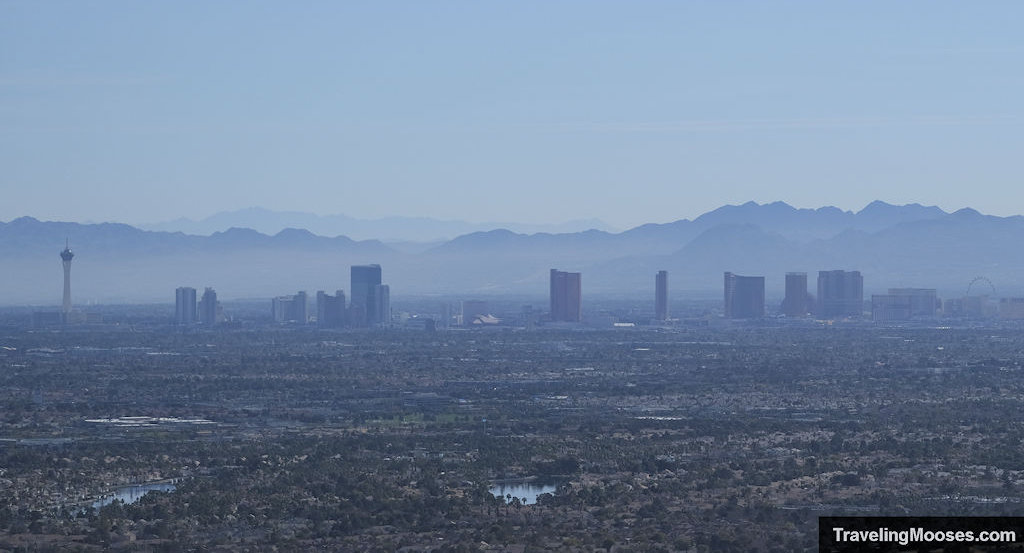
- The 180-degree views of the Las Vegas valley including the famous strip.
- The terrain is varied and a there’s a little scrambling thrown in to keep things interesting.
- It’s an iconic bucket list hike to check off while in Vegas.
What we didn’t like:
- There’s loose rock on the trail, but if you have grippy shoes, it isn’t too bad.
- The trail is quite busy as it’s a short, yet rewarding hike.
Verdict: If you’re in Las Vegas and looking for a short yet fun outdoor adventure, the Lone Mountain Trail is an excellent choice. Its combination of moderate challenge and stunning summit views make it a must-visit for both residents and visitors alike.
Practical info for your trip
Trail conditions
- Check Alltrails for recent trail reviews.
- Check the weather channel for temperature forecasts.
What to bring
Be sure to check the weather conditions and pack appropriately. This is what we brought for this hike:
Standard Gear:
- The 10 Essentials. These are a must for us on every hike.
Special Items of note:
- Hiking Boots or closed toe shoes – There were a lot of rocks on the trail. We recommend wearing either hiking boots or trail shoes with good grip on them.
- Clothing – Be sure to bring appropriate clothing for the time of your visit. Either layers for cold, or sunscreen and a hat for hotter temperatures.
- Water / Snacks – There is no running water available at the trailhead. Bring plenty of water (especially in the hot summer months) and extra snacks.
- Navigation – We use Alltrails (no affiliation) on all our hikes. The trail was well marked and I don’t think we would have needed it, but you should always have a form of navigation on any hike you take.
- Trekking poles – We forgot to bring ours, but they might be useful on the loose gravel and steep inclines.
Parking
Parking is free, whether you choose the traditional starting area (where we started) or at the park nearby.
Trailhead Amenities
If you start at the main location for the hike, there isn’t anything in the parking lot other than a a few trash cans.
If you start at the Lone Mountain Park nearby, there have many more amenities, including picnic tables, restrooms, playground equipment and more.

