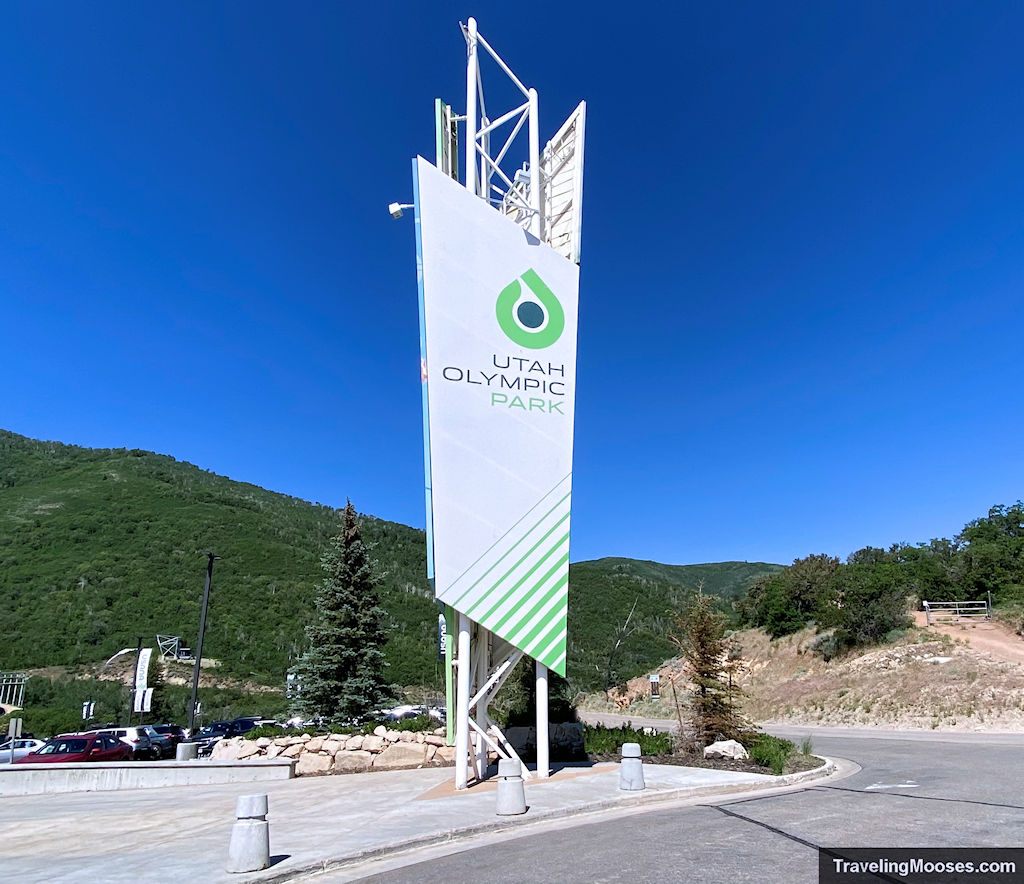
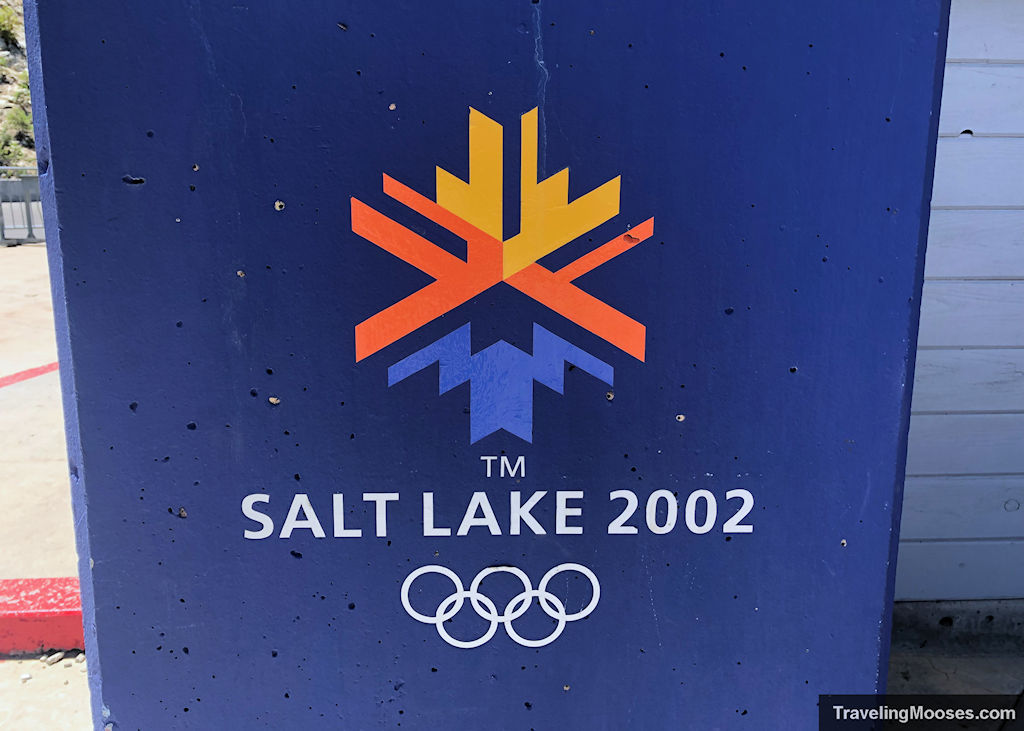
Nestled in the heart of Park City, the Utah Olympic Park was originally built for the 2002 Winter Olympics. The park is a sprawling 400 acres and houses one of only four sliding tracks in all of North America.
Utah Olympic Park at a glance
| Description | The Utah Olympic Park was built for the 2002 Salt Lake City Winter Olympics and contains a wide variety of activities, historic museums and fun for the whole family |
| Hours of Operation | Daily from 9 a.m. to 6 p.m. |
| Admission | Free admission to visit the park, attraction pricing varies |
| Website | https://utaholympiclegacy.org/ |
| Address | 3419 Olympic Pkwy, Park City, UT 84098 |
| Coordinates | 40.71204, -111.56188 |
| Parking | Free |
| Transportation | No bus service available to the park (some hotels provide shuttle access) |
| Rating | 5 Mooses |
At the park you’ll find a wide variety of activities to experience during your visit.
Things to do in the Utah Olympic Park
- Experience the ultimate bobsled ride
- Go extreme tubing
- Ride the extreme zipline
- Ride the freestyle zip
- Soar down the alpine slide
- Experience the airbag jump tower
- Ride the scenic Nordic chairlift ride
- Take on the canyon and summit ropes courses
- Brush up on your history at the George Eccles Salt Lake 2002 Olympic Winter Games museum
- Dive into the rich history of skiing at the Alf Engen Museum
- Watch the famous Flying Ace All-Stars freestyle show
- Try your hand at ski and snowboard freestyle pool lessons
- Take freestyle high dive lessons (coming soon)
Our experience at the Utah Olympic Park
Our trip to Park City happened to coincide with a heat wave throughout the region and our planned activities got all mixed up. We had heard about Utah Olympic Park but didn’t realize how much it had to offer. We originally only planned to watch the Flying Ace All-Stars freestyle show but the day of the event Mr. Moose discovered there are two museums at the site so we decided to go an hour before the show and check out them out as well.
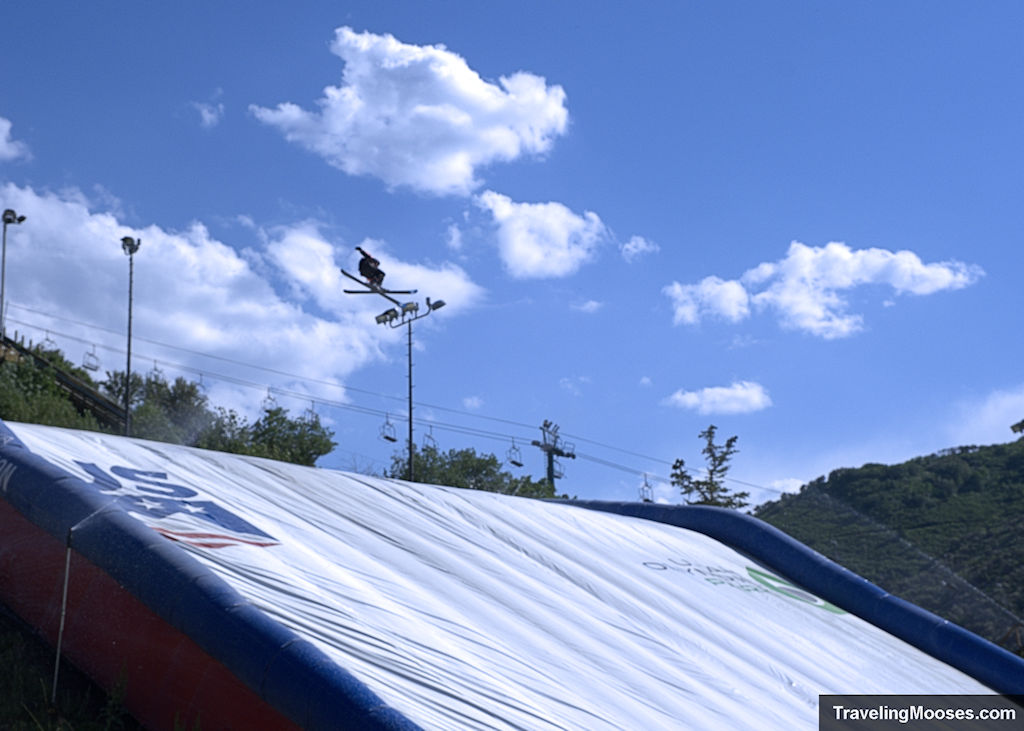
We arrived at the park around 5:00 p.m. and quickly learned our mistake. We needed much more time to visit! We snagged a parking spot in the fairly large parking area and before we could make it to the museum, we spotted a large practice area for skiers doing tricks into a huge airbag. After watching several runs of the talented skiers, we were getting hot and headed for the museums.
First up was the Alf Engen museum. As we were wandering around the exhibits and soaking in the history of the first skiers, we realized the museum had far more to cover than the 30 minutes or so we had before it was time to head over to the flying ace show. We knew we had to come back when we had more time.
Knowing we would return, we exited the museums and wandered back outside to watch more skiers jump into the airbags and then headed towards the freestyle show.
Flying Ace All-stars Freestyle show
| Pricing | $20 per person (prices subject to change) |
| Showtimes | Varies, but generally Saturdays at 6 p.m. during the summer |
| Running time | ~30 minutes |
| Photography Tips | 1) Use burst or sport-mode on your camera with a high shutter speed to get those frozen shots in the air 2) Alternate between video and stills for a comprehensive look at the show 3) Try to get up higher on the 2nd level balcony to get a straight on view, or off to right hand side when you’re looking at the jumps to get a good side angle view (as shown on their website) |
| Buy Tickets | Check current availability |
Getting into the venue area was a little chaotic. There are two ways to enter the area around the jumps. There is the correct way through the front and then there is the back entrance. We unwittingly came in the back way and were initially surprised no one had checked our tickets.
As we were standing around figuring out what to do (we essentially managed to skip the line by mistake), an employee kindly approached us to check our tickets and hand us a bracelet for the show. After that was settled, we realized the venue was filling up fast and we needed to find our ‘seats’.
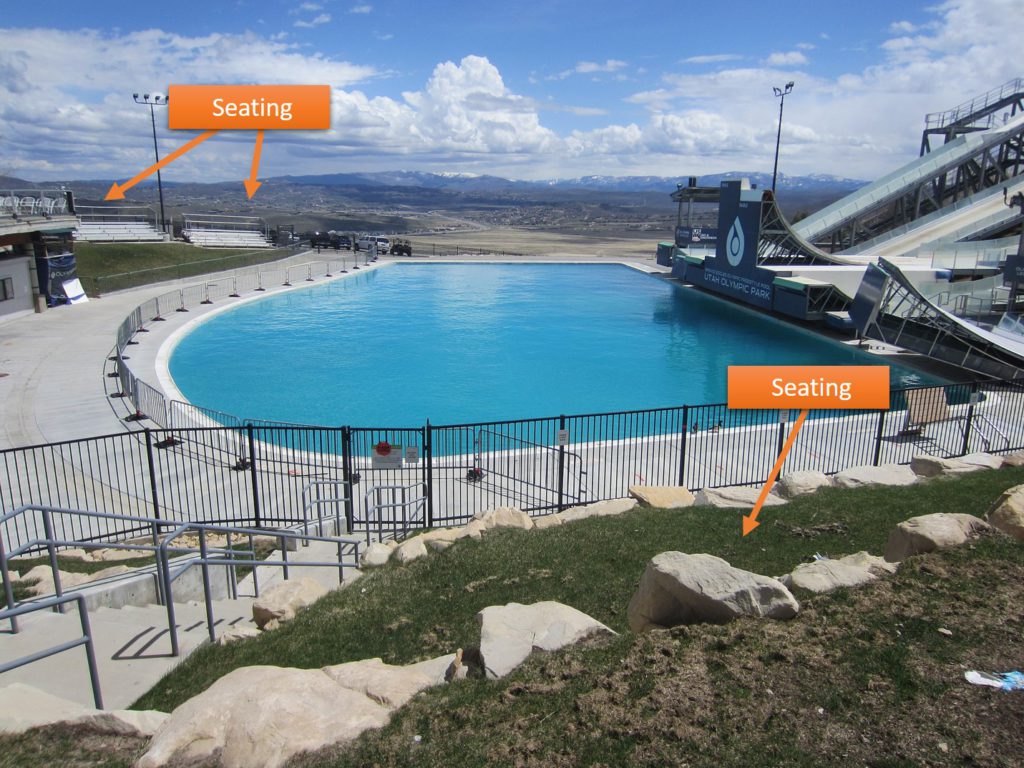
The only true seating area in the venue was a few short bleachers off in the back left corner (which looked tucked away and very hot). Everything else was standing room only or finding a spot in the grass. You could also bring your own chairs if desired. We opted to head up two flights of stairs to find some space on the balcony area. When we arrived up there, the first “row” was already packed. We managed to snag a spot behind some spectators that were seated in fold out chairs, which meant we would be standing for the whole show.
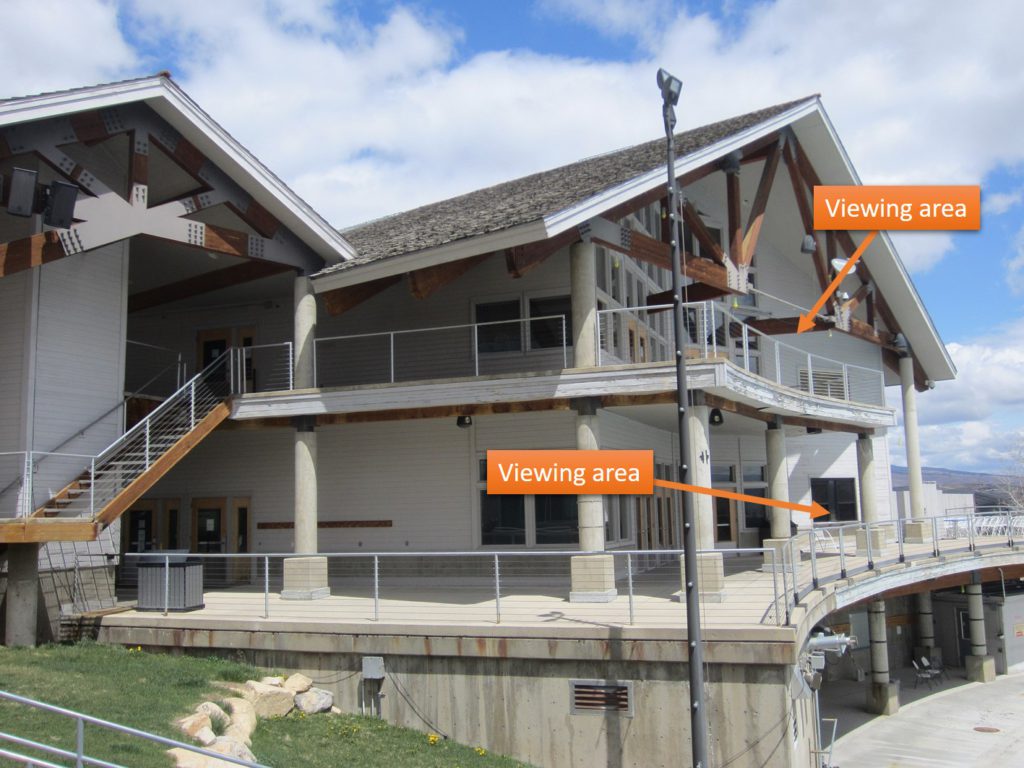
We felt bad for the people that arrived after us and were clustered in a third and fourth row deep. It’s an unfortunate layout for the venue, but for the most part people seemed to figure it out. Our advice is to go early to get a good viewing spot.
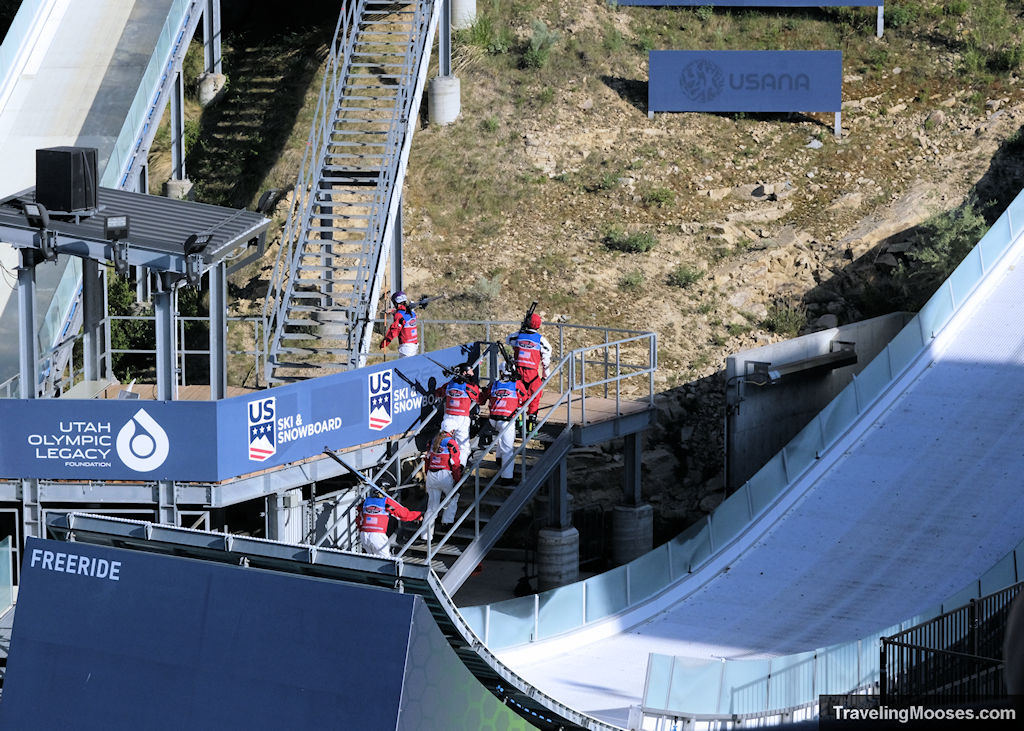
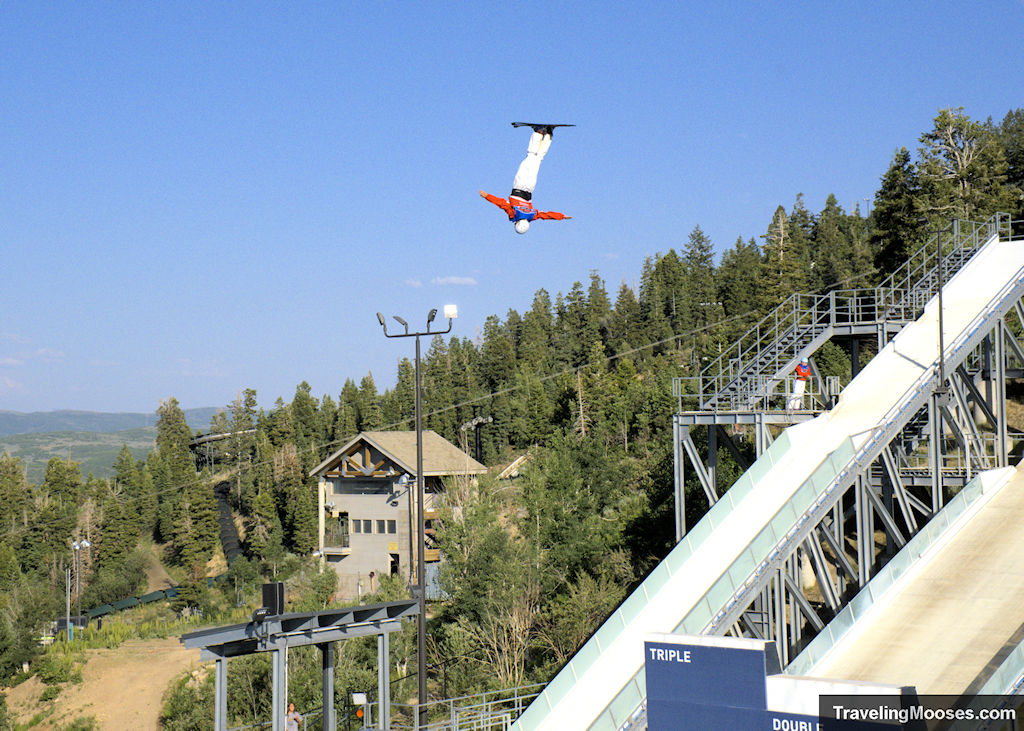
After the show started, we were pleasantly surprised. The athletes were amazing! The MC introduced each of the Olympic hopefuls and gave some background on the sport. In between the jumps he continued to do a fantastic job highlighting all the things you would want to know about ski jumping.
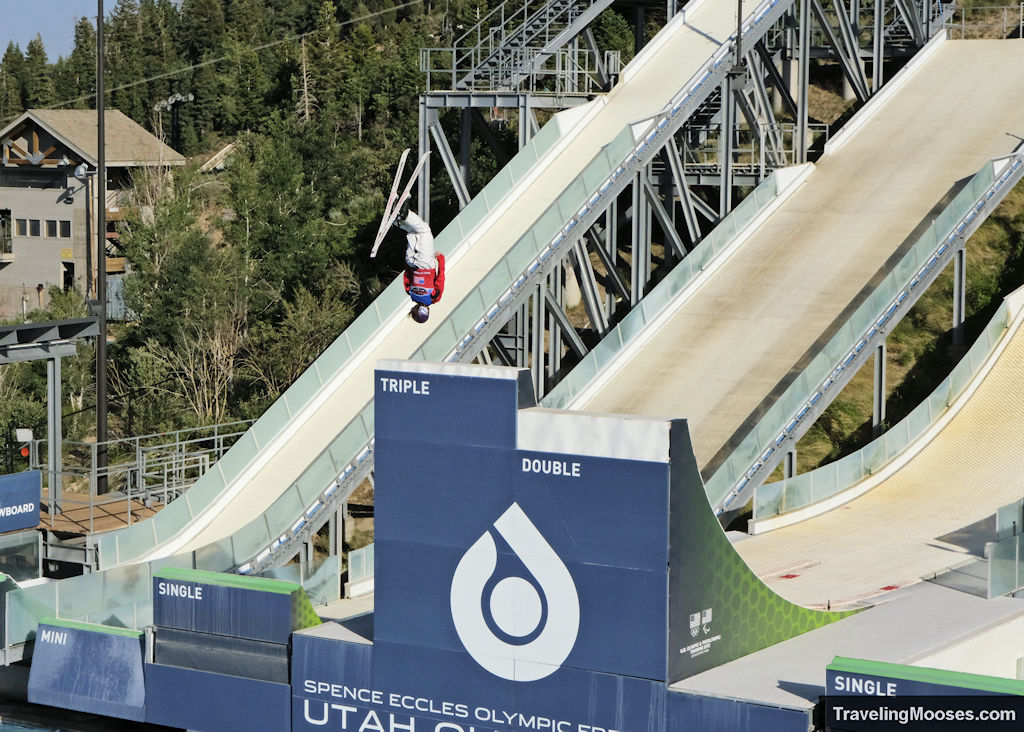
We watched as eight jumpers (one of whom had been in the Olympics twice before), soared off the platforms, twisting in the air before landing in the pool.
We really enjoyed the show and highly recommend it!
Day 2 at the Utah Olympic Park
Our plan for the next day was to spend more time viewing the two museums, watch more ski jumping practice and check out the extreme tubers soaring down the hills. We also decided to try out the summer bobsled experience.
We contemplated purchasing one of the “gold pass sessions” to experience a wide variety of activities at the park, but ultimately decided it was too hot that day for all the activities. If you are interested in a gold pass, it looks like a great deal.
Gold pass details
| Pricing | $75 per person (prices subject to change) | |
| Activities | 3.5-hour session of unlimited use of the following: alpine slide, extreme tubing, freestyle zip, discovery course, canyon course, summit course, drop tower, and airbag jumps plus scenic chairlifts for the session | |
| Limitations | Each session is capped at 250 participants and does not include summer bobsled experience, zip line tour or other guided tours | |
| Schedule | There are two sessions, an early morning and an afternoon session | |
| Tickets | Check availability here |
Extreme tubing
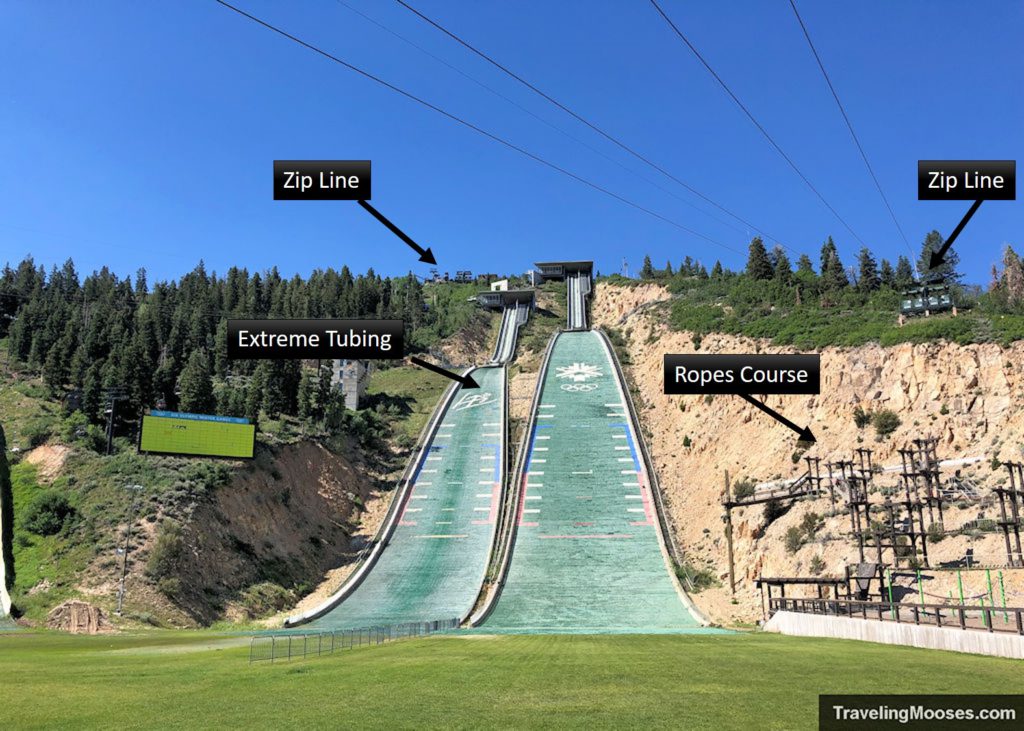
Even though we weren’t planning on tubing, we wanted to go check out the action. We made our way to the ski jump hills and didn’t have to wait long before we could see the tubes lining up to head down the hills. There are two hills that were used for the tubes when we were there. A smaller “starter” hill and a larger hill for more advanced tubers. The whole ride took about 8 seconds on the small hill and about 10 seconds on the larger hill.
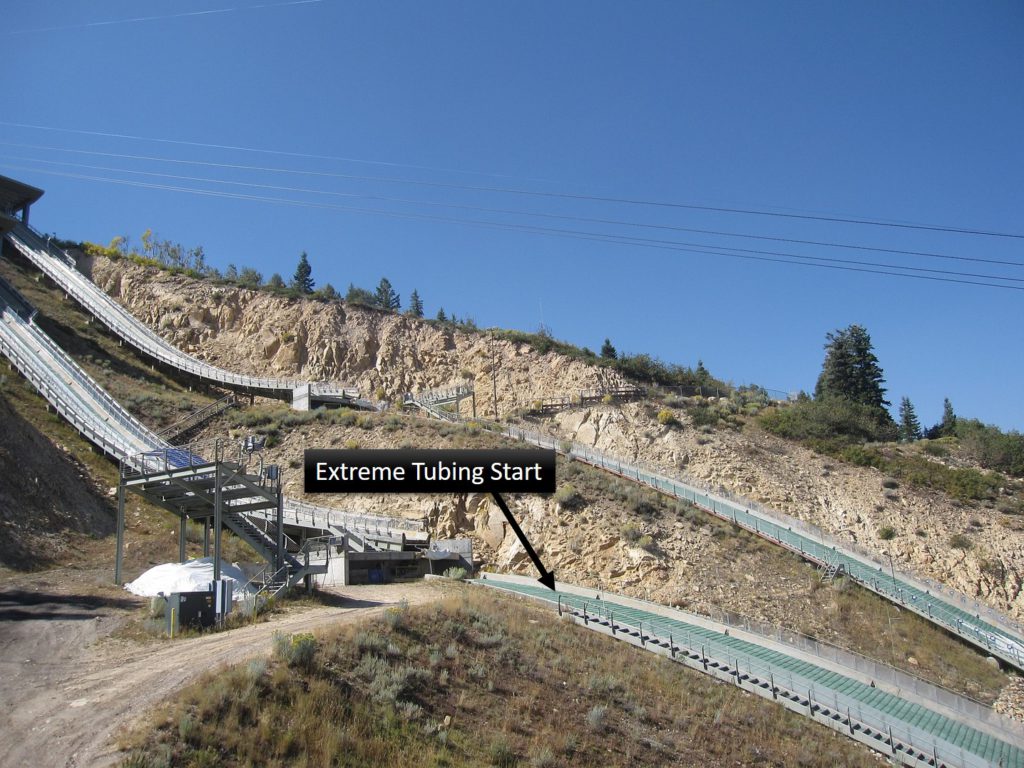
Unfortunately, they weren’t letting tubers go on the largest of the three hills at the park. To be fair, it didn’t look like there was a good spot for the tubers to enter.
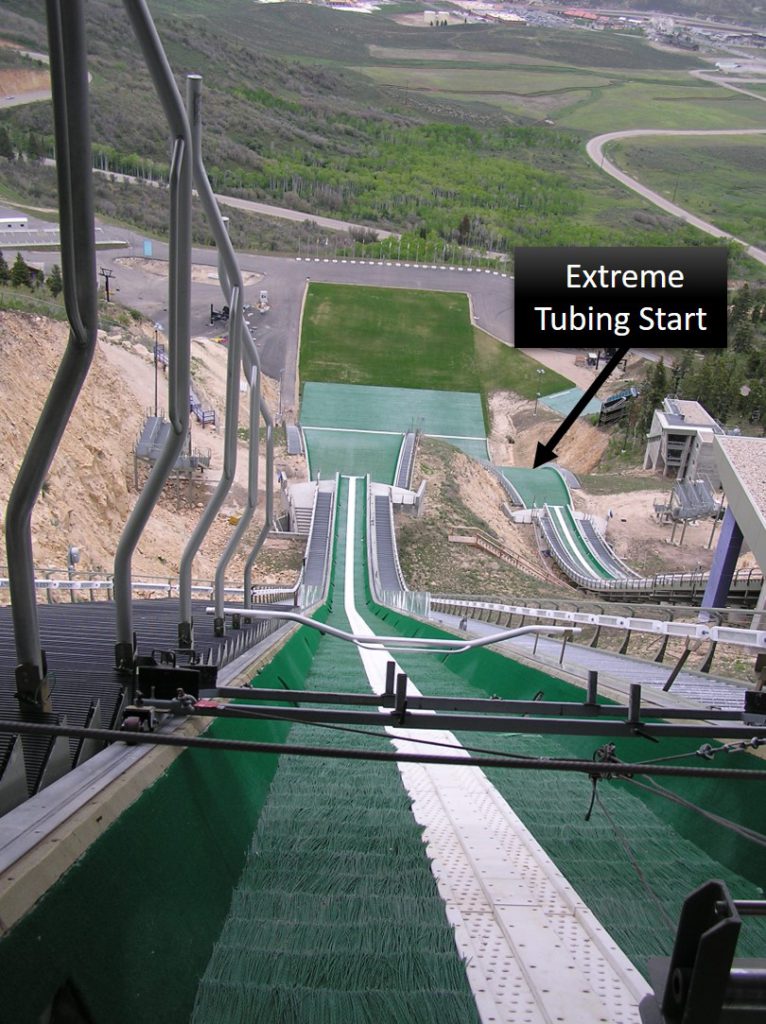
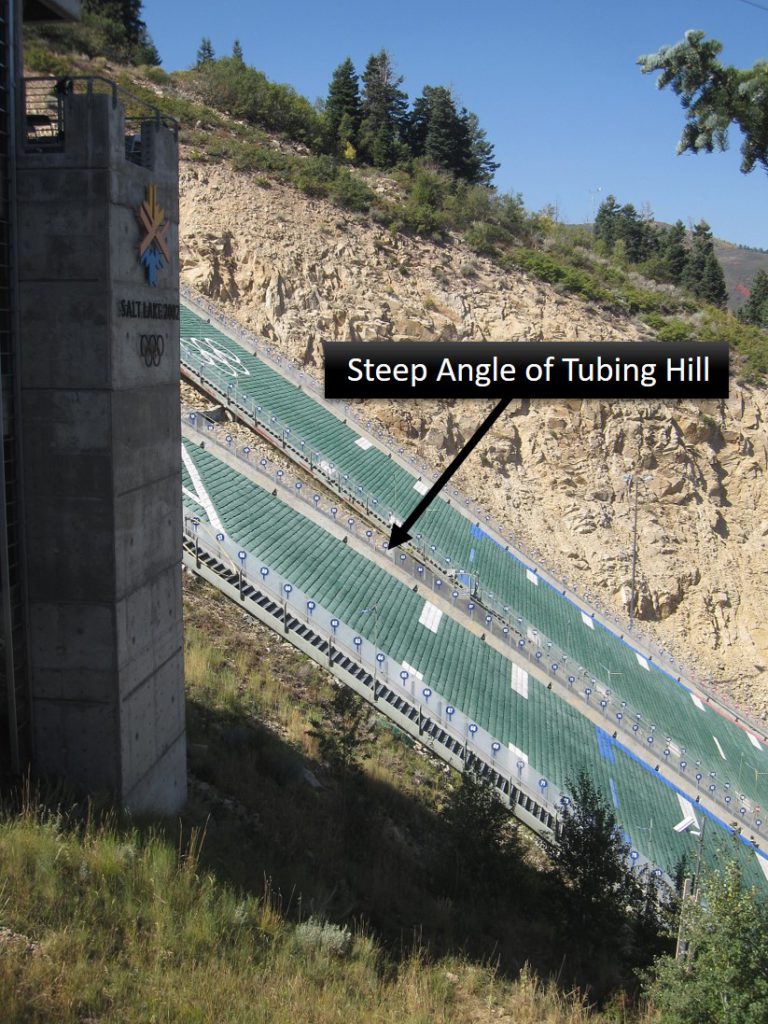
While we were watching the tubers enjoy the hill, we also got to see several folks zip lining down the extreme zip and the freestyle zip. There is also a separate zip line tour that you can pay for that is much longer and explores more of the park area.
Now it was time to head over for our bobsled experience.
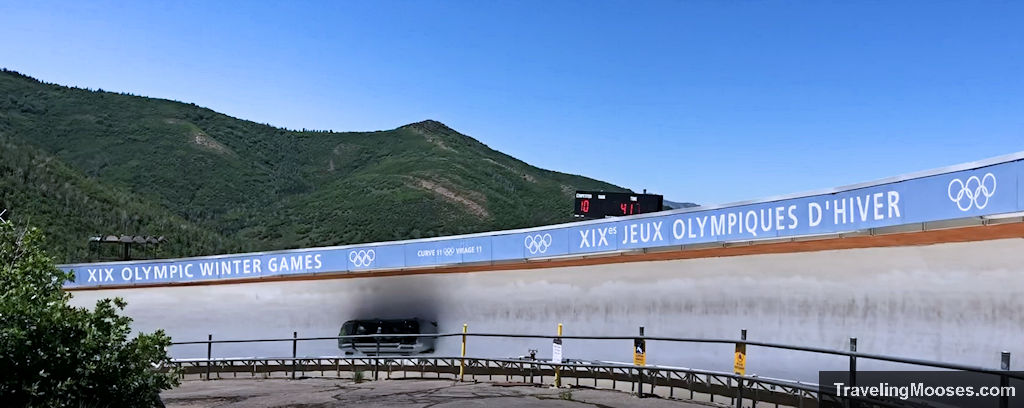
Summer bobsled experience at Utah Olympic Park
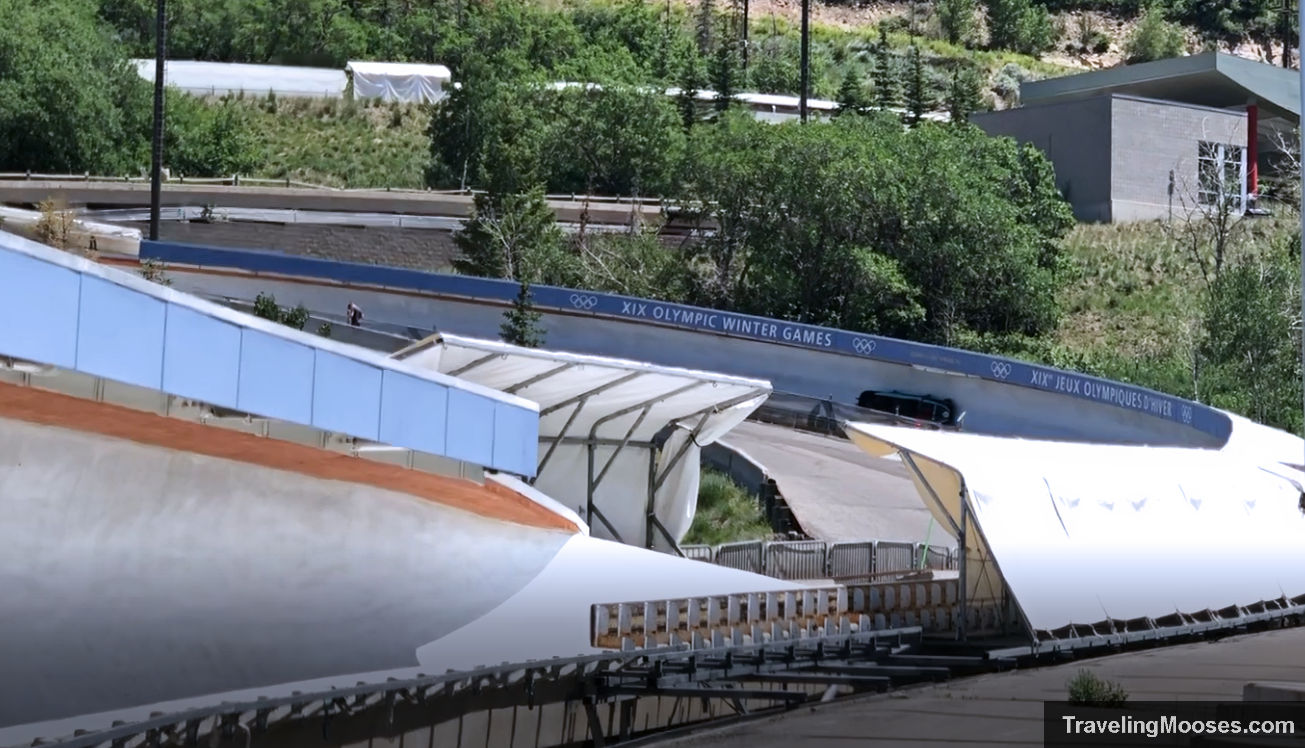
| Pricing | $80 per person (prices subject to change) |
| Speeds | Up to 60 MPH |
| Activity Time | ~1 Hour in duration, with 60 seconds of bobsled ride time |
Our bobsled experience started off with a peaceful ride up one of the scenic chairlifts. We were excited to get a bird’s eye view of the bobsled track as we rode up the hillside.
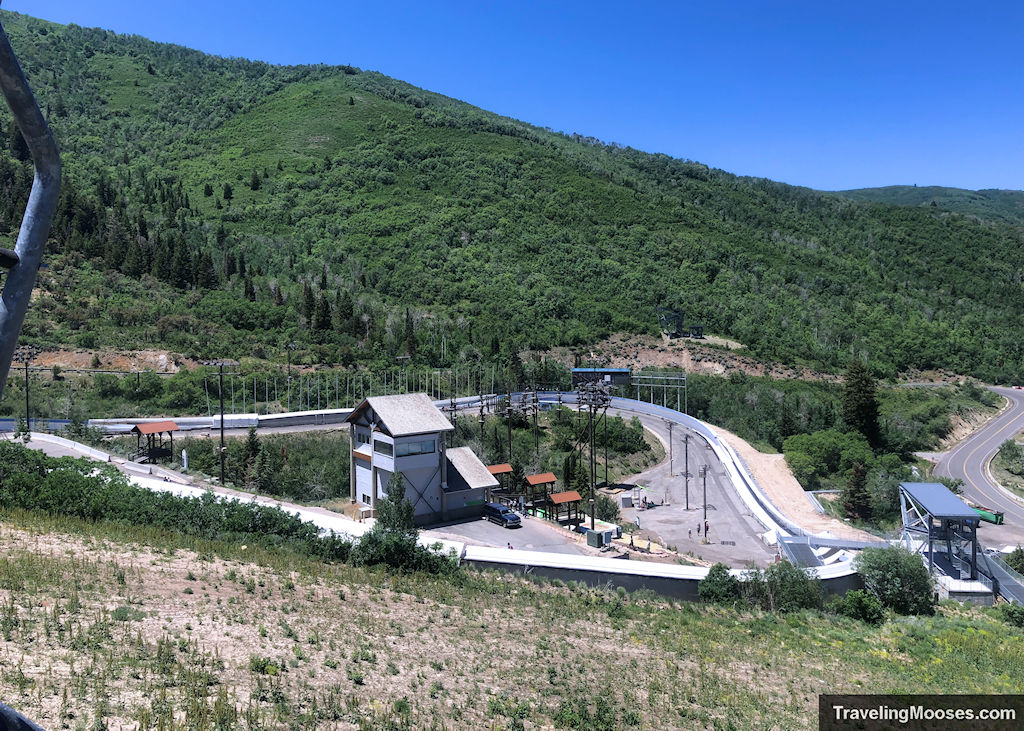
At the top of the lift, you get on a shuttle for a very short ride down a small hill to get to the start of the bobsled track.
Our tickets were for the 1:30 p.m. ride and it was recommended we start heading up the chairlift around 1:00 p.m. to 1:15 p.m.
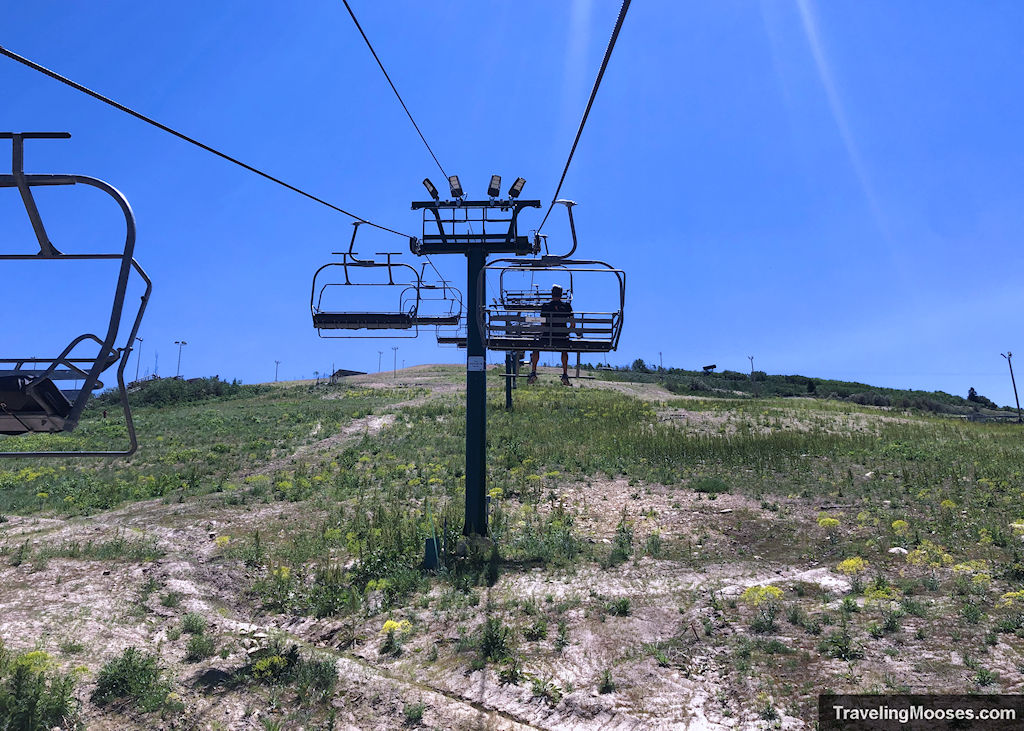
Insider-tip – minimize your wait time by riding the chairlift up around 10 minutes before the start time.
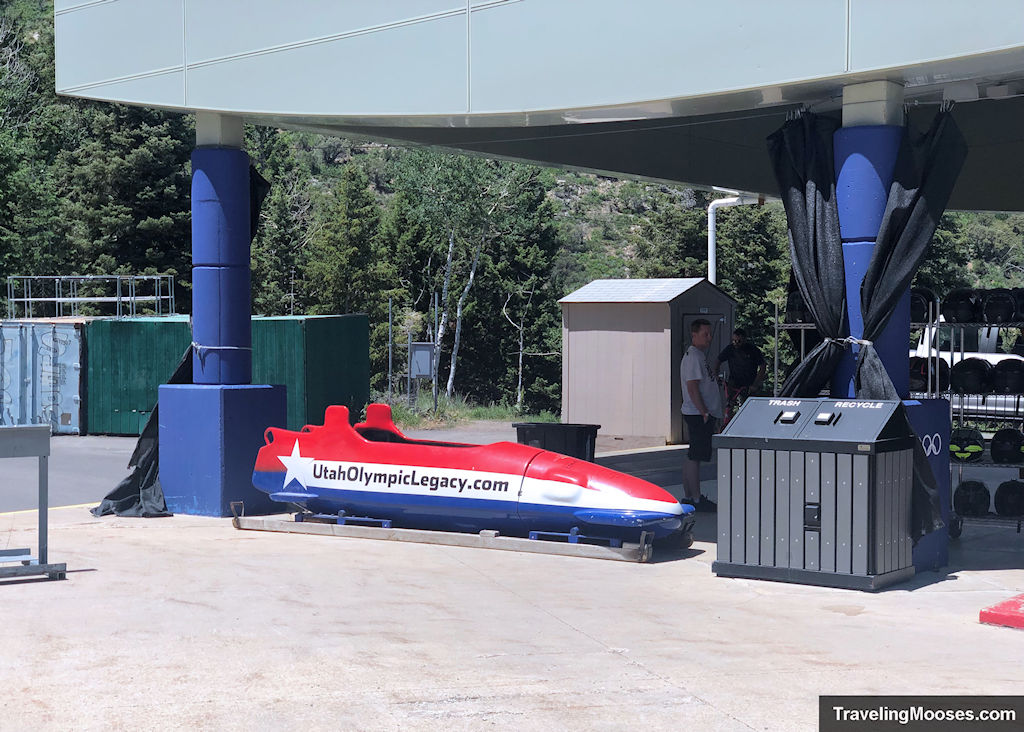
When we arrived at the track, there were several participants already waiting for the experience to start. We happily snapped pictures in a replica bobsled made especially for a photo op and examined the track from the top of the hill.
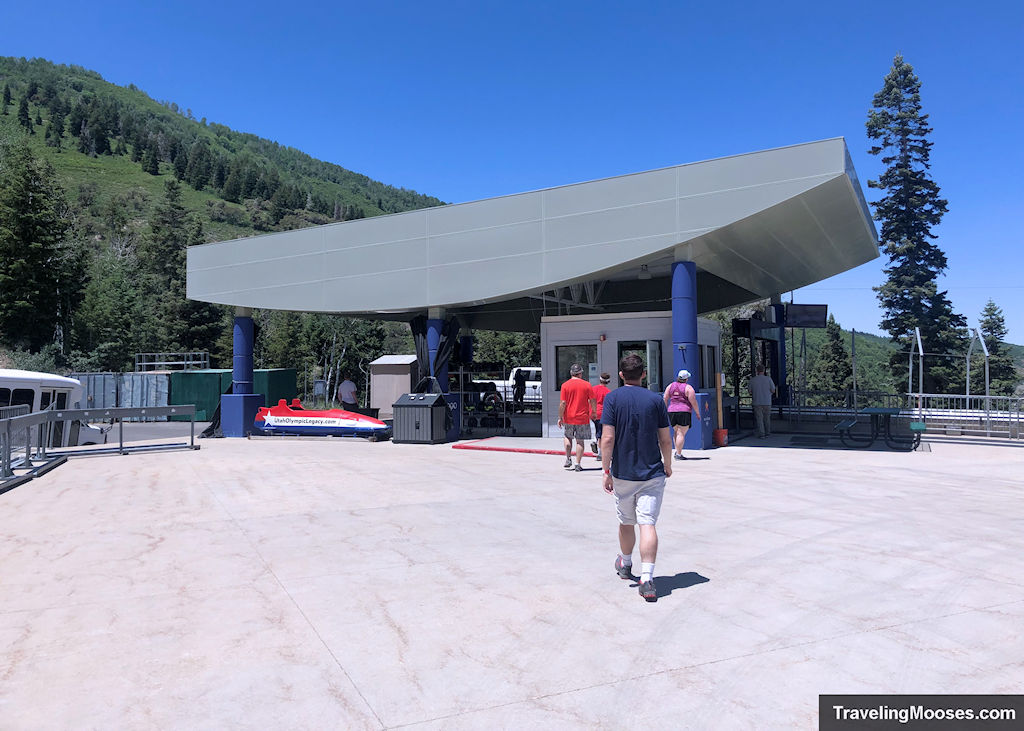
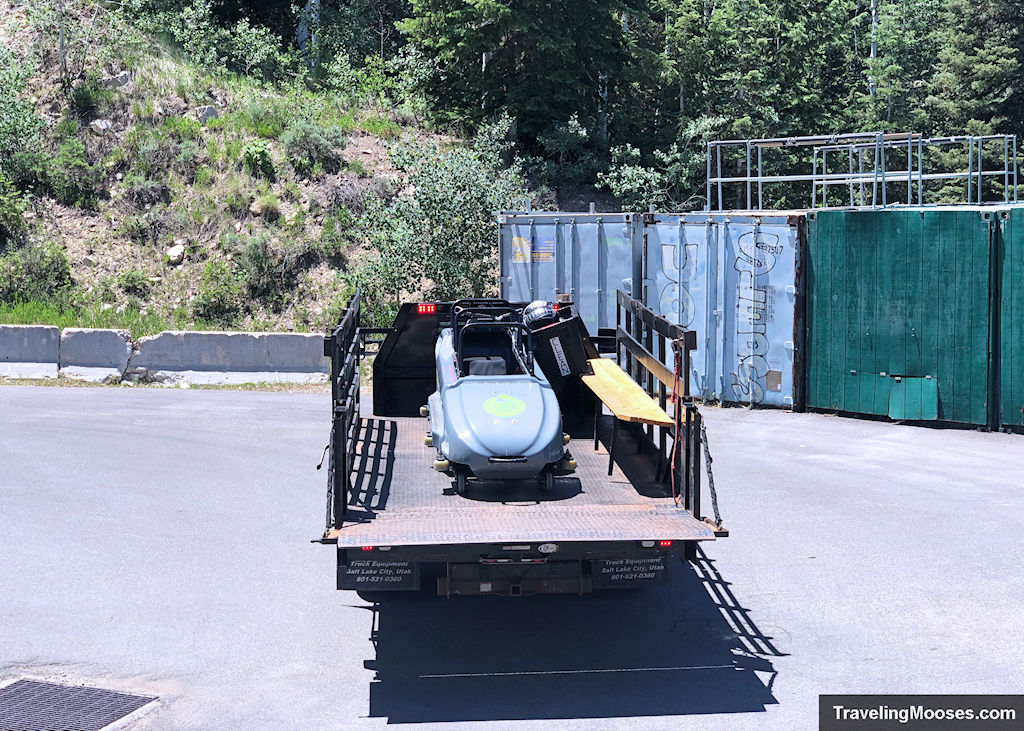
After waiting a while, we saw a truck coming up the hill to drop off the first bobsled. We later learned there were three bobsleds in use and after each run the bobsled was loaded back on a truck and brought back up to the start line. This is one of the reasons the whole experience takes up to an hour.
We had our safety briefing and were each passed out a hood to go over our heads (and under the helmet they provide). Then we waited.
I would estimate that a bobsled leaves for the bottom about every 5 minutes. Each bobsled could take a maximum of three participants, but it was up to the discretion of the driver if they took two or three passengers. They explained that the more weight in a bobsled, the faster the car went and they wanted to limit how fast the bobsleds go down the hill.
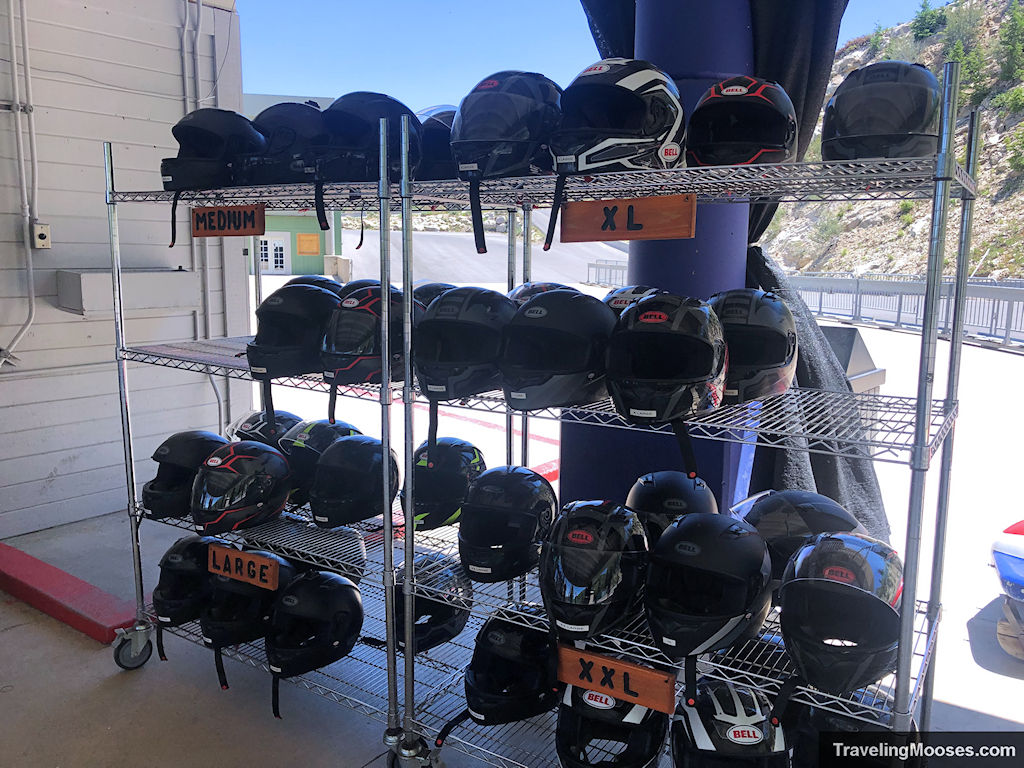
When it was our turn, we were outfitted with a helmet and loaded up in the bobsled.
Insider-tip – make sure your helmet is really snug on your head. Mine ended up being too big and kept covering my eyes on the journey down.
After we were snuggly loaded in, they gave us one last safety briefing to hold tight and press our legs into the outside of the car. Then we were off.
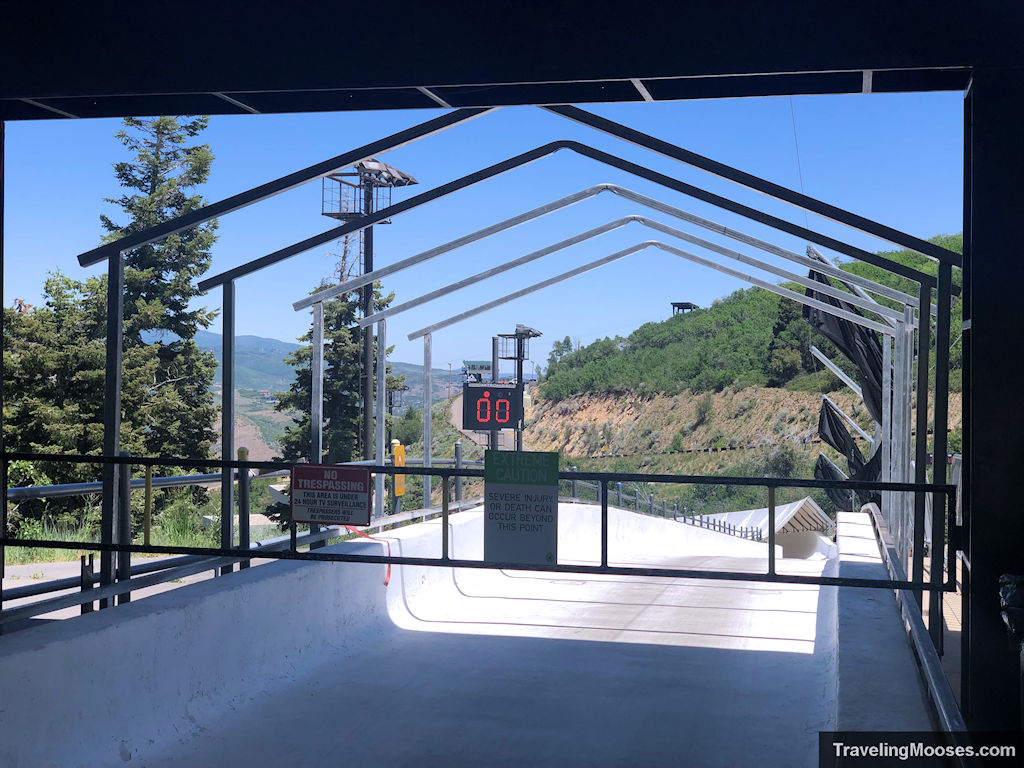
The bobsled (on wheels in the summer) is pushed through the start line and then momentum takes over.
The bobsleds can reach speeds of 60 MPH and 2 to 3G’s of exertion. What a fantastic ride it is! Racing around corners, soaring on the straightaways and finally coming to a stop at the finish line. The whole ride takes around 60 seconds to finish.
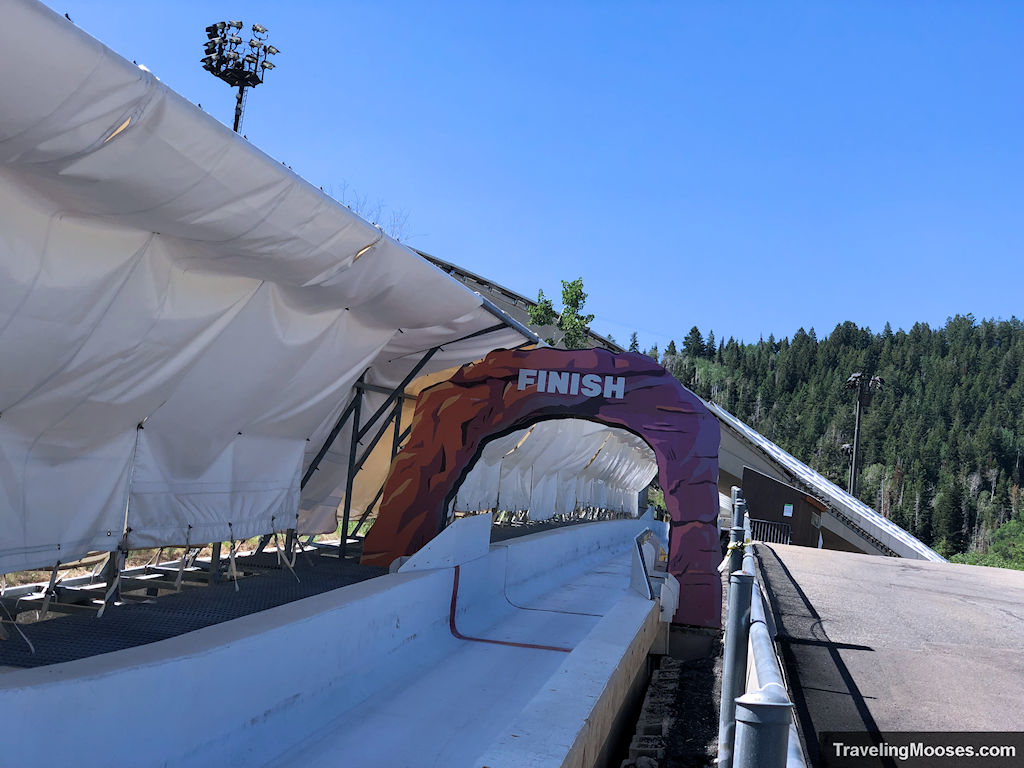
After you’re done, there is an opportunity to hop on the medal stand and take a few pictures. Be sure to watch the other bobsleds coming down when you’re finished. It’s quite amazing to see (and hear) them rushing by on the track.
Other things to know for your bobsled experience:
- Leave your hat in the car as you can’t wear it under the helmet
- Sunglasses are okay to wear, but I wasn’t able to get them back on under my helmet and didn’t want to break them by forcing them on. They ended up staying safely in my pocket.
- You can leave things in your pockets, but no backpacks or fanny packs were allowed. My phone stayed securely in my pocket the whole time.
- I was jostled around a fair amount on the curves hitting my helmet on the side of the car. Mr Moose didn’t have that issue (maybe because he is taller?).
After our bobsled adventure was over, we made our way back to the museums.
Alf Engen Ski Museum
| Pricing | Free |
| Activity Time | 30 – 90 minutes |
| Main activities | Interactive exhibits, historic movies, ski equipment, virtual reality experience and more |
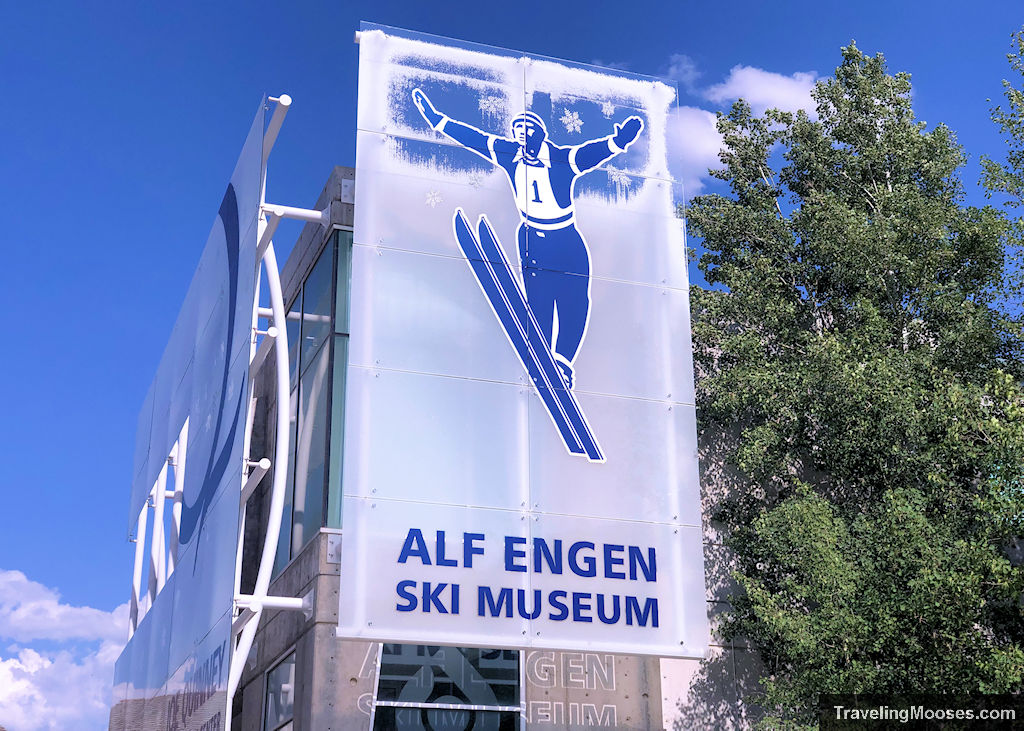
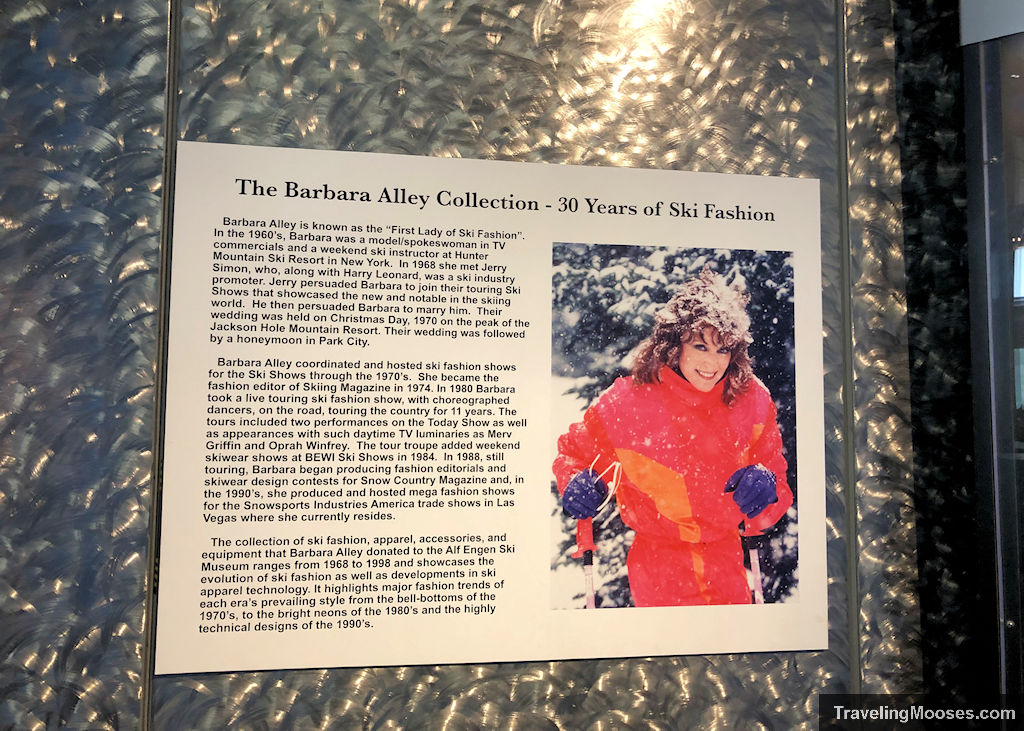
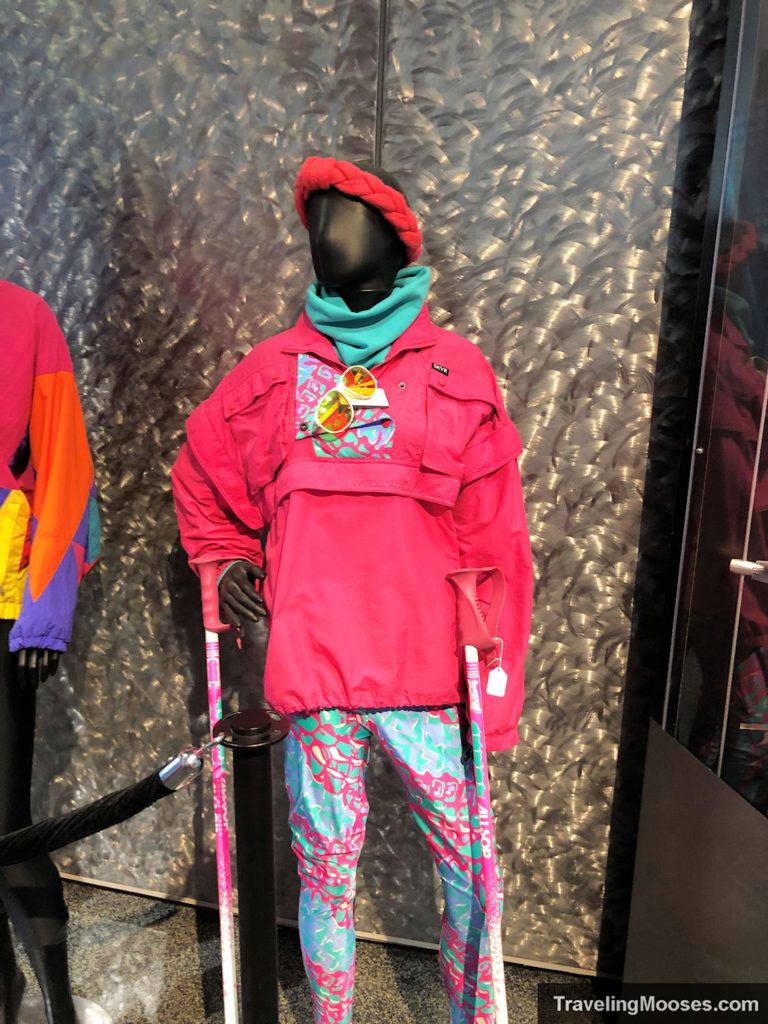
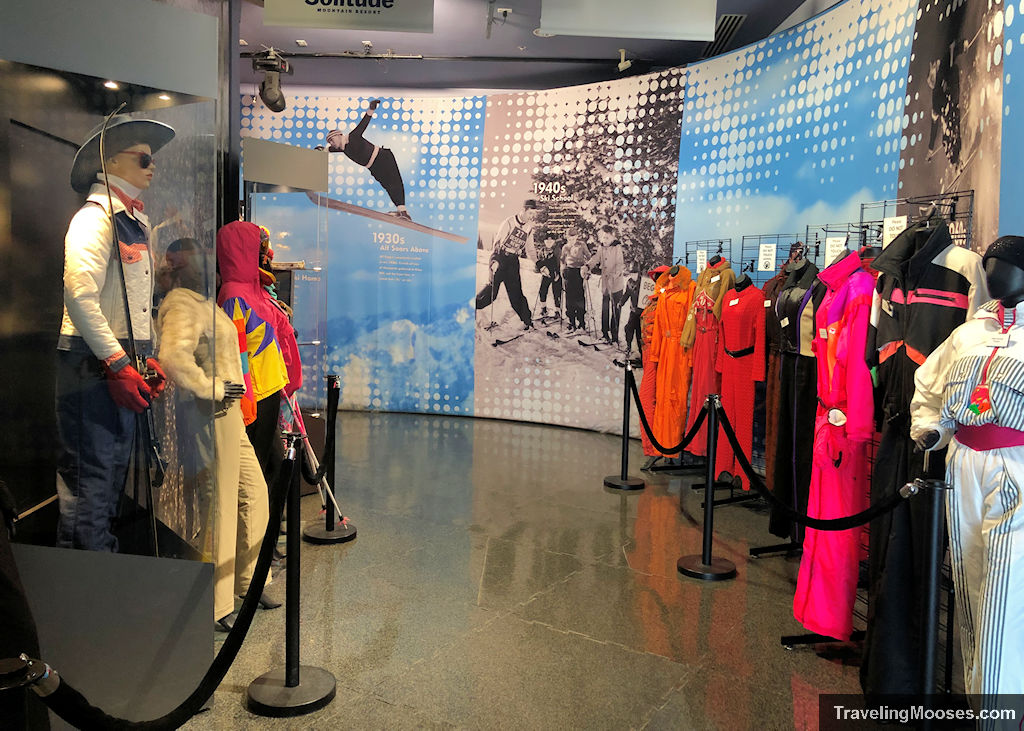
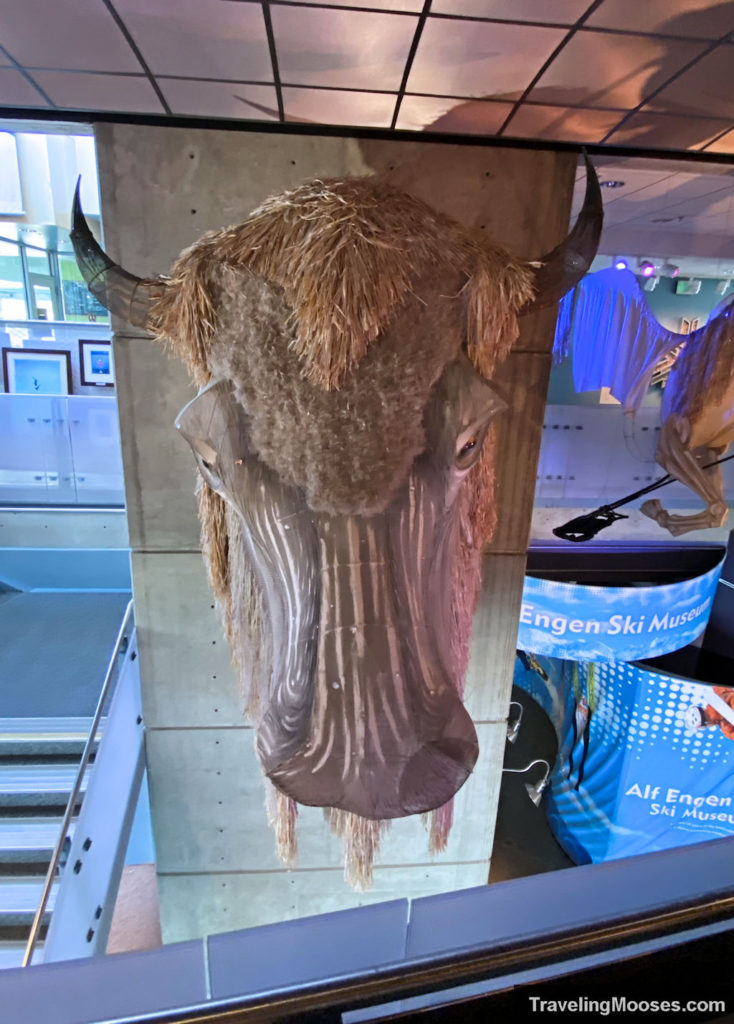
The Alf Engen Ski museum was chock full of great history, ski outfits over the years, and many interactive exhibits.
Mission Statement:
The Alf Engen Ski Museum Foundation was established in 1989 with a mission to preserve the rich history of skiing in the Intermountain Region. We strive to provide a world-class facility which highlights the many contributions made in ski area development, athletic competition, snow safety, ski innovation and ski teaching methods.
After having visited the museum, we both agree they have lived up to their mission.
A few of the things we enjoyed the most:
- Onsite theater with around 60 minutes of historic content about the origins of skiing
- Full size mannequin displays of actual ski outfits used in different eras and countries
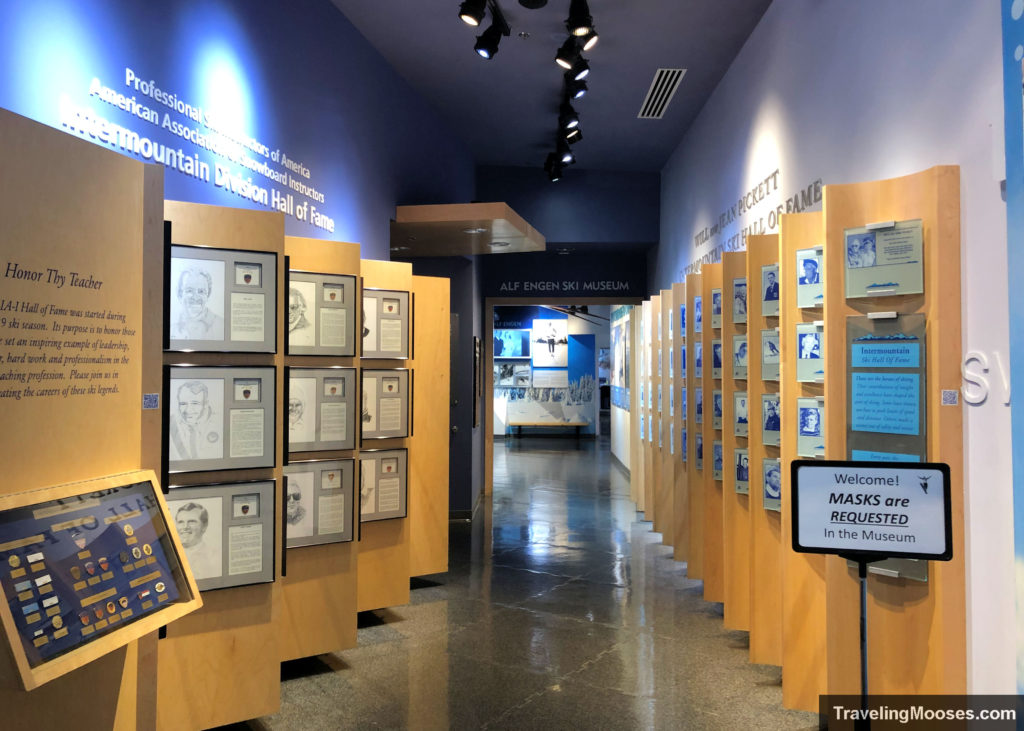
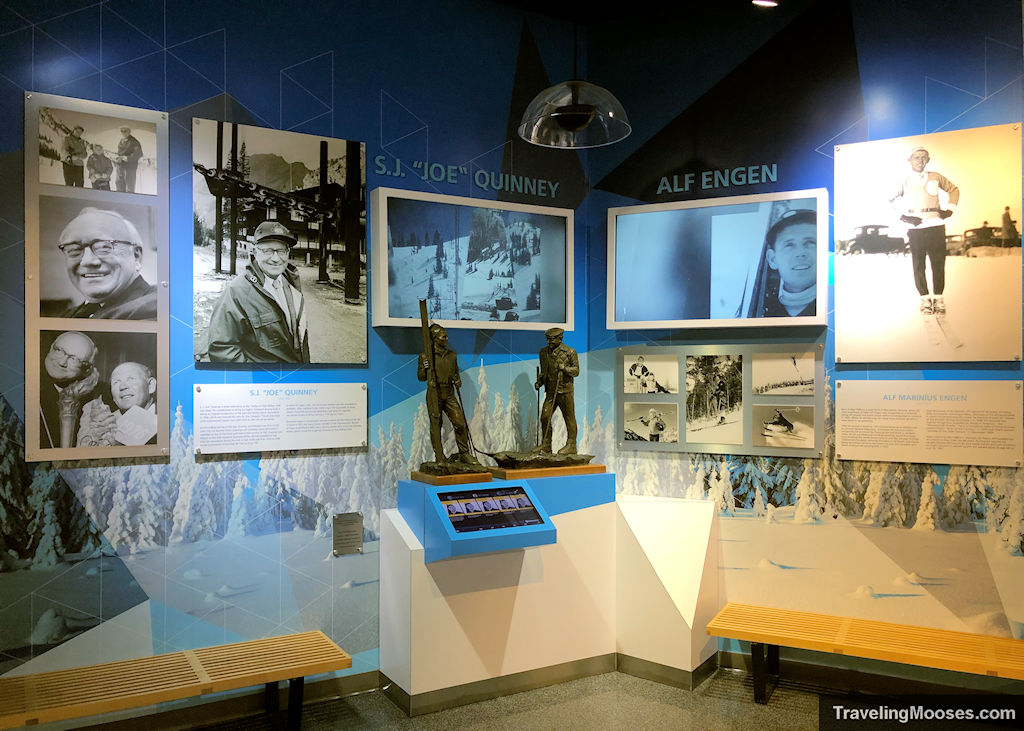
- Photos and accomplishments of various ski legends over the years
- A historic display of actual skis and equipment and from various time periods
- An interactive avalanche safety exhibit
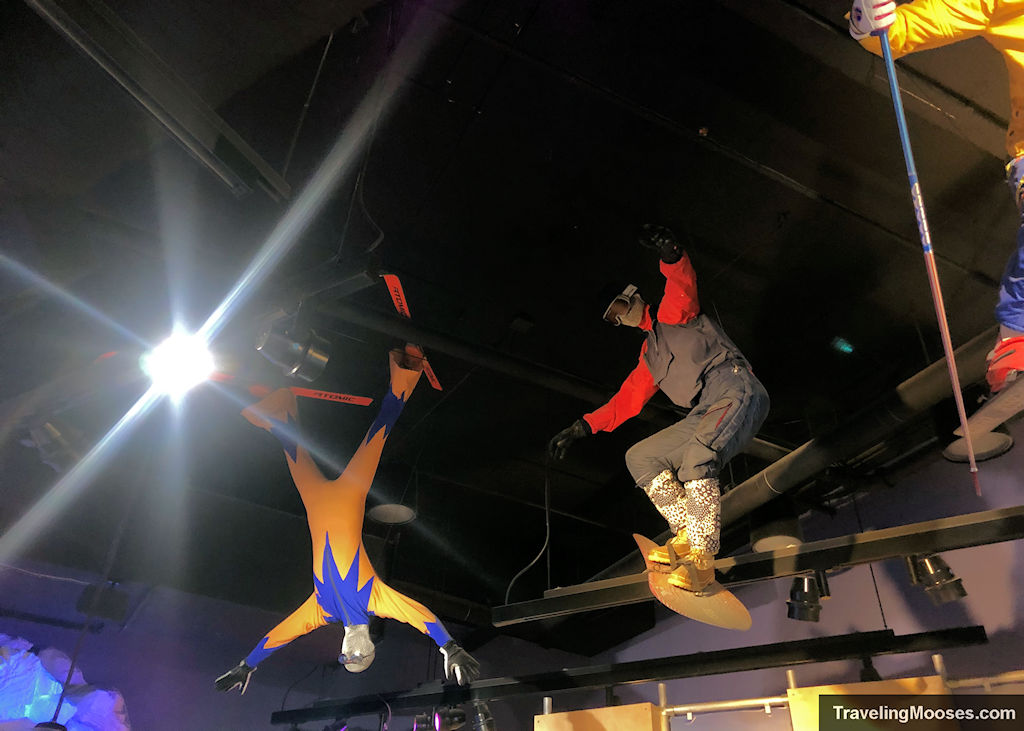
It is clear the museum was designed with great care and extremely thorough.
If for some reason you don’t have time to visit, you can check out their interactive library of video content here or take a virtual tour of the museum here.
George Eccles Salt Lake 2002 Olympic Winter Games museum
After completing the Alf Engen museum downstairs, you can head upstairs to visit the Eccles Salt Lake Olympic Winter Games museum.
| Pricing: | Free |
| Activity Time: | 30 – 60 minutes |
| Website: | 2002 Winter Olympic Games museum |
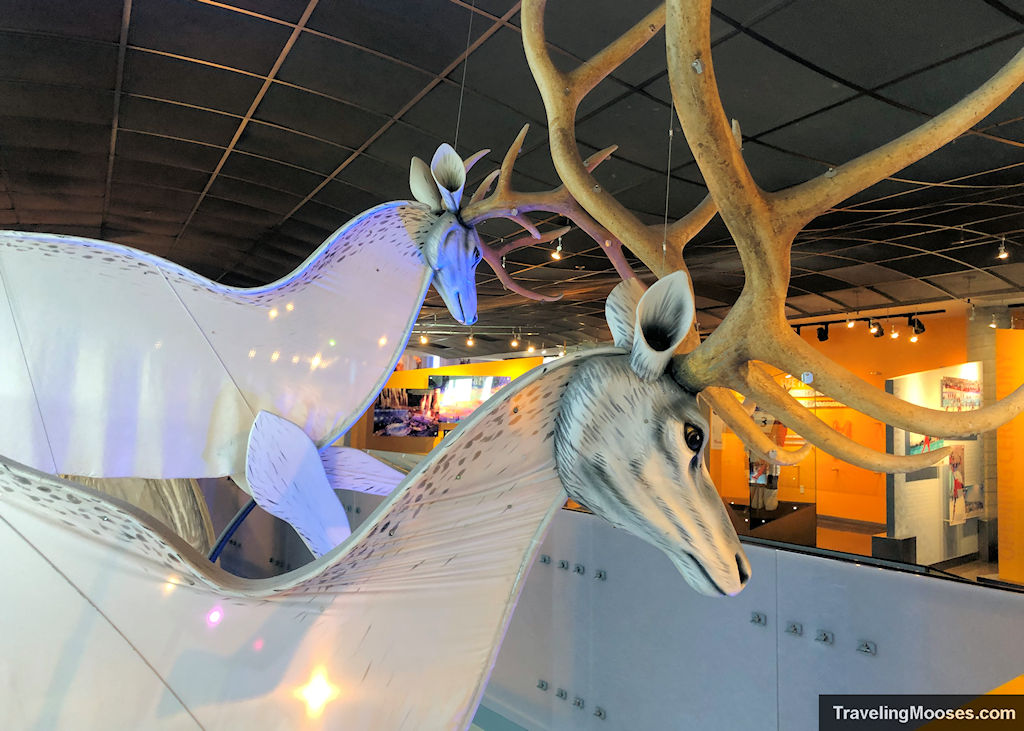
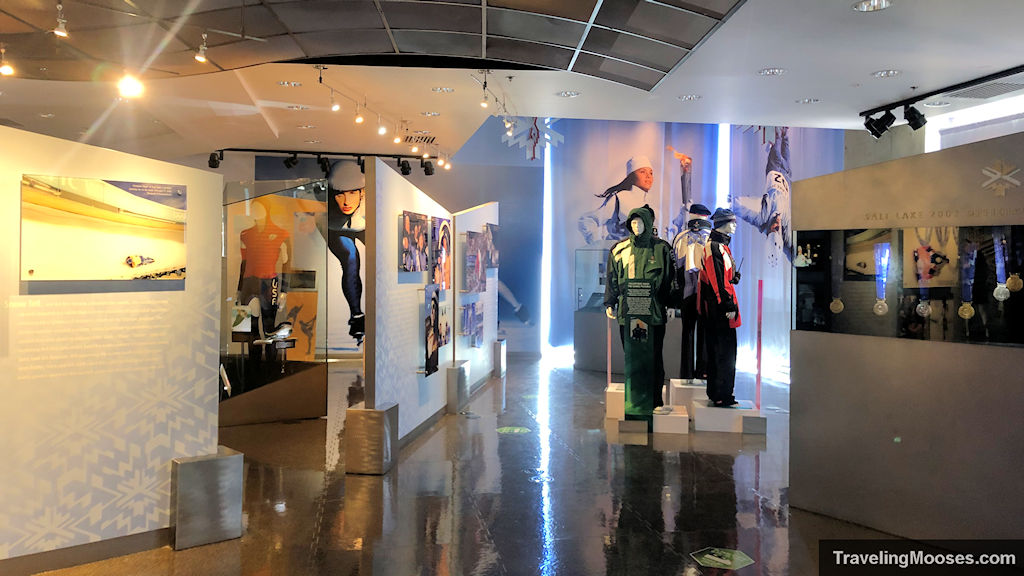
The museum boasts a large collection of Olympic medals, puppets and displays from the opening ceremonies and even the official 2002 Olympic torch.
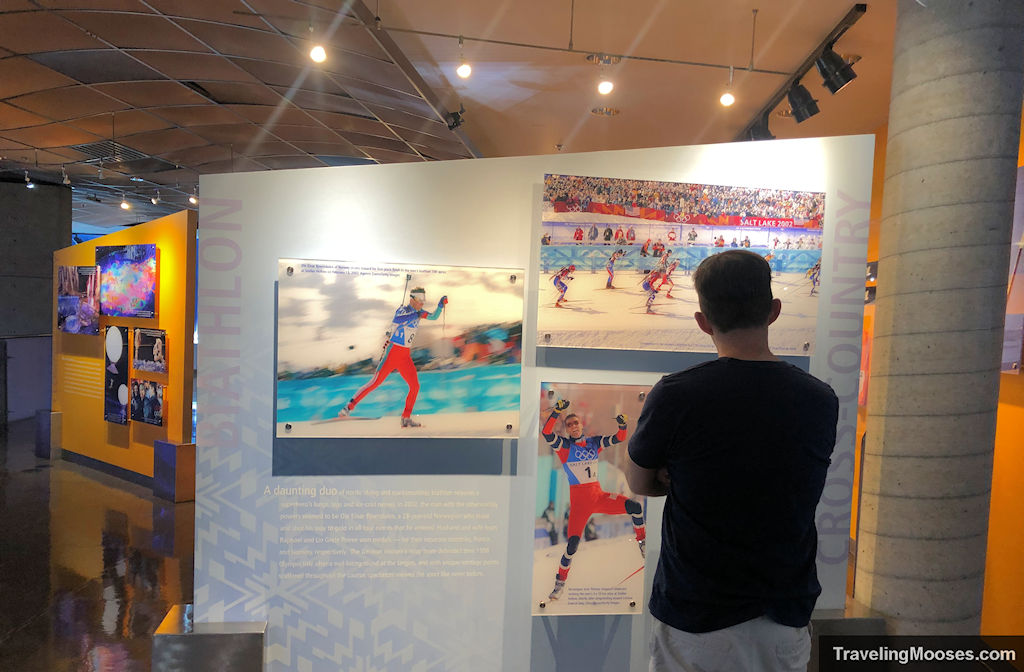
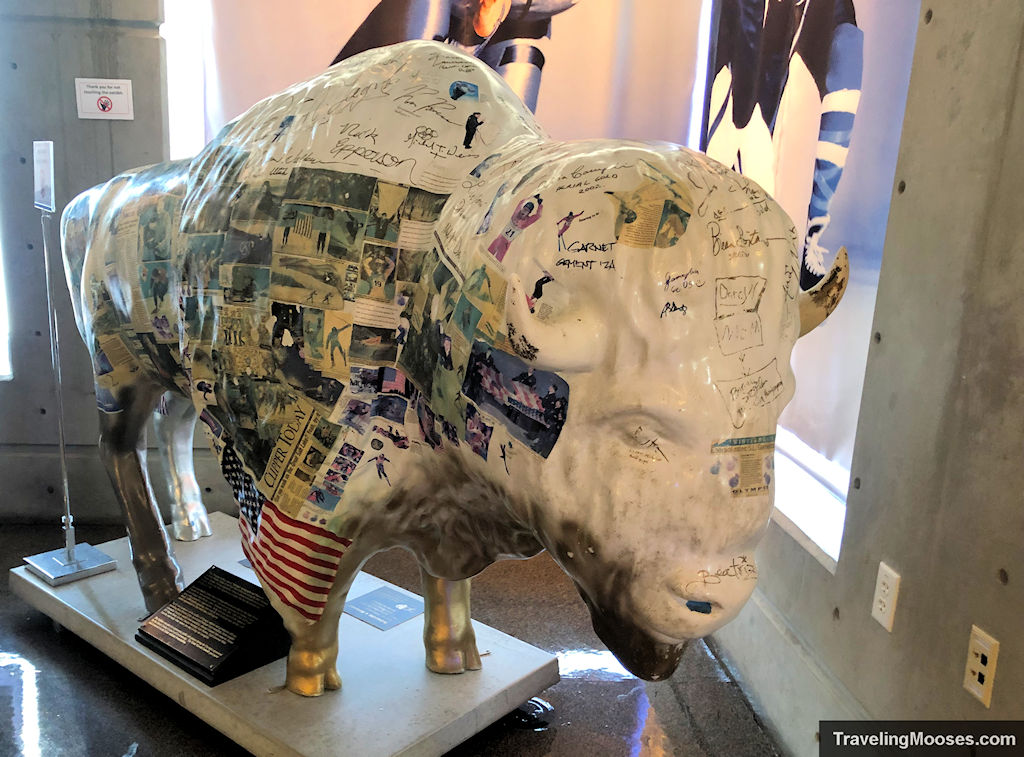
A few of the things we enjoyed the most:
- The larger-than-life puppets used during the opening ceremonies
- The glossy photos and detailed descriptions highlighting many of the Olympic athletes and events during the winter games
- Taking our picture with official 2002 Olympic games torch
- Learning more about the track sports in the Olympics including the bobsled, skeleton and luge events
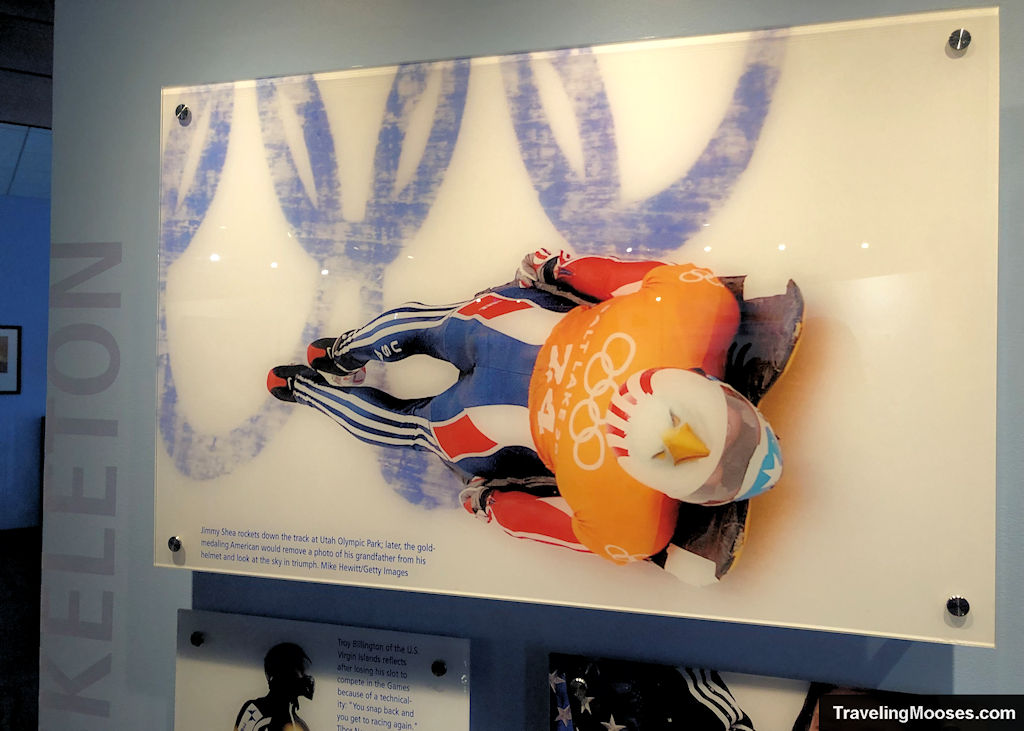
Should you visit the Utah Olympic Park or skip it?
Rating: 5 Mooses

- What we liked
- We loved the Flying Ace All-Stars freestyle show and the summer bobsled experience.
- Both of the free museums were interesting and very well done.
- The wide range of activities to choose from and the free entertainment of watching aspiring Olympic athletes practice off the ski jumps.
- What we didn’t like
- The seating at the Flying Ace show was haphazard and a bit stressful to find a good vantage. Get there at least 30 minutes before the start time to get a good seat.
- The signage for how to navigate the park could be a little better. Maybe we weren’t paying enough attention, but somehow, we managed to get turned around in the park twice. Once trying to find the extreme tubing area and once after leaving the bobsled experience.
If we could have a do-over at the park, this would be our perfect summer itinerary:
- 9:30 a.m. Gold pass session
- 1:00 p.m. Lunch
- 2:30 p.m. Summer bobsled experience
- 4:00 p.m. Alf Engen Ski museum
- 5:00 p.m. George Eccles Salt Lake 2002 Olympic Winter Games museum
- 6:30 p.m. Flying Ace All-Stars freestyle ski show
Verdict: We really enjoyed our Utah Olympic Park visit and highly recommend checking it out!
Know before you visit
- Every participant is required to sign an official Utah Olympic Park waiver before participating in any of the activities. It’s easier to fill it out online before you go to save you time. One waiver is good for any activity that you participate in. We filled ours out before we went and they looked it up by last name when we arrived. You can find the waiver here.
- The best value for participating in the activities is by far acquiring the Gold pass. It allows 3.5 hours of unlimited activities (for most park activities, not all). To get the most bang for your buck, try to go on a day when the crowds are less (ie a weekday or less optimal weather), though they limit participation to 250 people regardless.
- You can spend anywhere from an hour to a full day at the park depending on what activities you want to experience. We recommend planning out your activities in advance to make sure you complete them all.
- A car is a must to visit the park. The closest bus lets you off at least a mile away and down a very large hill. There are a few hotels that provide shuttle service, but it’s best to have a car available.
- If you attend the Flying Ace All-Stars freestyle show, be sure to get there at least 30 minutes early to snag your perfect viewing area.
Frequently asked questions about the Utah Olympic Park
What is the address of the Utah Olympic Park?
3419 Olympic Pkwy, Park City, UT 84098
Are discounts available for the summer bobsled experience?
Yes, for groups over 20 people you can receive a 15% discount. You can contact their group sales department at (435) 658-4253 or [email protected].
Is the summer bobsled experience worth it?
Yes! We really enjoyed it. It was a one-of-a-kind experience and we’re glad we did it. Please note they do caution against anyone doing this ride if they are pregnant or have a history of neck or back injuries.
Is the Utah Olympic Park gold pass worth it?
For $75 (subject to change) you get access to unlimited use of multiple activities in the park (alpine slide, extreme tubing, freestyle zip, discovery course, canyon course, summit course, drop tower, and airbag jumps plus scenic chairlifts for the session.)
We considered going on some of the activities separately but ultimately decided against it due to the heat. Individual activities were $30 apiece. We think the gold pass would be highly worth it. They also limit the participation to 250 individuals per session.
How much is parking at the Utah Olympic Park?
Parking is free. There was a very large lot of well-marked parking spots in the complex. We didn’t have any issues finding parking when we went.
More Information for your trip to Salt Lake City
- Salt Lake: Explore Salt Lake’s Best Hike – Lake Blanche
- Salt Lake: Experience the best skyline view in Salt Lake City
- Nevada: Explore the majestic Kolob Canyon – part of Zion National Park
You might also like:
- Nevada: A Nature lovers guide to Vegas – what not to miss
- California: Experience the beauty of California
