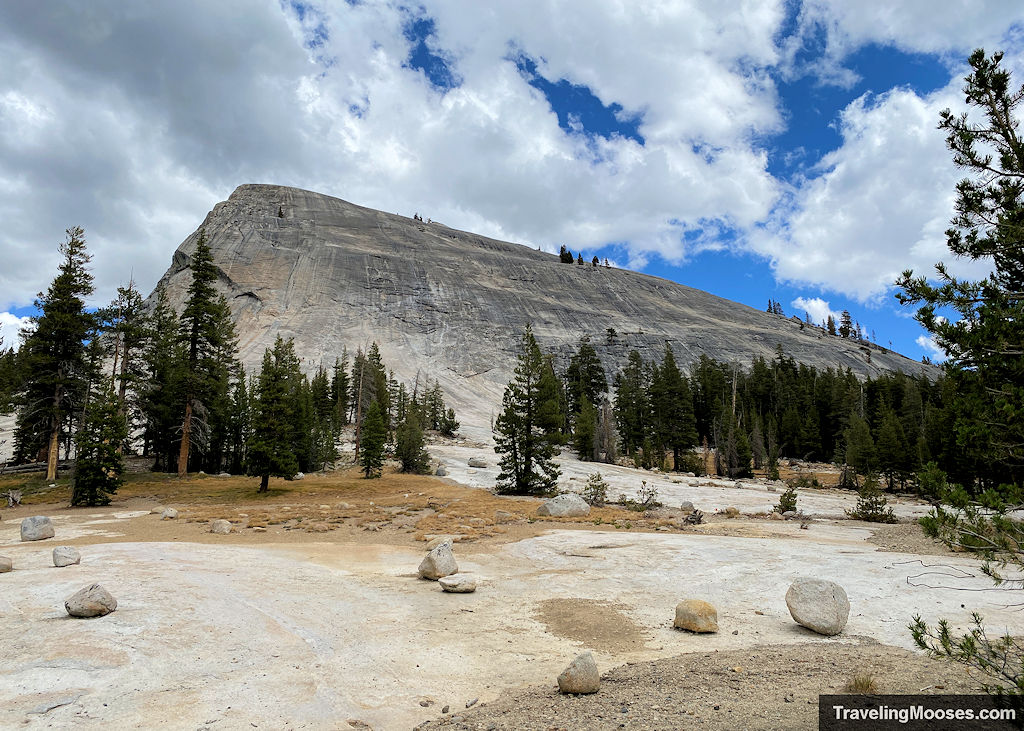
Lembert Dome is a granite rock formation found in the less frequently visited Tuolumne Meadows area of Yosemite National Park.
We consider Lembert Dome to be a more accessible, easier and smaller cousin to the hugely popular Half Dome.
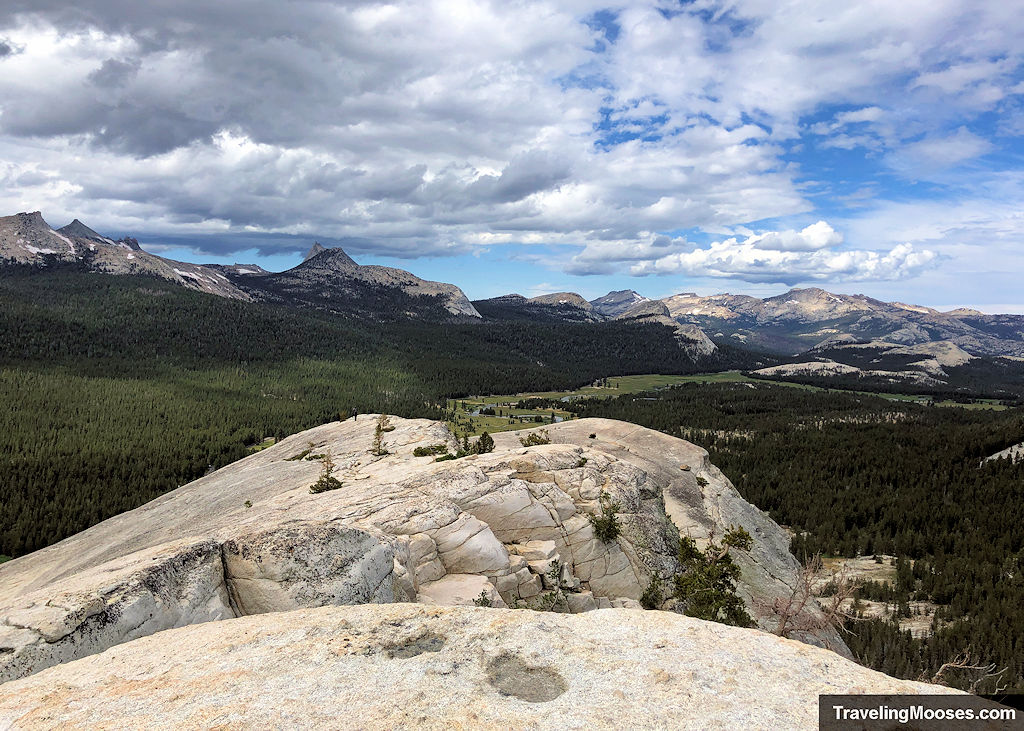
In less than two miles from the nearest parking area, you can summit the granite dome and be rewarded with sweeping views of the Yosemite Valley.
In this guide:
- Lembert Dome trail stats
- What to expect on the trail
- Is the trail worth it?
- Practical info for your trip
Lembert Dome Trail Stats
| Trail description | Loop or Out and Back – depending on route chosen. |
| Location | Lembert Dome, Tioga Pass Road, Yosemite National Park, California |
| Parking lot | Three options: Lembert Dome Picnic Area, Dog Lake Parking Area or Tuolumne Meadows Wilderness Center (More details) |
| Round trip mileage | ~5.0 Miles RT for Loop or ~1.75 miles RT to/from Dog Lake Parking area |
| Average time | 2 – 3 Hours (depending on route) |
| Difficulty | Moderate |
| Elevation gain | ~900 feet |
| Elevation start | ~8,500 feet |
| Elevation max | ~9,400 feet |
| Best time to visit | July, August or September Note: Tioga Pass is only open in the summer months. (Typically, late May or June to sometime in November). More info here. *In 2023, it didn’t open until July 22 due to heavy winter snows. |
| Trailhead amenities | Lembert Parking Area: Picnic Tables, garbage cans, trail information, vault toilets. No running water. |
| Entrance Fee | $35 per private vehicle for a 7-day pass or the annual America the Beautiful pass is accepted ($80 annually). (Prices subject to change). See current prices / closures here. |
| Rating | 5.0 Mooses |
Interactive Trail Map
Why did we choose Lembert Dome?
Lembert Dome was on our absolute “must-do” list for our visit to Tioga Pass, all because of Half Dome.
Half Dome is one of the most popular and well-known hikes in Yosemite National Park. The Half Dome hike requires substantial planning due to the permit needed (only obtained through a lottery), the 14-to-16-mile round trip mileage and a 4,800-foot elevation gain.
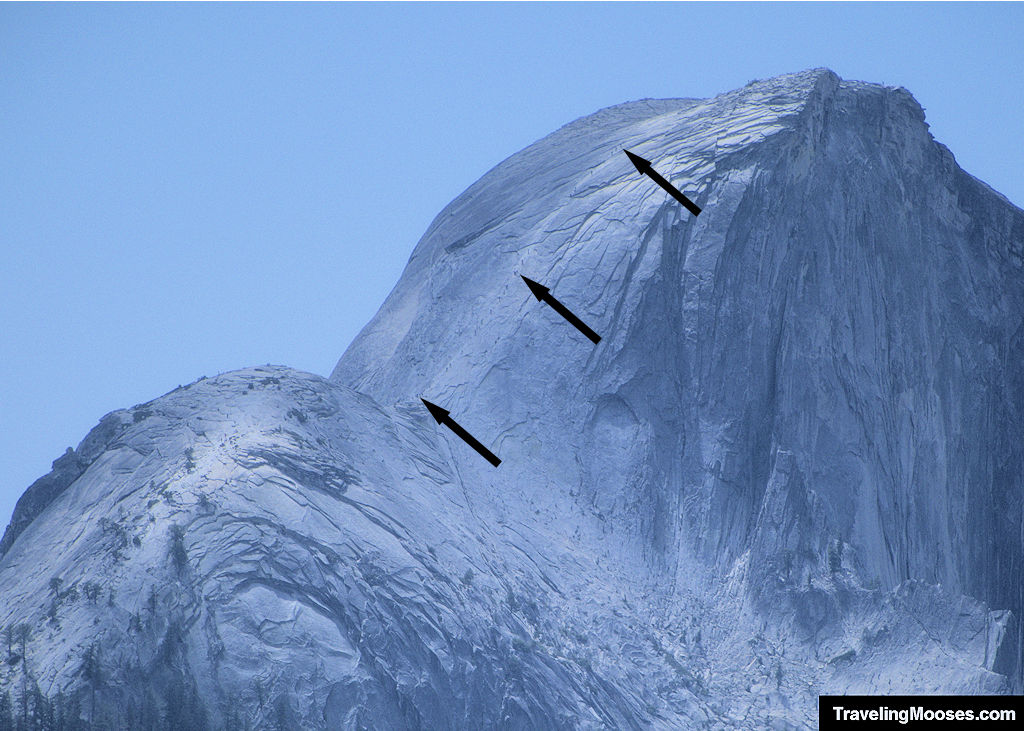
If the distance and elevation isn’t enough to deter you, the last 400 feet of the hike traverses up the famous “Half Dome Cables” which is a steep (and slick) granite face.
Due to the steep angle on parts of the trail (up to 45 degrees), there are plenty of stories online about hikers freezing in fear about half-way up the cables. Worse still, some hikers have slipped and fallen to their deaths.
A Half Dome summit is not in the cards for me (I’m sure Mr. Moose would be just fine), so in comes Lembert Dome! I now refer to Lembert Dome as Half Domes smaller and easier to scale cousin. Plus, no permit is needed. I’m sure plenty of people would suggest the 955-foot dome is no match for Half Dome (they’re probably right), but it was spectacular nevertheless.
What to expect on the trail (our experience)
We arrived just after 9 a.m. to the main parking area of Lembert Dome. We found plenty of spots and didn’t waste any time starting the hike. This was due to the weather forecast for the day showing rain and thunderstorms starting after 11 a.m.
As most hikers finish in around 2 hours, we weren’t worried about the weather and agreed we wouldn’t summit the dome if any rain started.
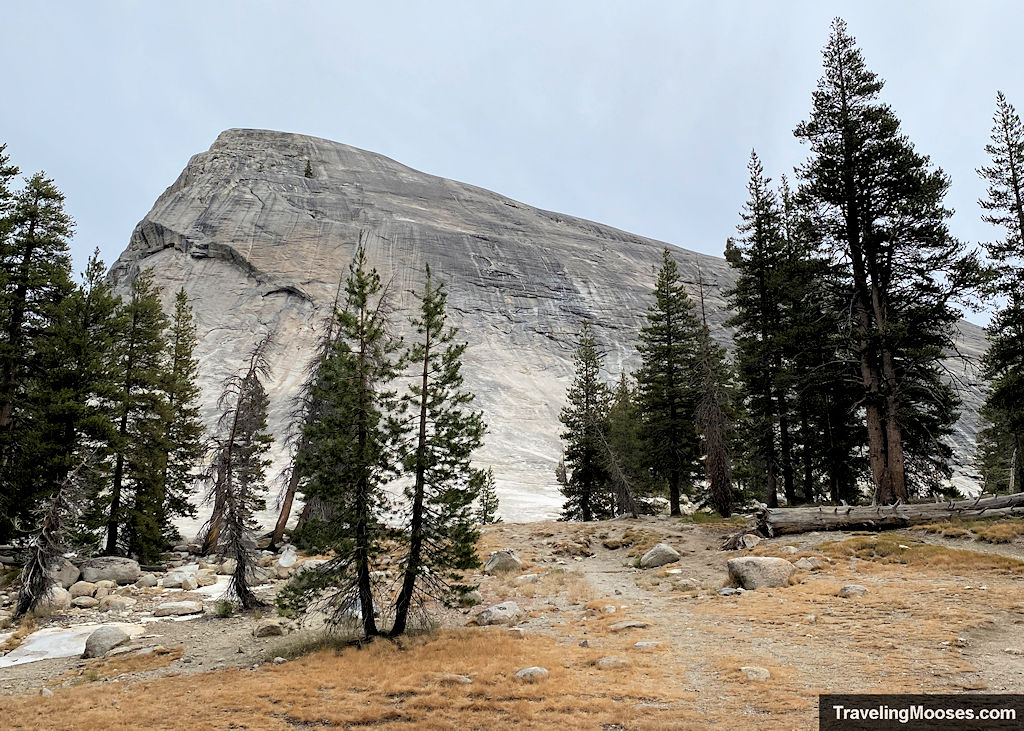
While it’s tempting to make a beeline for the dome in front of you, the actual trail starts at the north side of the parking area and wraps around the rock.
We decided to head clockwise in a full loop around the dome. If you have less time, we recommend starting at the Dog Lake parking area for a quicker out and back.
Head away from the dome towards the north side of the parking area and begin down the flat and smooth dirt trail.
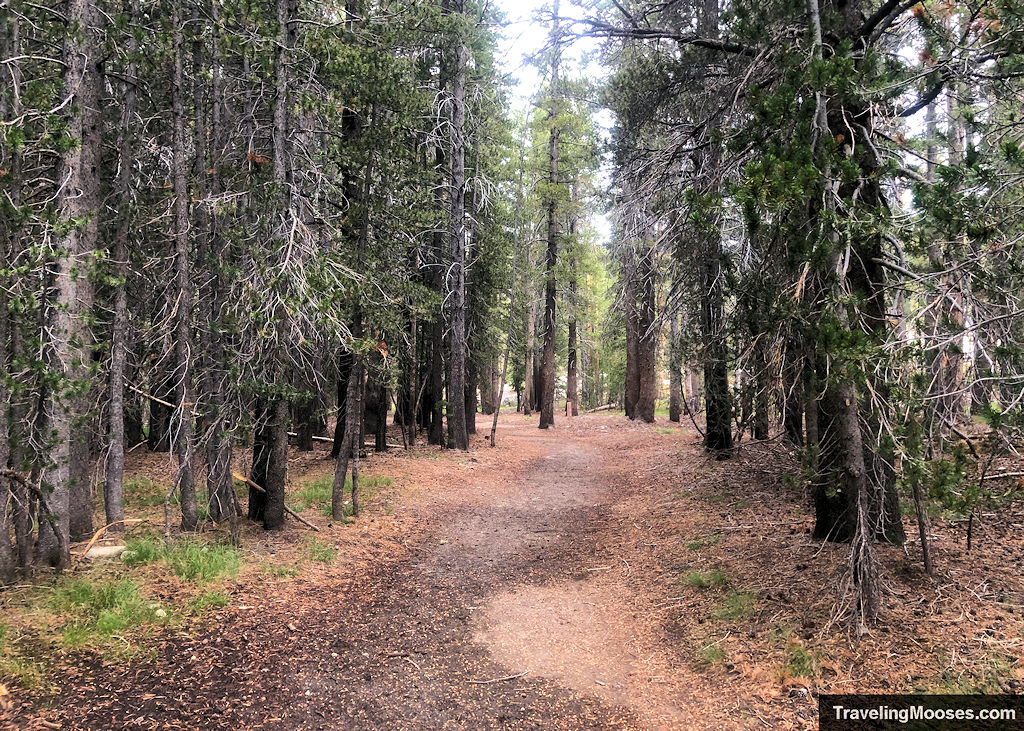
It will circle around the back side of the dome and eventually intersect with the turn off to the summit.
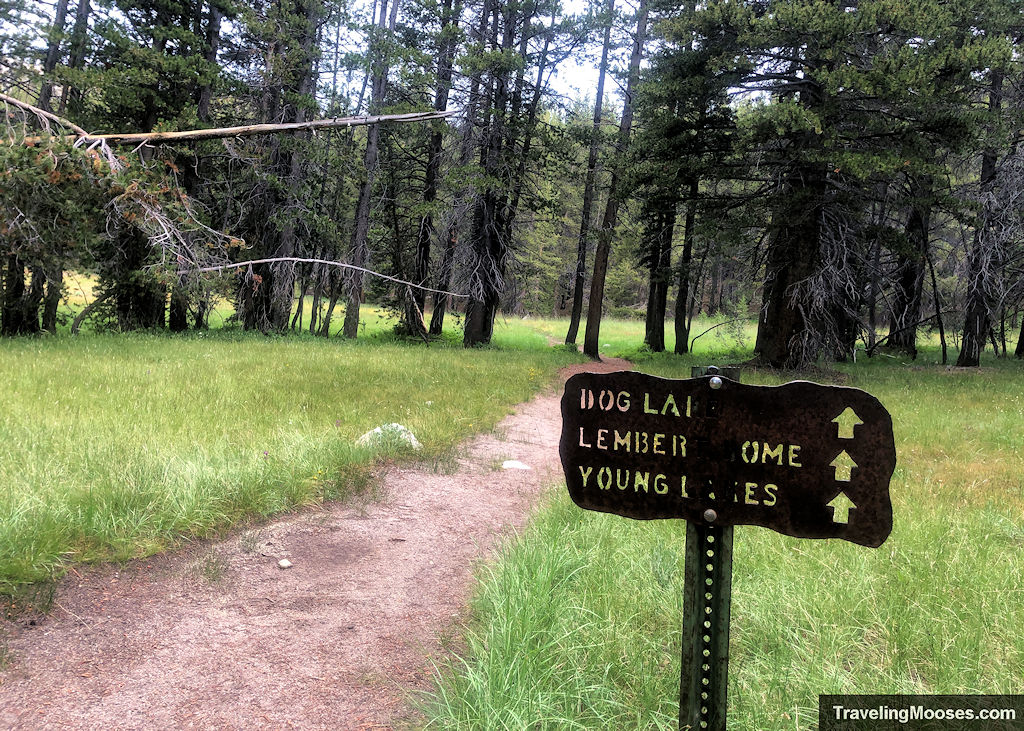
The trail makes it was through meadows and when we visited several streams.
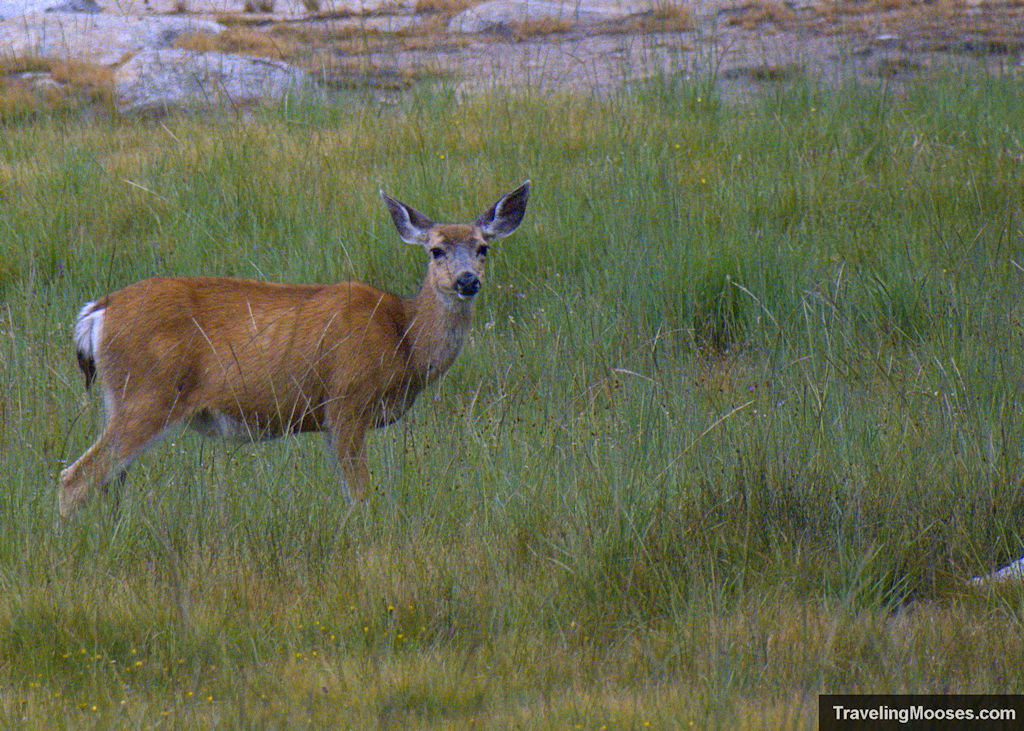
You can enjoy scenic meadow views and potentially see a deer like we did.
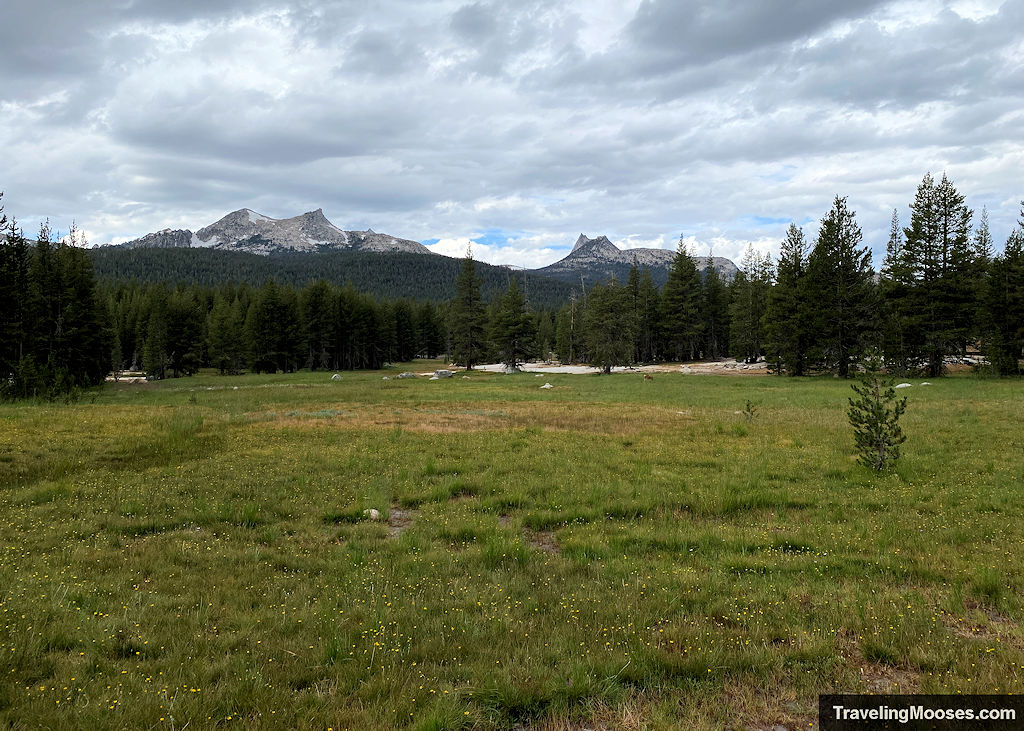
After leaving the parking area, we only saw one more view of the dome. It was mostly hidden by the dense trees along the trail.
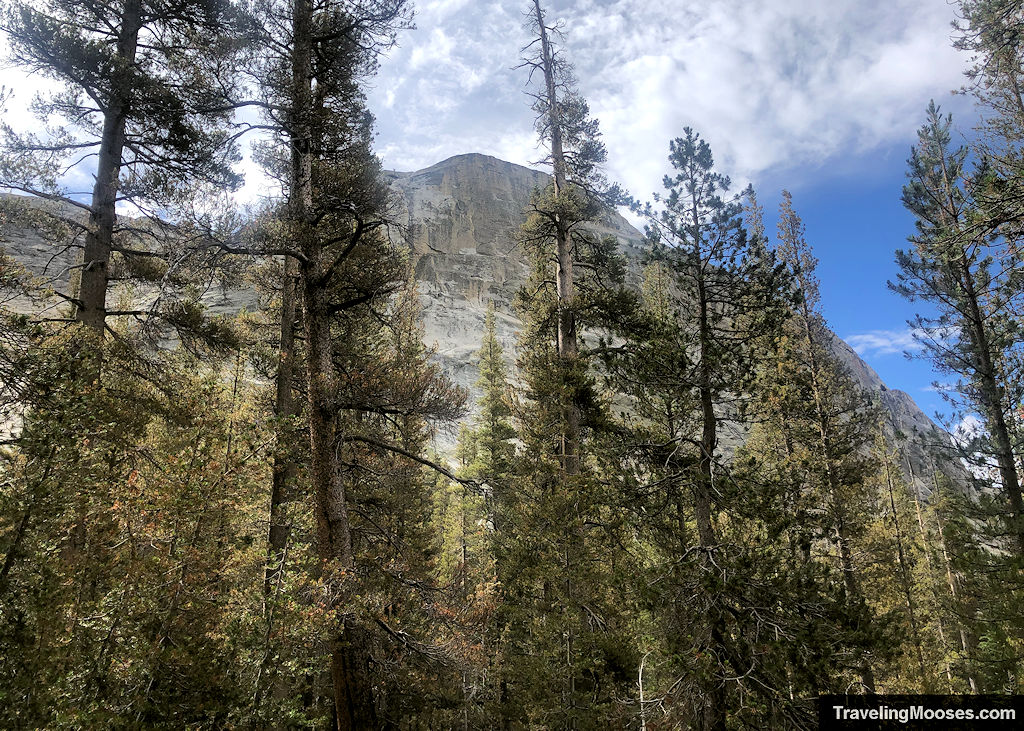
We did enjoy the cool temperatures and wooded path.
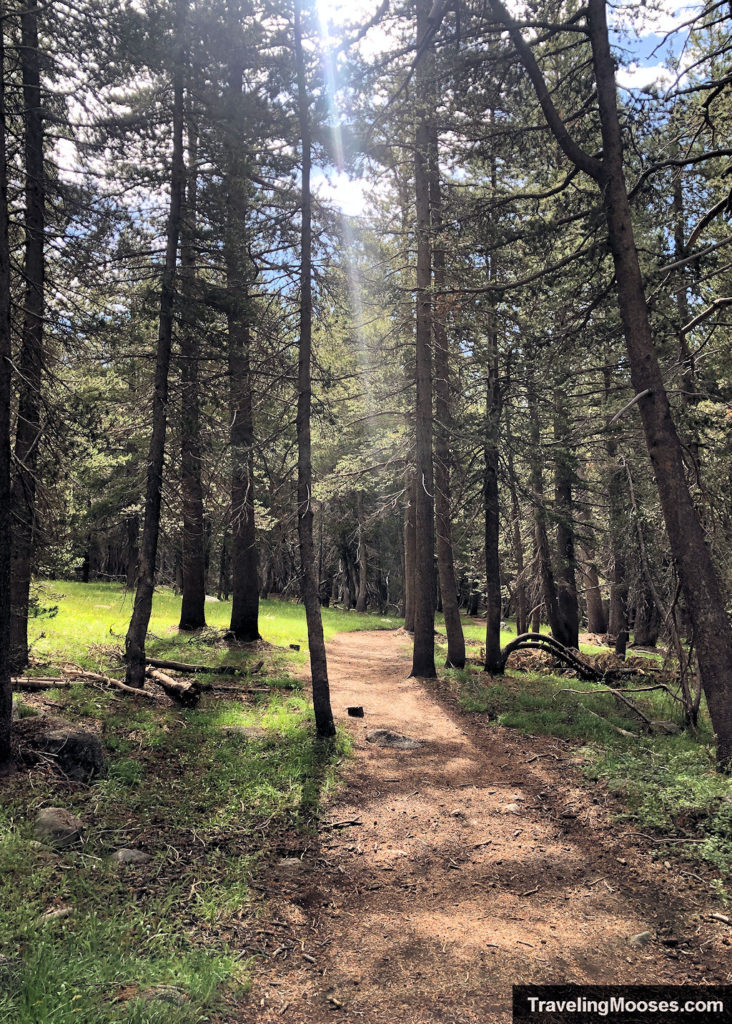
While we didn’t take the detour, there is a point along this portion of the trail that you can add an additional 0.3 miles (one-way) to reach Dog Lake. You’ll see a sign leading the way at a fork in the path.
We reached the trail fork to the summit around an hour into our hike. There isn’t much elevation gain to get to this point, but it was slightly uphill.
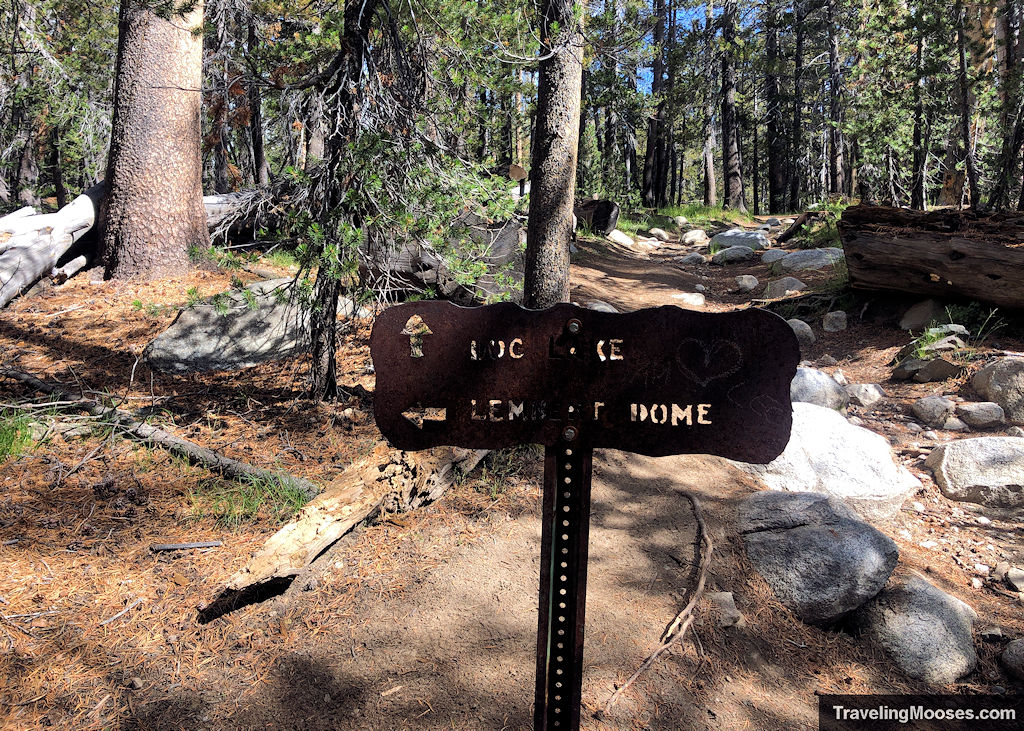
Once you reach the cutoff, it’s a short distance to reach the base of the dome.
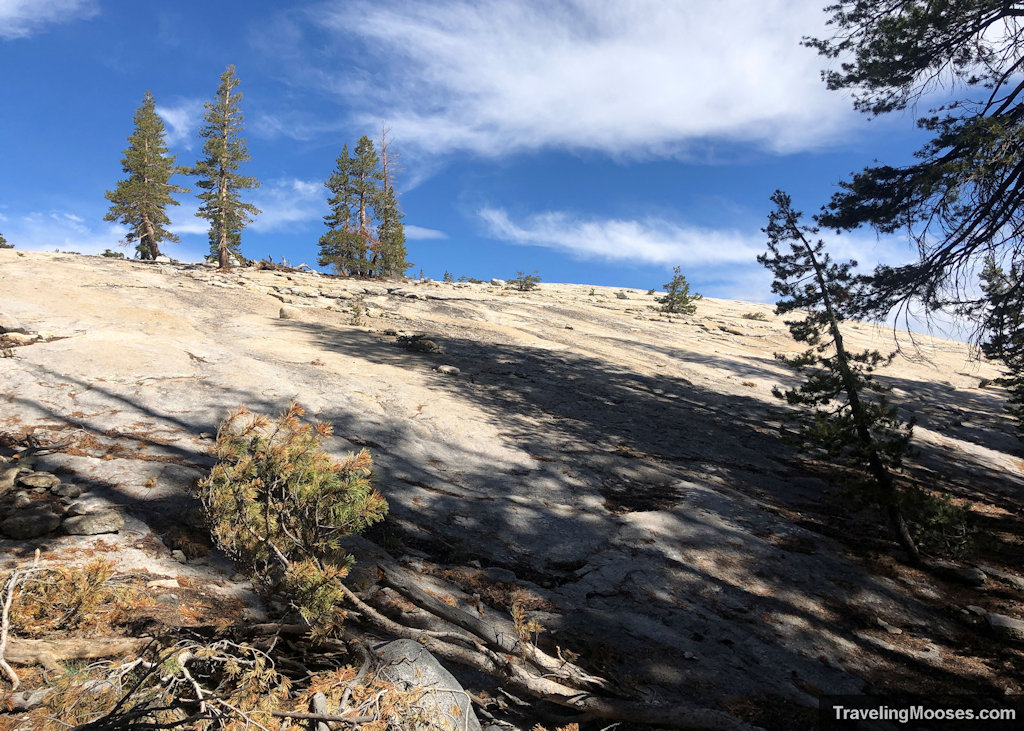
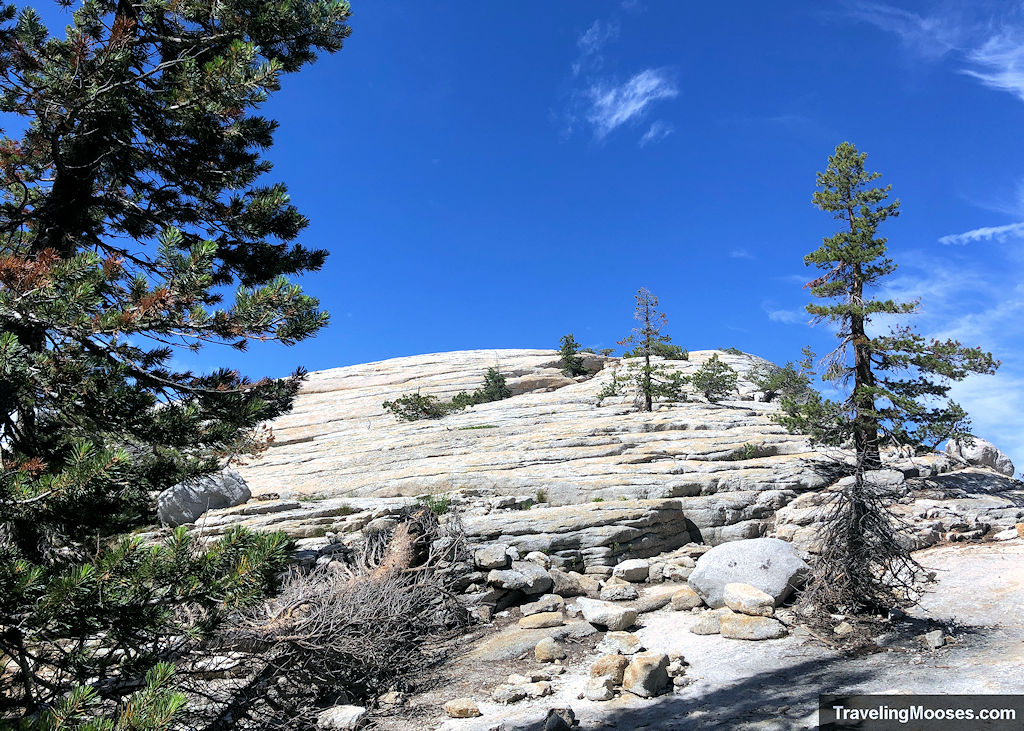
It’s a choose your adventure at this point, but most people (including us) just went straight up this portion.
I’ll admit, it did seem a little intimidating not knowing what was on the other side, but luckily it was relatively flat at the top of the false summit.
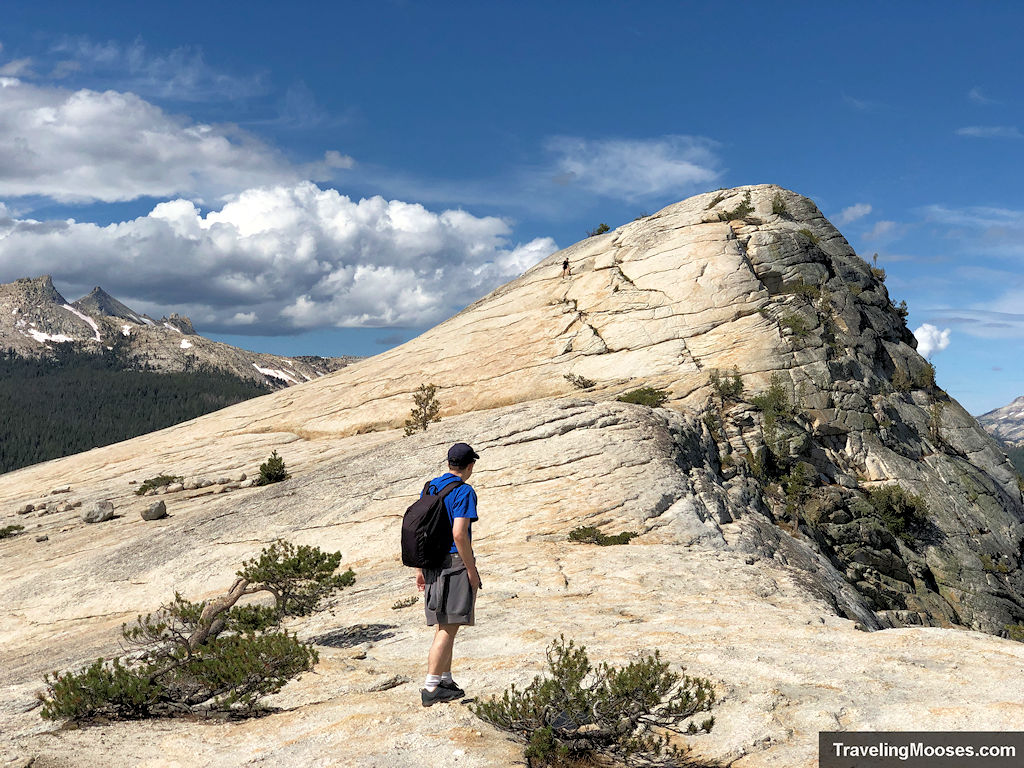
Once we reached the top of the false summit, we saw our real target, the Lembert Dome summit area.
If you read other reviews online, they will all tell you to stay to the left of the dome and wrap around. Despite knowing that, there is a real draw to wanting to go straight up it (just like the person in the far distance of the photo above).
While Mr. Moose and many others charged straight up, I took the “easy” (more gradual) path off to the left.
I would hesitate to even call it a path, as there is no official trail anywhere on the granite.
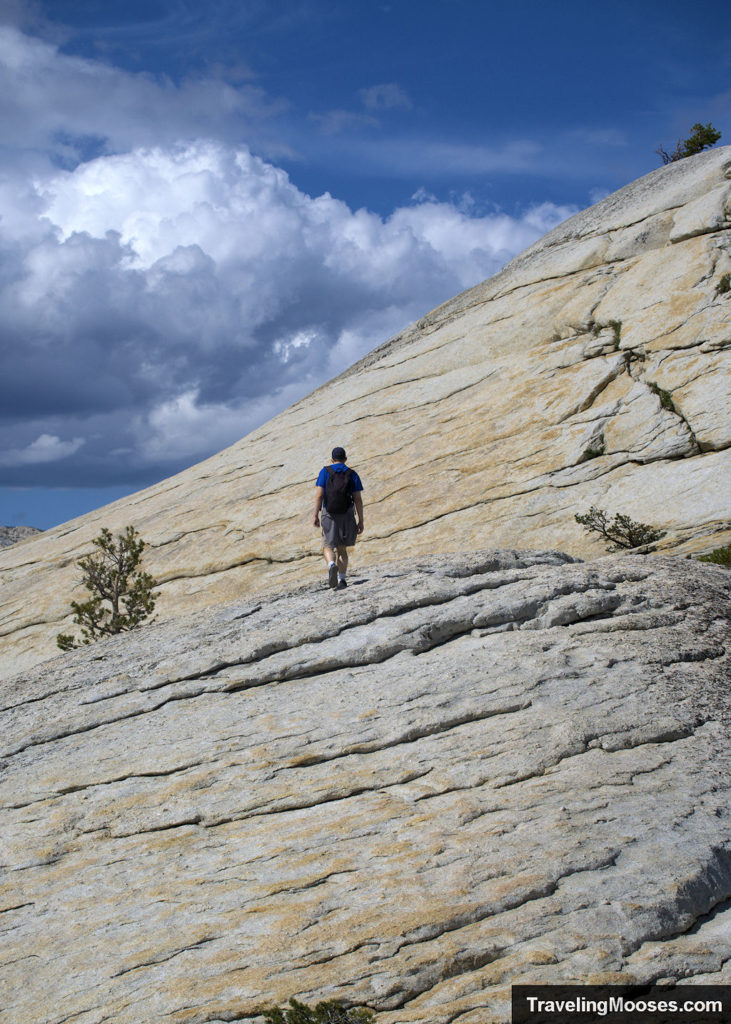
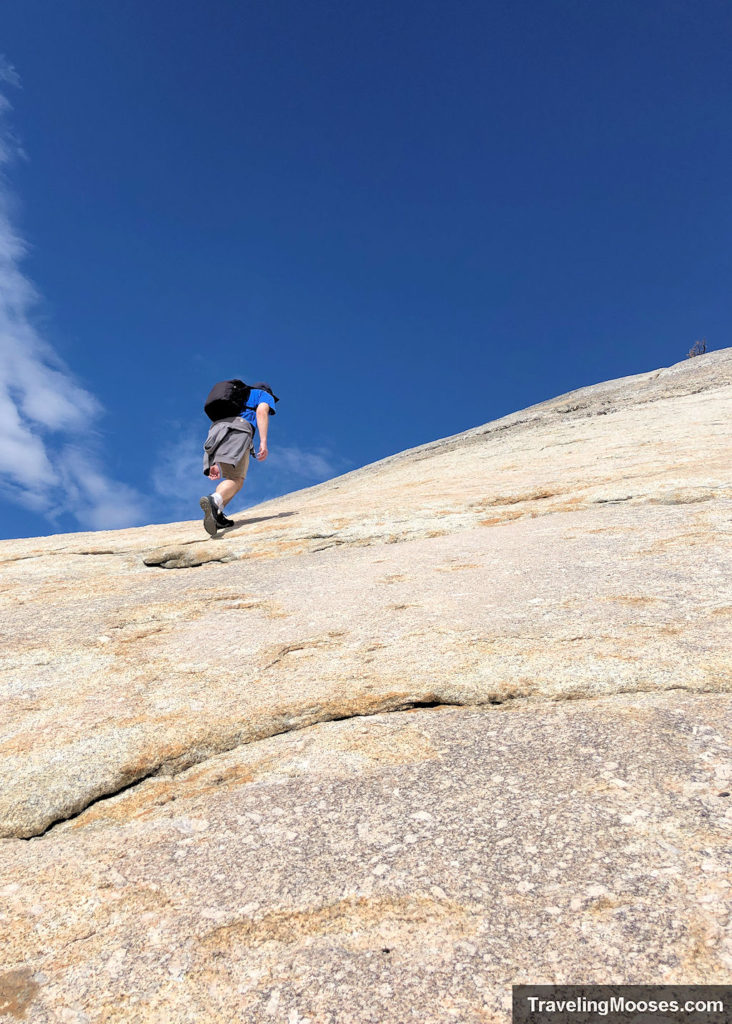
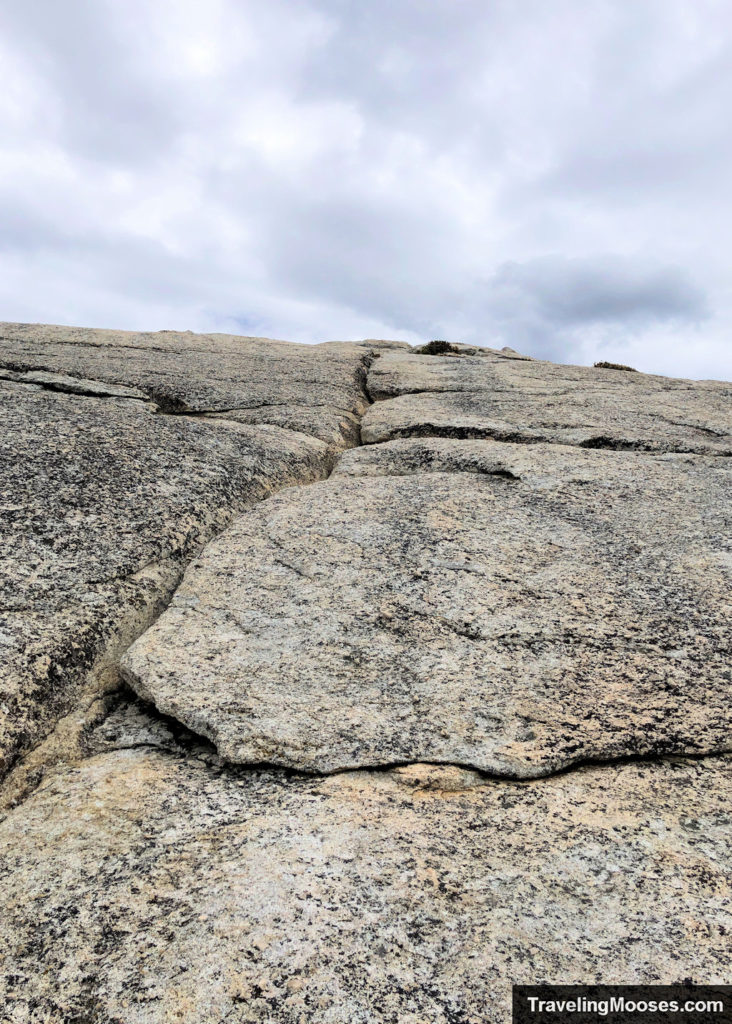
Once at the top, the views were spectacular.
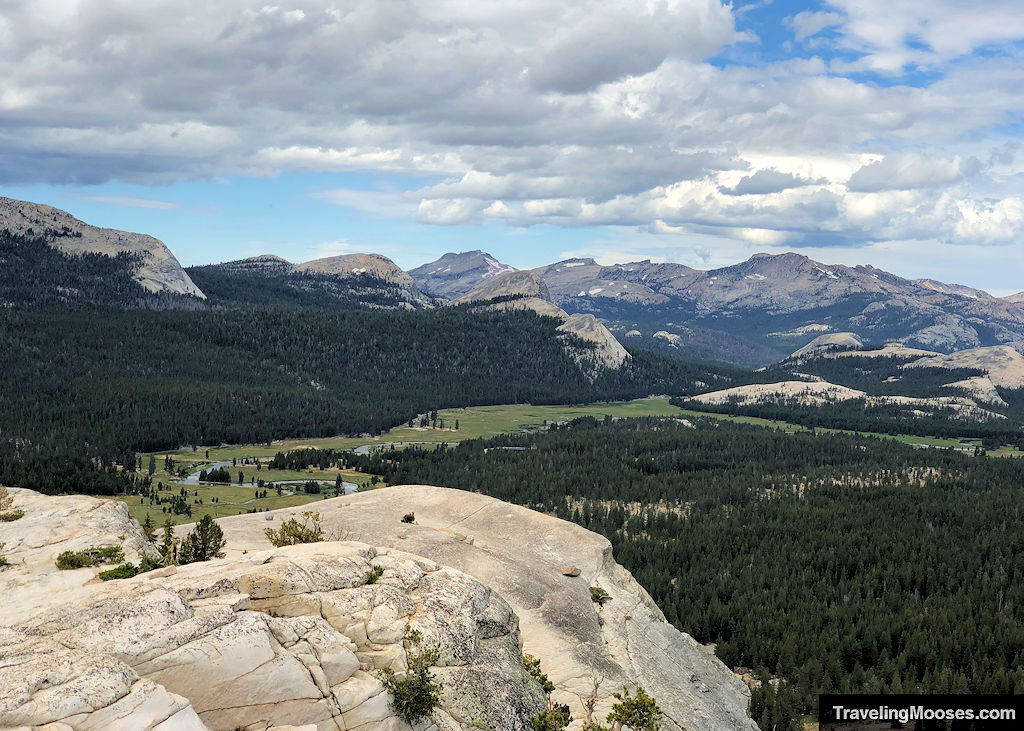
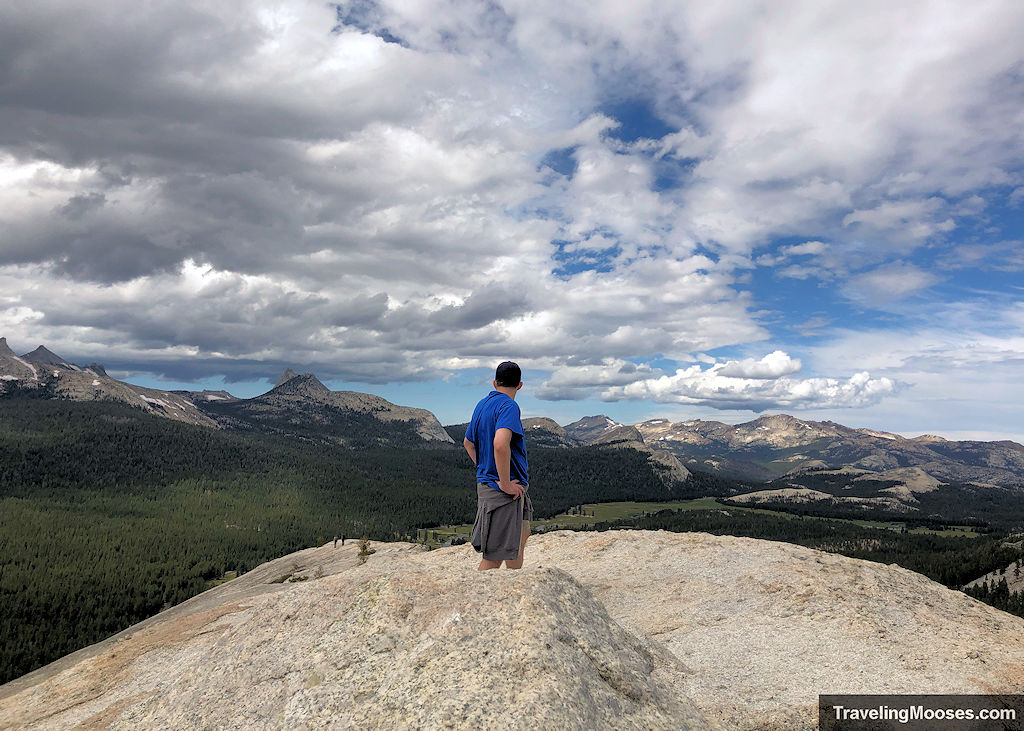
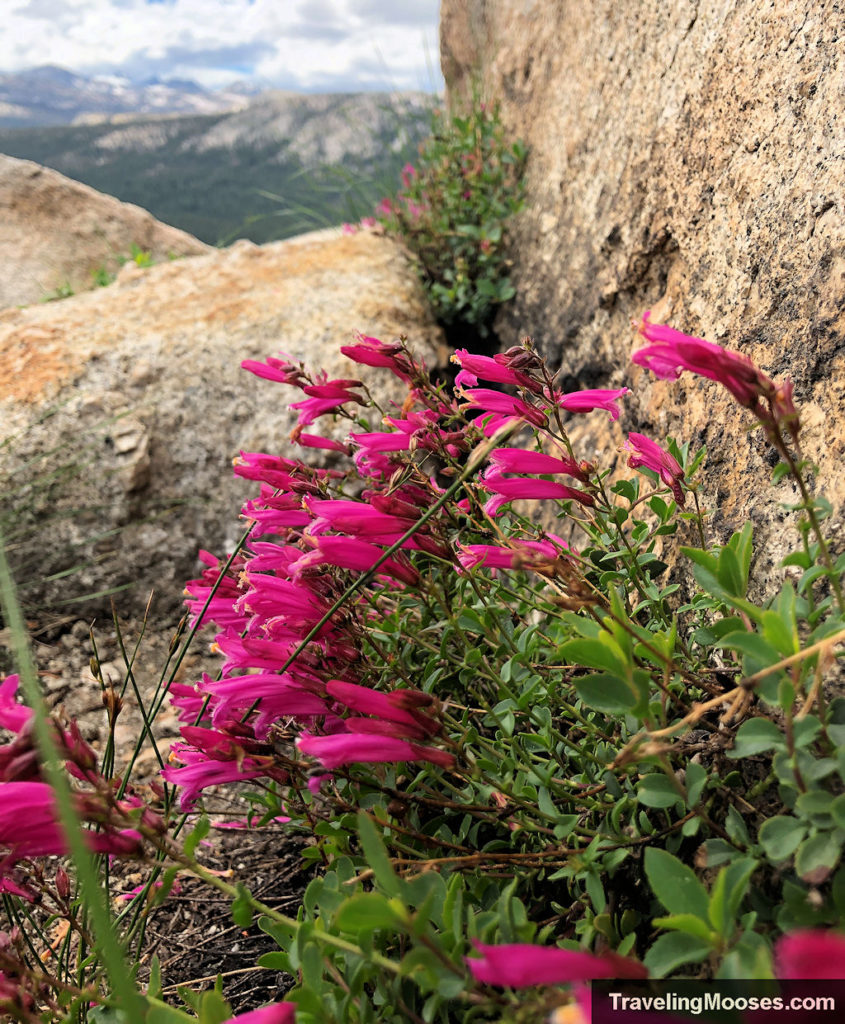
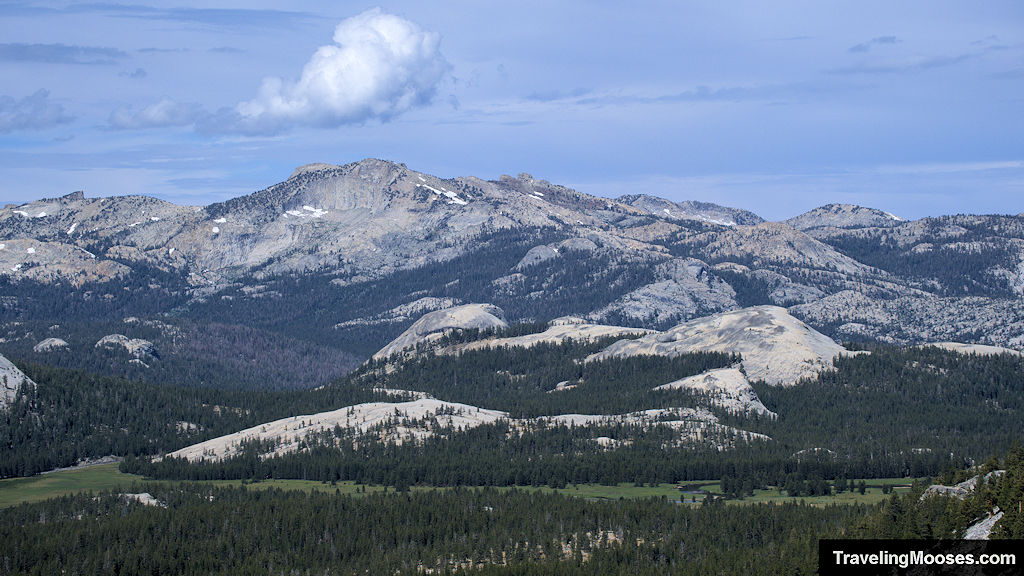
While we stopped at the official summit, there are other areas you can walk around on the dome.
We didn’t feel the views changed much so opted to stop. Plus, most maps have the trail ending where we stopped.
It was time to make our way down the dome and finish up the loop back to the parking area.
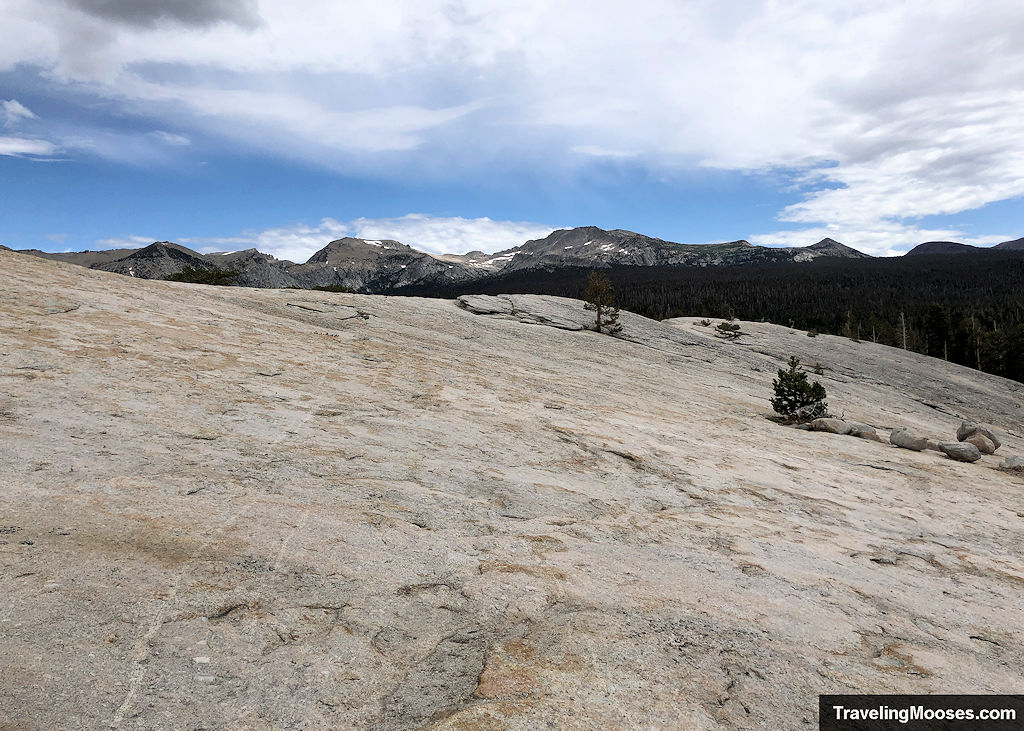
Head back the way you came until you reach the trail fork. Turn towards the Dog Lake Parking area and continue down the path if you’re completing the entire loop.
You’ll end up reaching Tioga Pass Road and have to cross the large pedestrian cross walk.
Use caution crossing as vehicles are often traveling quickly, and there are no lights to warn of pedestrians.
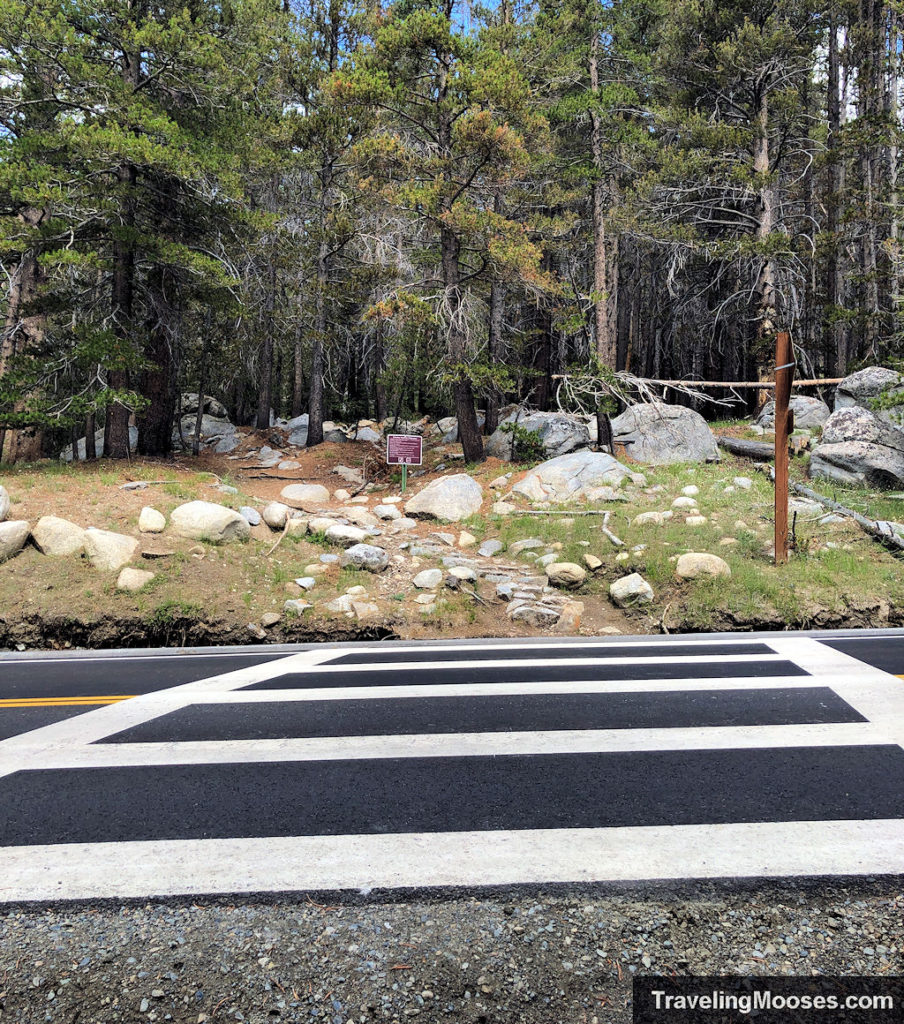
Not long after crossing Tioga Road, you’ll reach the Dog Lake parking area. This is a good parking area if you don’t have a lot of time and want to do an out and back hike up to Lembert.
The back part of the loop turns into a section of the Pacific Crest Trail and winds through meadows and past the Dana Fork of the Tuolumne River.
We stopped to enjoy a nice lunch by the river.
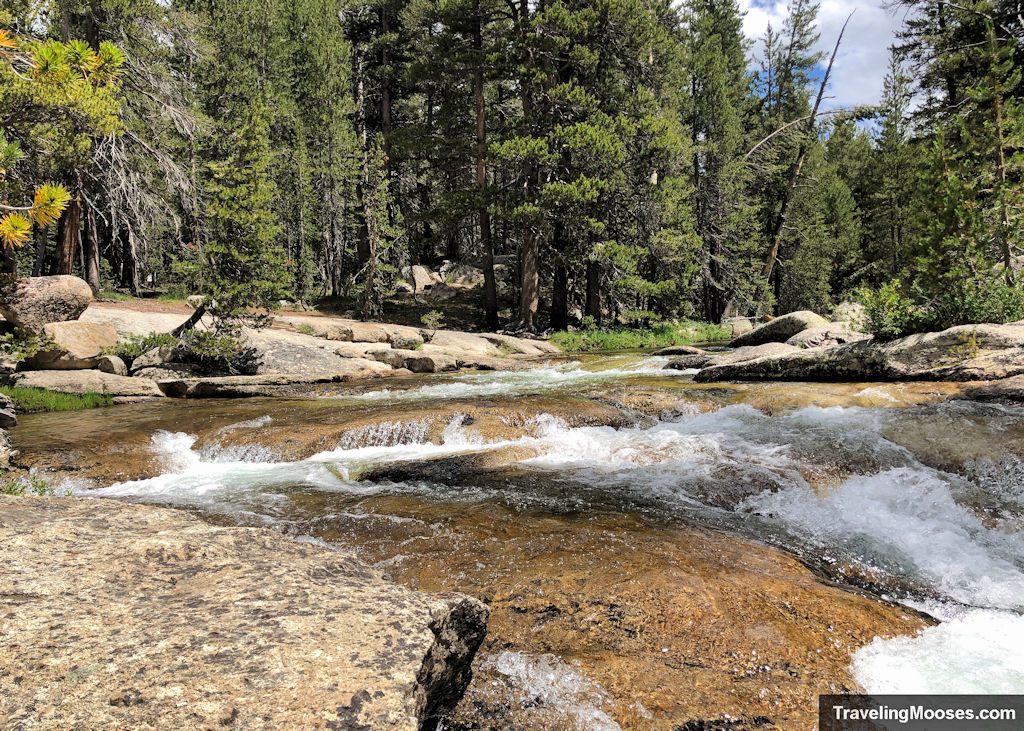
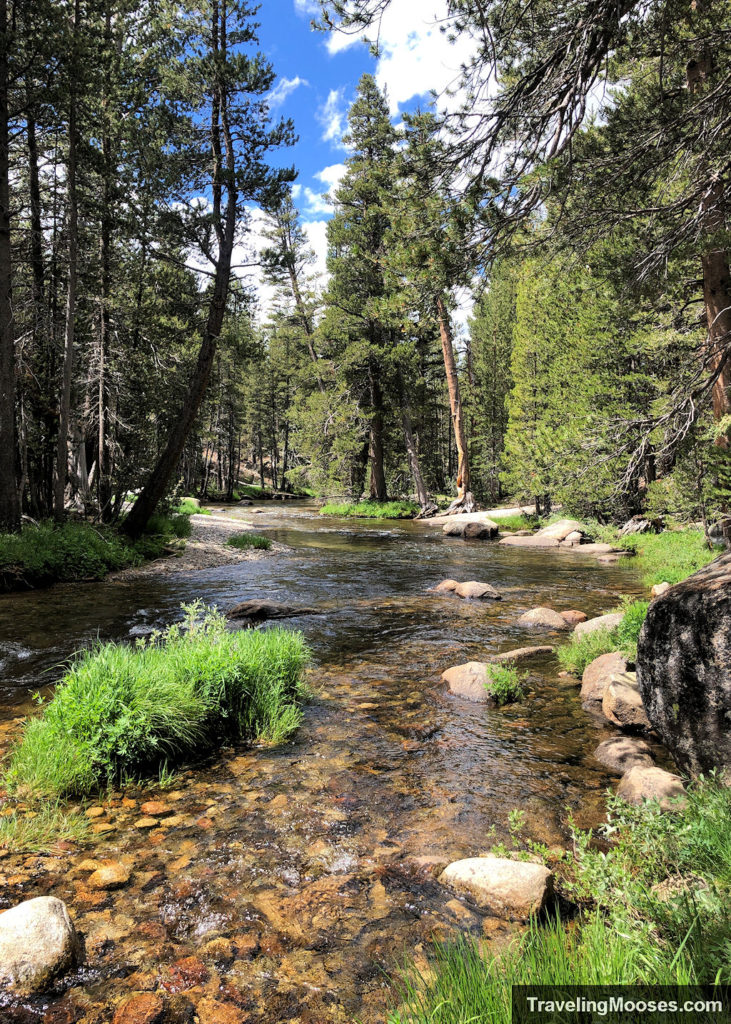
After lunch, we continued along the Pacific Crest Trail, winding through a meadow with views of Unicorn Peak and the Fairview Dome.
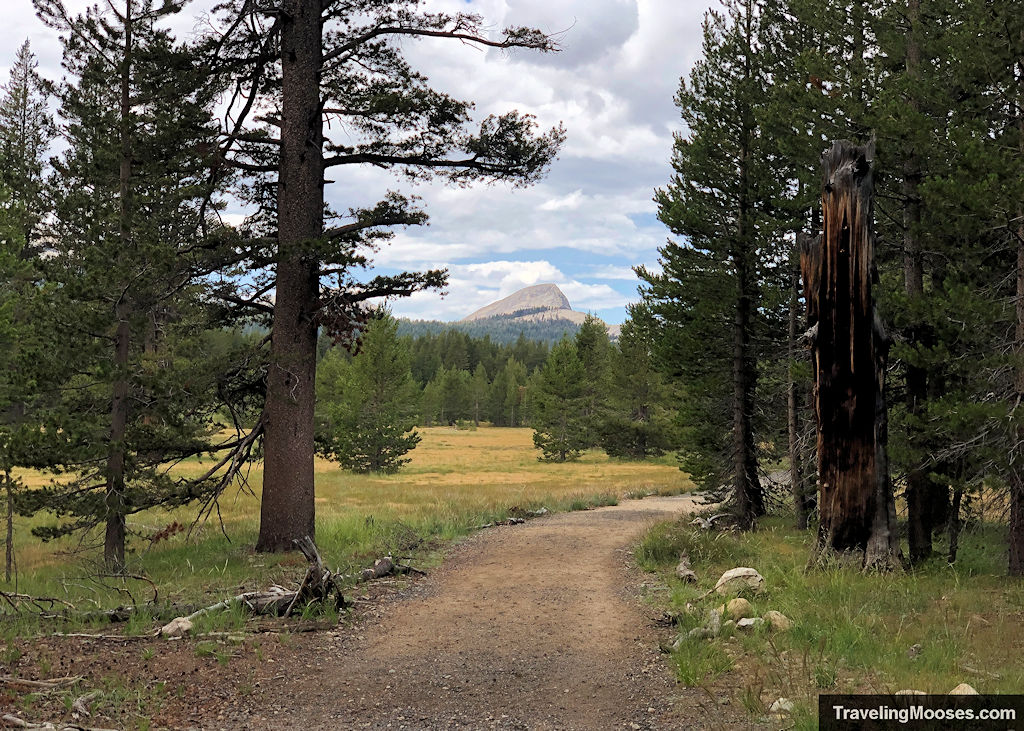
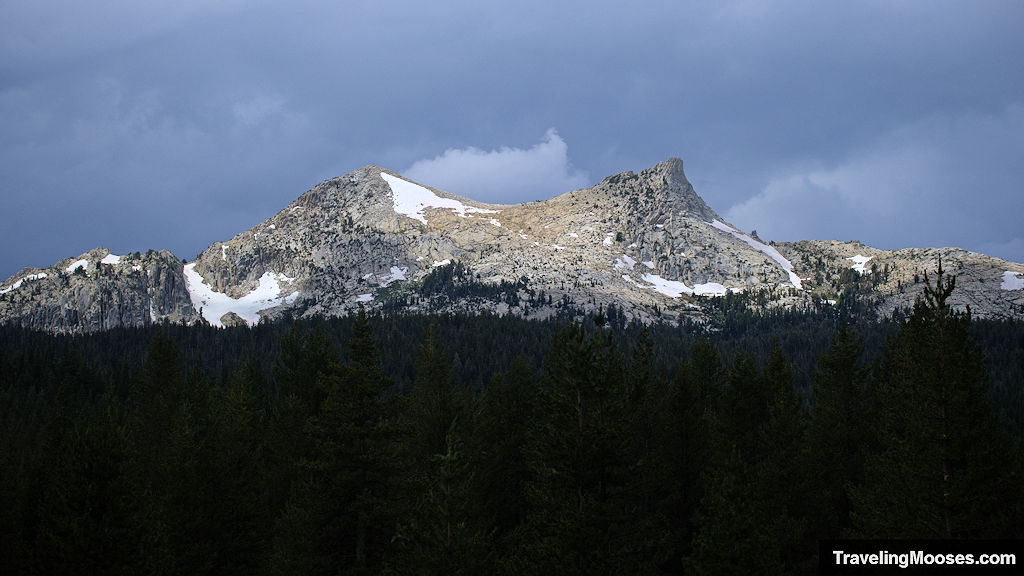
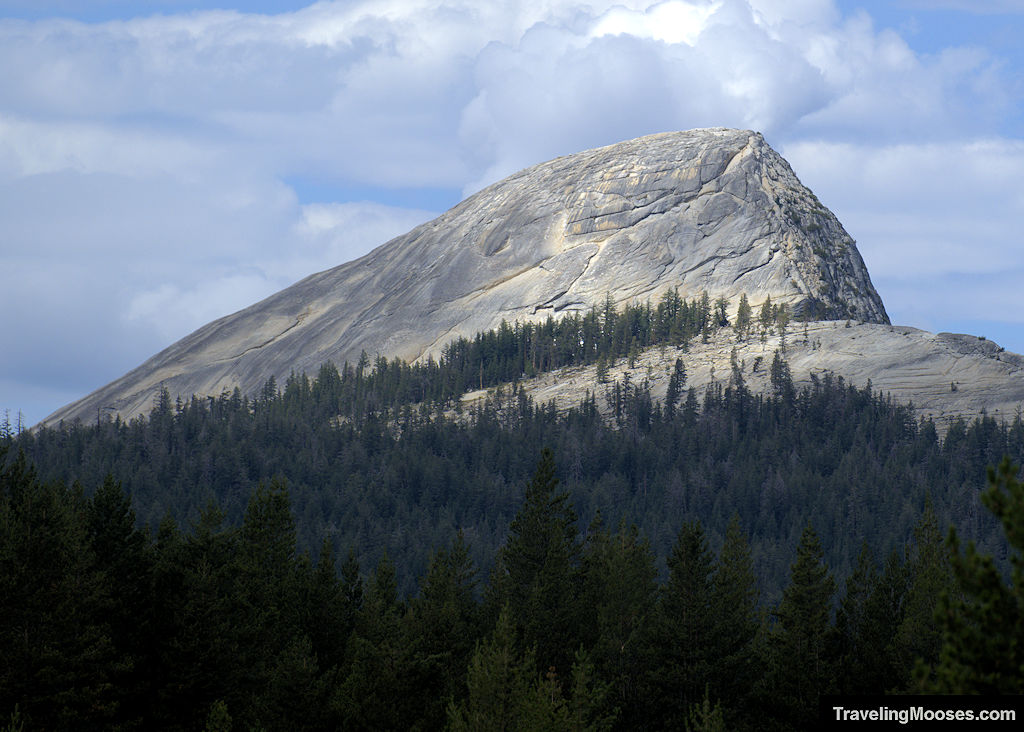
You’ll also pass by Puppy Dome, but it was hidden by trees.
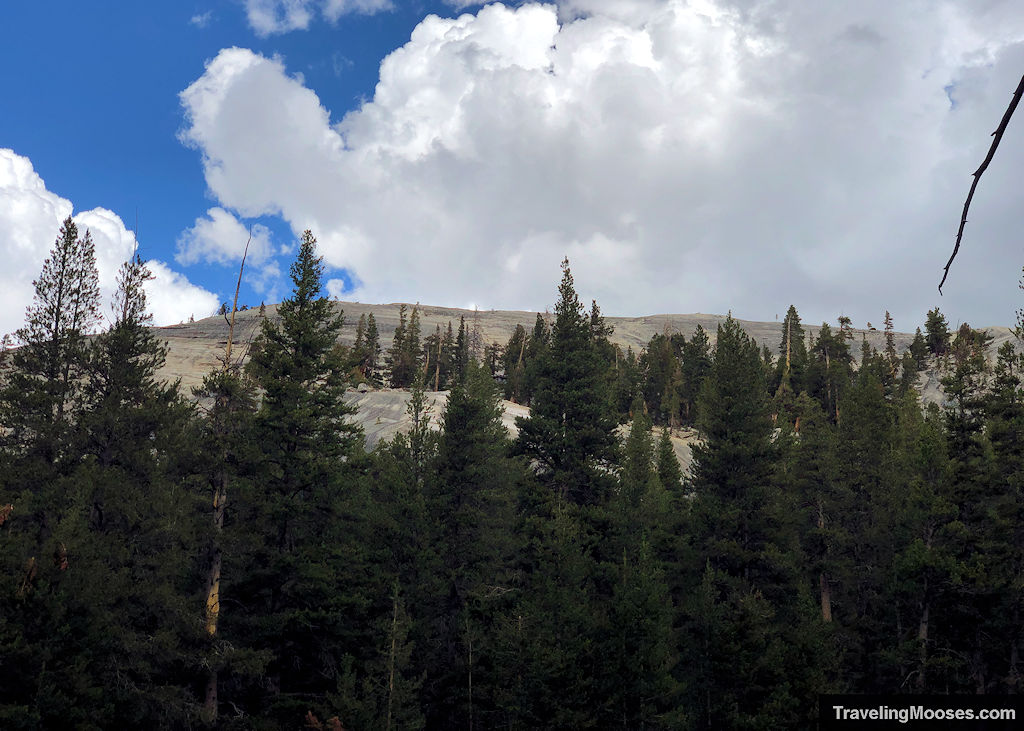
We would soon arrive back to the original starting place (and once again have to cross over Tioga Pass Road).
By this point, Lembert Dome was no longer overcast as it had been when we started.

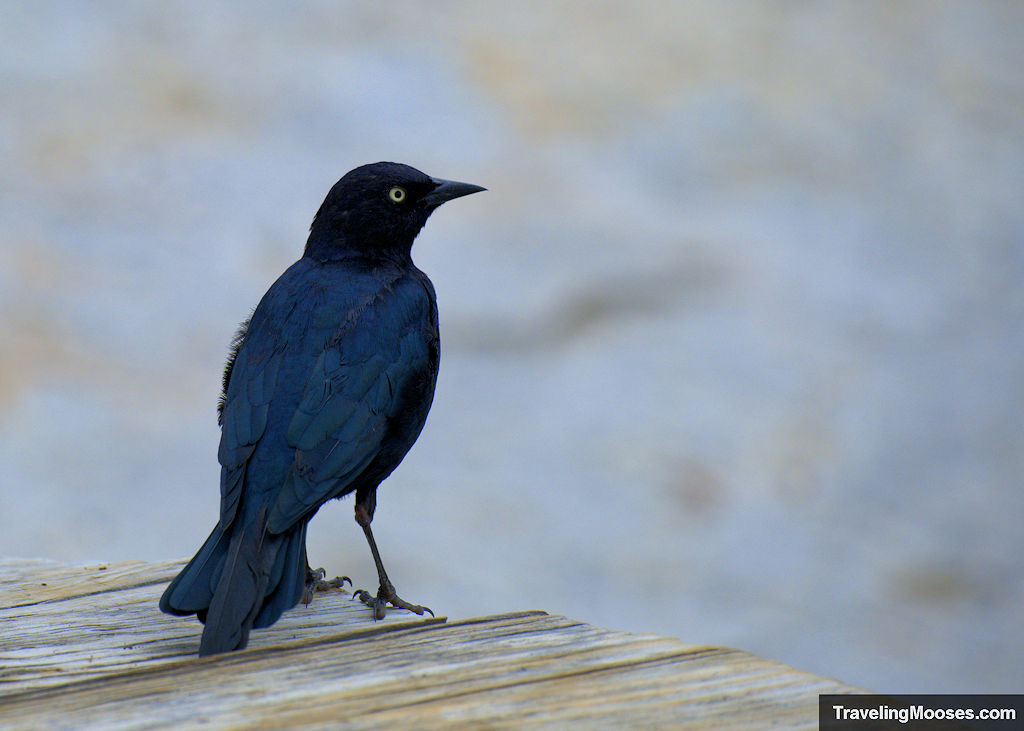
We took one last glance at the dome, snapped a few photos of the blackbirds lurking around the picnic tables and continued our way to enjoy the rest of the park.
Was hiking up Lembert Dome nerve-racking?
I had a few unhappy moments on the dome. The coloring of the granite made it hard to understand spatially where to step. I did feel the granite was pretty grippy and I suspect (though I didn’t try), if I had fallen, I don’t think I would have gone far.
Hiking (especially on granite domes) always carries inherent risk. There was at least one person we ran into that didn’t feel comfortable going up to the summit and they enjoyed plenty of views from lower on the trail.
We also saw others (including a young child) climb up the last part like it was nothing.
You’ll have to decide whether or not you feel comfortable going up when you get there. If you really hate heights, it’s probably not a great option.
If you do go, I recommend extremely grippy shoes (preferably shoes meant for this type of surface). Do not under any circumstance hike up the dome if the granite is wet or it starts raining. Yikes!
I also did a quick google search and couldn’t find any deaths on Lembert Dome (you can find stories of deaths on Half Dome). I did find a story of someone in a climbing accident on Lembert, but they were rescued. You can read more here.
Is hiking the Lembert Dome trail worth it?
Rating: 5.0 Mooses

What we liked:
- The views from the summit were worth the climb.
- We conquered Half Domes smaller cousin!
- There were beautiful wild flowers and even a deer along the trail.
What we didn’t like:
- There isn’t a lot to dislike about this hike, unless you have a fear of heights. The granite on the dome can be intimidating, so only go as far as you feel comfortable.
- We ran into some mosquitos on the first half to the trail. Be sure to bring bug spray.
Verdict: The views were great and we’re glad we did it.
Practical info for your trip
Current trail conditions
- Check nps.gov for current closures or restrictions.
- Check Alltrails for recent trail conditions.
- Check the National Weather Service and also Mountain forecast for temperature forecasts.
Note: We used the National Weather Service site and found their forecast to be pretty accurate. We have used Mountain Forecast for other hikes and found them to be pretty reliable, but we didn’t use it for Lembert.
Lembert Dome hike Warnings and Hazards
NPS.gov recommends the following for this hike:
- Stay off domes during thunderstorms!
- Carry (and drink) plenty of water: a leading cause of injuries on the trail is dehydration. Be sure to treat river, stream, lake, or spring water.
- Always carry a map and compass, and know how to use them, and wear sturdy footwear with good traction.
- Be prepared for sudden changes in weather and conditions.
What to bring
Be sure to check the weather conditions and pack appropriately. This is what we brought for this hike:
Standard Gear:
- The 10 Essentials. These are a must for us on every hike.
Special Items of note:
- Footwear – Shoes with a good grip for climbing on the dome is a must. While we both personally felt the dome was pretty grippy, we would not climb it without appropriate footwear.
- Clothing – Be sure to bring appropriate clothing for rapidly changing conditions. Weather can change extremely fast in the mountains.
- Water / Snacks – There is no running water available at the trailhead. Bring plenty of water and extra snacks.
- Navigation – We use Alltrails (no affiliation) on all our hikes. The trail was well marked and I don’t think we would have needed it, but you should always have a form of navigation on any hike you take.
Parking at Lembert Dome
There are three options for parking on this trail:
Lembert Dome Picnic Area
The first is the official area of Lembert Dome Picnic Area. This is where we parked and arriving around 9:00 a.m. on a Monday, we didn’t have any trouble with parking. Even when we finished around 12:30 p.m. (we stopped for lunch), there were still a few parking spots. We have heard it gets busy, so we recommend going early.
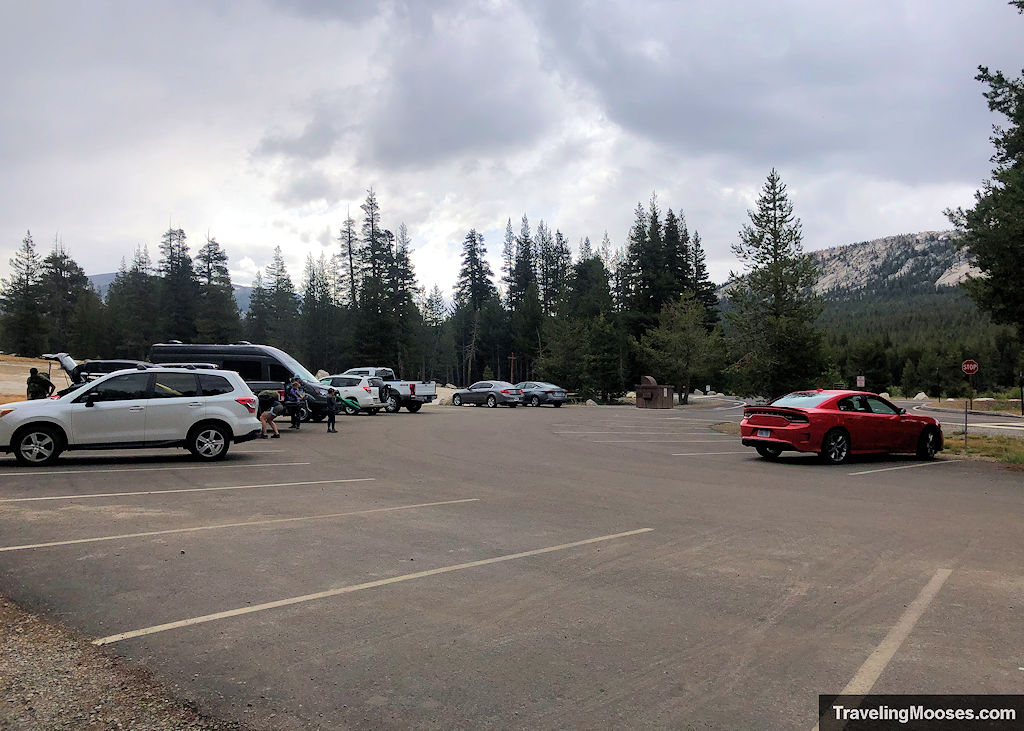
Dog Lake Parking Area
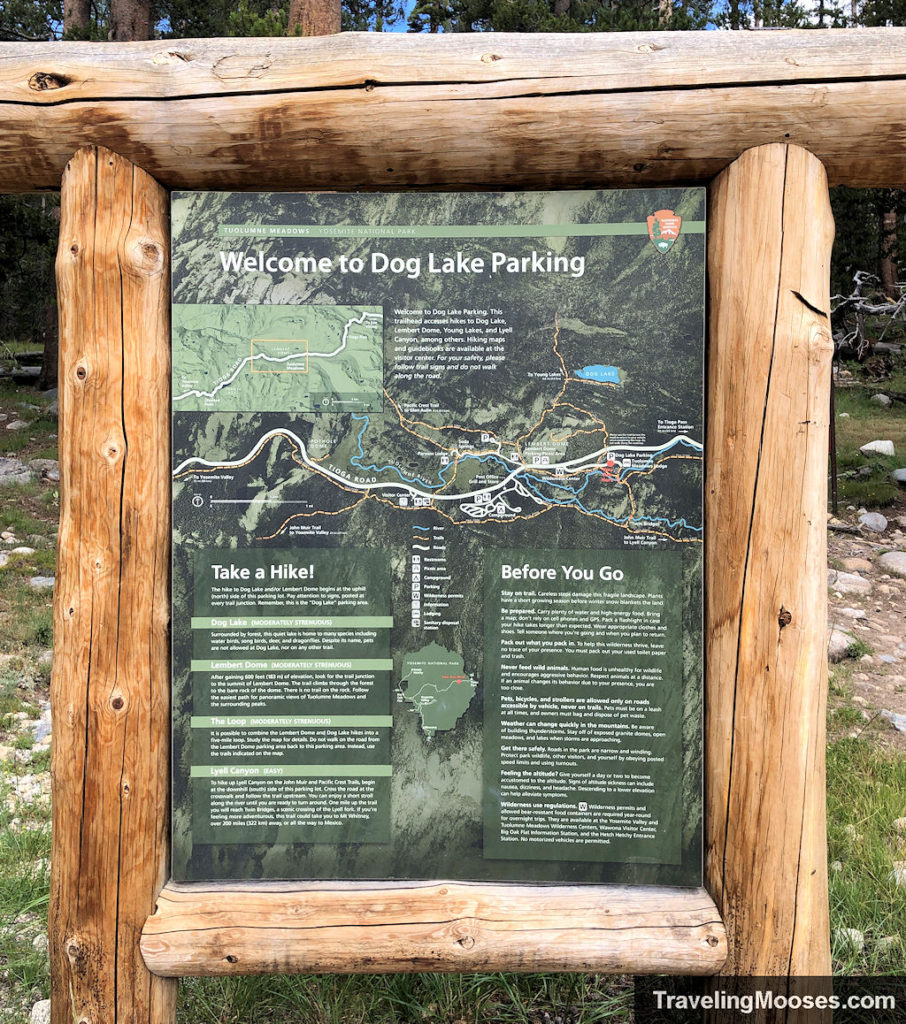
If you complete the entire loop (as we did), you’ll end up passing through the Dog Lake parking area. It is located here. We found this lot was larger than the one we parked at and would be a quicker route to reaching the dome (if you go out and back). The lot is accessible off of Tuolumne Meadows Lodge Road.
Tuolumne Meadows Wilderness Center
This lot would be my last choice to park in as it is in the middle of the two main trailheads. If the other lots are full, this would be a decent option. If you do choose this option, we recommend completing the entire loop rather than doing it as an out and back hike. The parking lot is located here. Note: we never saw this lot as we were distracted by the Tuolumne River.
Trailhead Amenities
At the main Lembert Dome parking area, we found the following:
- Picnic tables
- Garbage cans
- Vault Toilets
- Trail information
- No running water
Happy hiking and stay safe!

