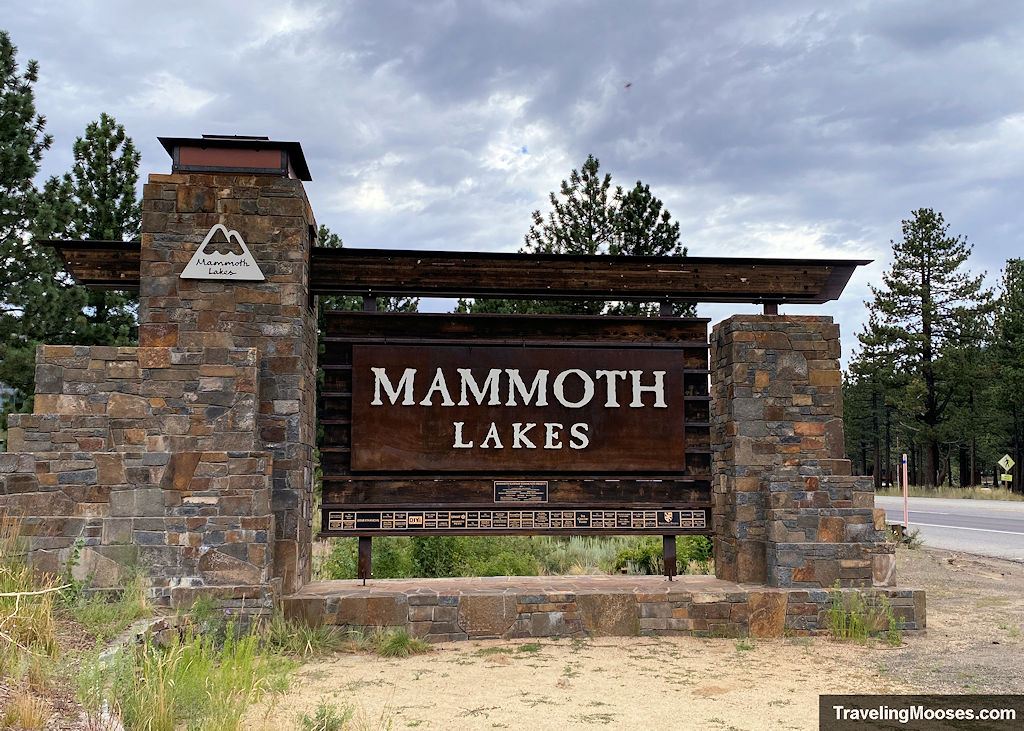
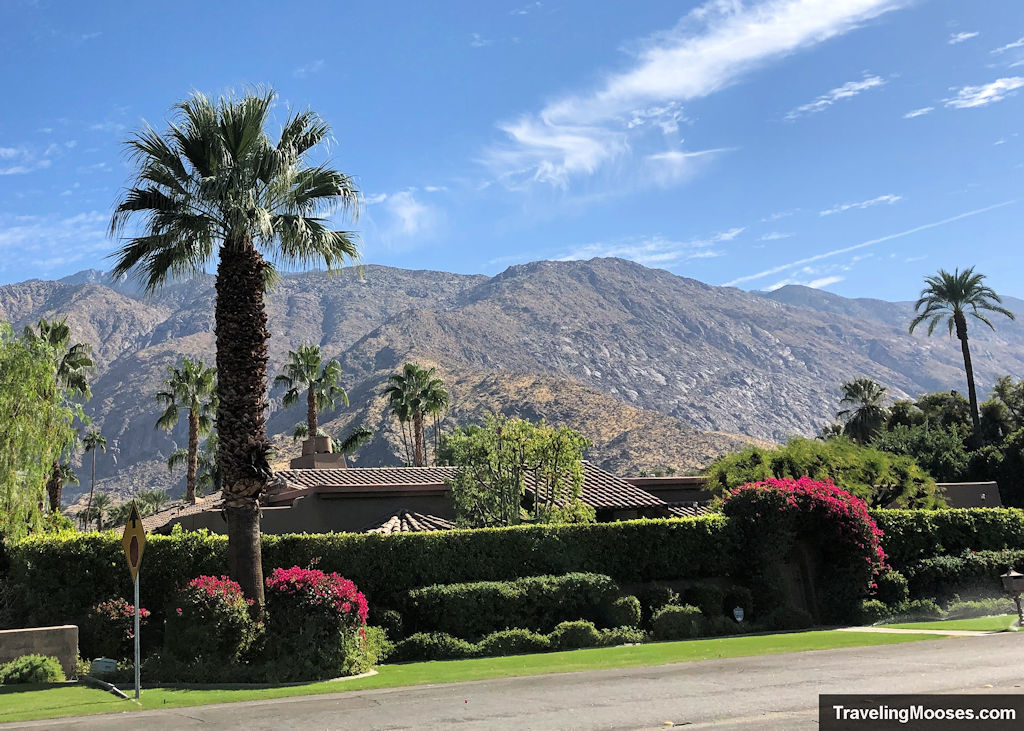
We spent 5-days in Mammoth Lakes, CA. Here is everything we did and the things we wish we had time for.
In this guide (jump to section):
- Mammoth Lakes, CA Quick Stats
- Our 5-day itinerary in Mammoth Lakes, CA
- Is visiting Mammoth Lakes worth it?
- Things we wish we had time for
- Things we decided to skip
- Practical Information for your trip
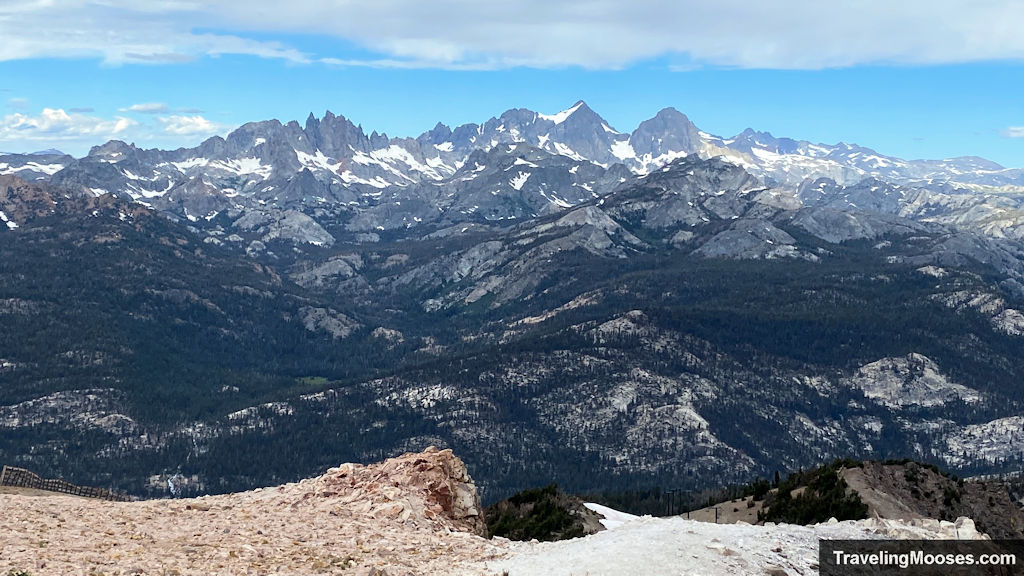
Mammoth Lakes Quick Stats
| Location | Mammoth Lakes, CA |
| Population | ~7,271 |
| Popular Things to Do | Hiking, biking, skiing, kayaking, scenic drives, golf, camping, waterfalls and more. |
| Official Website | Town of Mammoth Lakes |
| Popular Day Trips | Yosemite Park – Tioga Pass Entrance (45 minutes), Bodie State Historic Park (70 minutes), Benton Hot Springs (50 minutes), Mono Lake (33 minutes). |
| Rating | 5.0 Mooses |
5-Day Itinerary for Mammoth Lakes, CA
Day 0: Arrival & Dinner in the Village
We left Las Vegas on a Sunday morning around 8 a.m. to make the approximately 5.5-hour drive to Mammoth Lakes. We opted to take the “fastest” route on google maps which takes vehicles through CA 168 (we do not recommend this!)
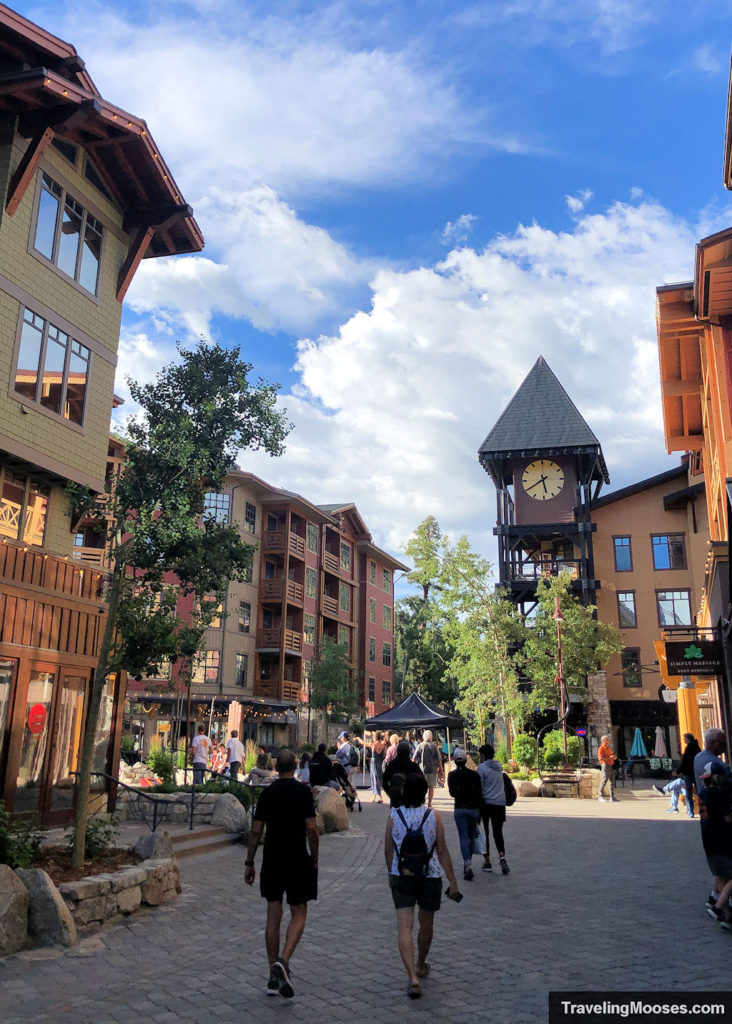
After making a few fun stops along the way, we arrived in the Mammoth Village around 4 p.m. to check into our Airbnb.
All we had time for that evening was to grab some delicious pizza at Giovanni’s and get ready to explore the next morning.
Dinner at Giovanni’s

Dinner at Giovanni’s Pizza – 437 Old Mammoth Road
Official Website: Giovanni’s
Cuisine: Pizza, salads, pasta, various Italian entrees, cocktails and more.
Cost: $$
Our thoughts: Yelp & TripAdvisor both give Giovanni’s 4 stars and our Airbnb host also recommended we check out the place. We ordered the Mammoth Meatzza pizza. Despite being a little pricey (as everything is in Mammoth), it was delicious! We’d absolutely go back if we find ourselves in the area.
Day 1: Exploring Yosemite from Tioga Pass and a quick stop at Mono Lake
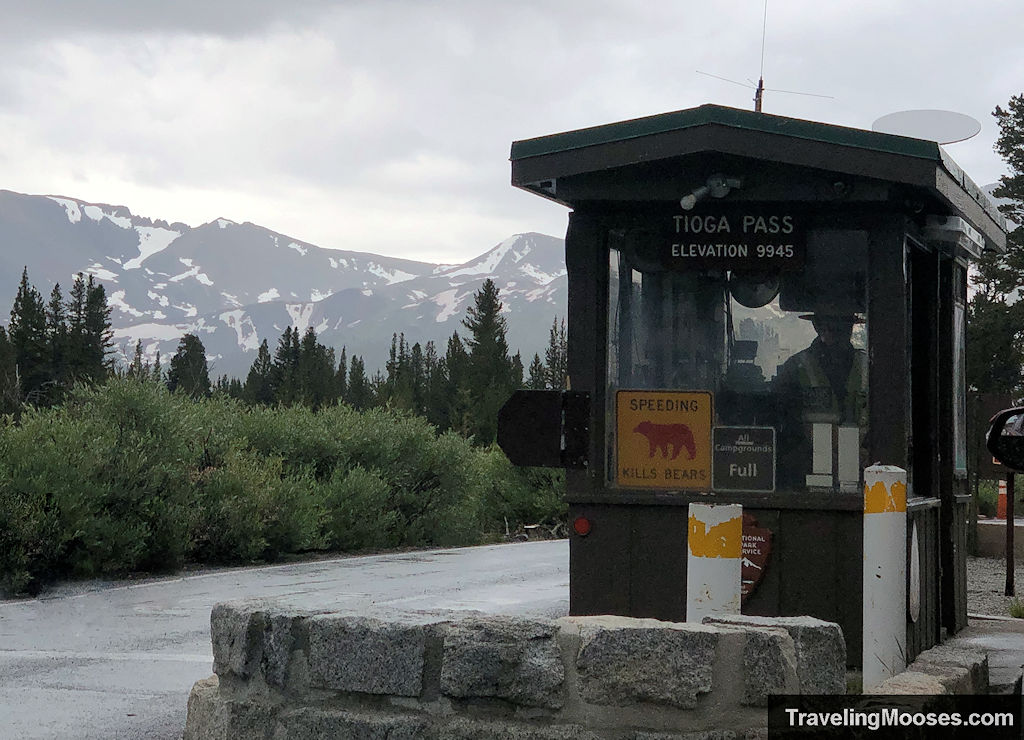
We know it’s a little strange that we planned a 5-day trip to Mammoth and immediately headed out on a day trip to Yosemite, but we let the weather forecast dictate our plans and absolutely did not want to miss the famous Tioga Pass.
First up was a hike up Lembert Dome. This is our answer to avoiding hiking up the much larger Half Dome (and a lot less scary). Plus, you don’t have to win a lottery to go.
Hiking up Lembert Dome
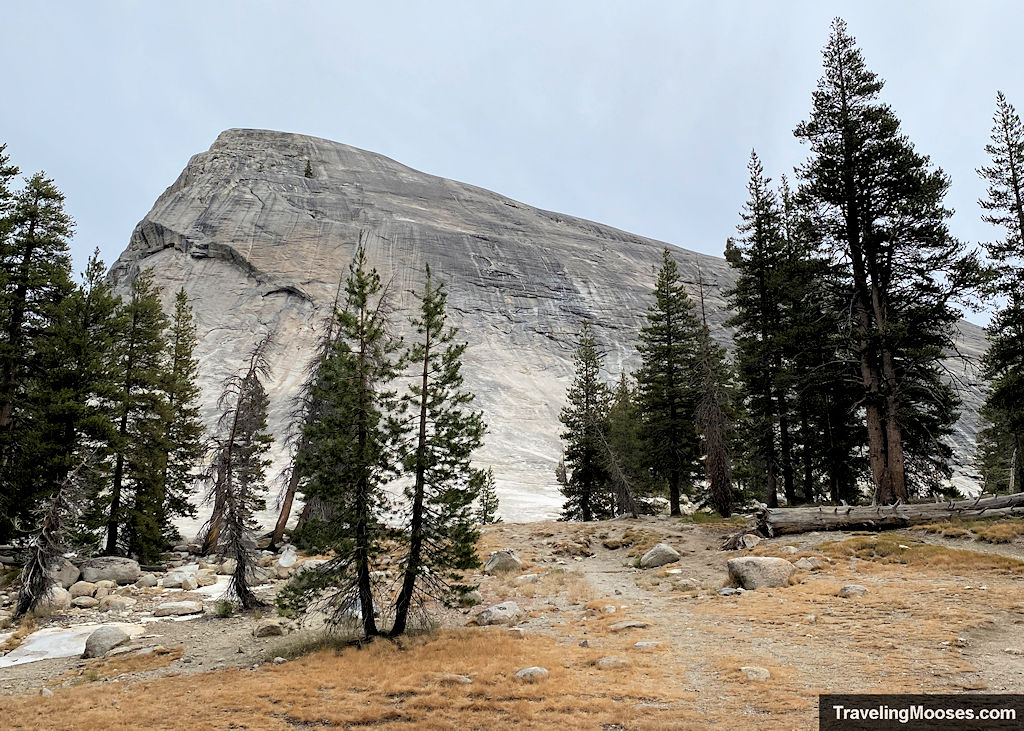
Lembert Dome is a granite rock dome, similar to its much larger cousin, Half Dome. The dome rises 800 feet above Tuolumne Meadows and can be accessed from the Lembert Dome picnic area or the Dog Lake Parking area. The trail is much shorter from the Dog Lake Parking area if you go out and back. We opted to hike the entire loop.
Distance: ~3.8-mile round trip loop
Difficulty: Moderate
Cost: Entrance into Yosemite National Park, $35 for a 7-day pass, or the annual America the Beautiful Pass ($80) is accepted. (Prices subject to change).
Average Time: 2 to 3 hours (depending on if you complete the loop or go out and back).
When you’re visiting Tioga Pass, one of the most famous places to stop, is Olmsted Point.
Stopping at the scenic Olmsted Point
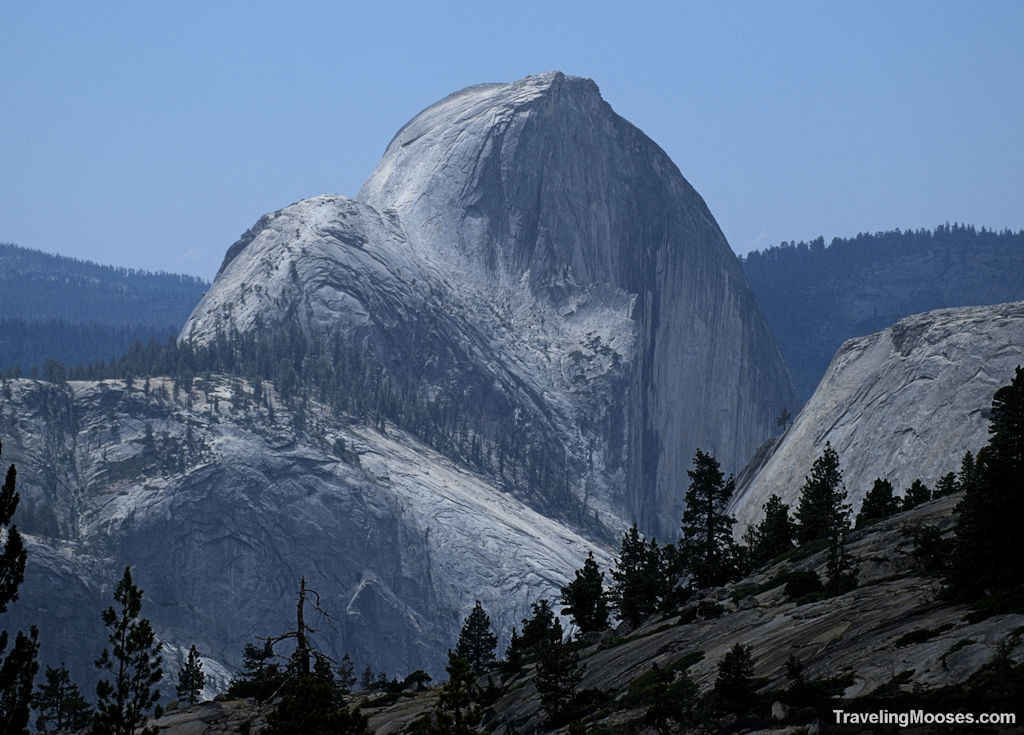
Olmsted Point is an easily accessible viewpoint along Tioga Road, about 10 miles from Tuolumne Meadows. We found plenty of parking, spectacular views of Half Dome, Clouds Rest and the surrounding Yosemite Valley.
You can also enjoy a short 0.25-mile one-way hike to closer views of Half Dome. Surprisingly, few visitors were willing to take the short hike when we visited. Be sure to bring binoculars so you can see hikers climbing up Half Dome.
Cost: Entrance into Yosemite National Park, $35 for a 7-day pass, or the annual America the Beautiful Pass ($80) is accepted. (Prices subject to change)
Average Time: ~30 minutes
Highlights: Expansive views of Yosemite Park, including the famous Half Dome.
Next up, was few quicks stops at Tenaya Lake and the famous Tuolumne Meadows.
Soaking in the views at Tenaya Lake
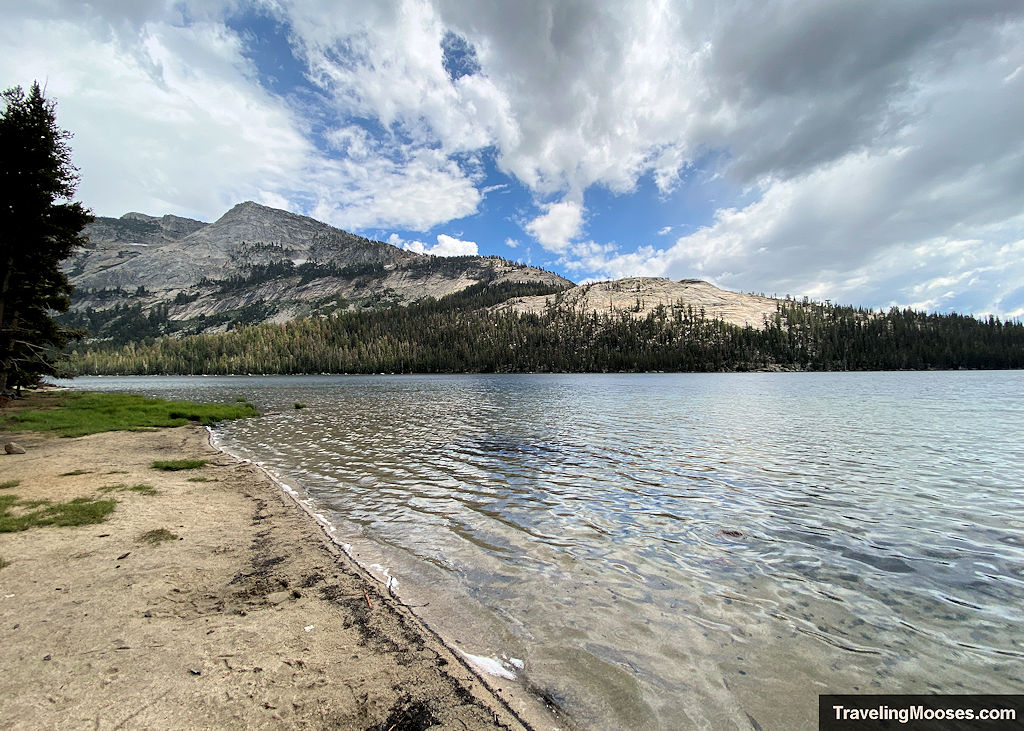
Tenaya Lake is famous for its turquoise waters and is surrounded by large granite domes and mountains. The lake was named after Chief Tenaya, the last chief of the Yosemite Indians. The lake can only be accessed in the summer months when Tioga Pass is open, but is quite popular with visitors for picnics, swimming and canoeing.
Cost: Entrance into Yosemite National Park, $35 for a 7-day pass, or the annual America the Beautiful Pass ($80) is accepted. (Prices subject to change)
Average Time: 1 – 2 hours
Photo op at the Tuolumne Meadows
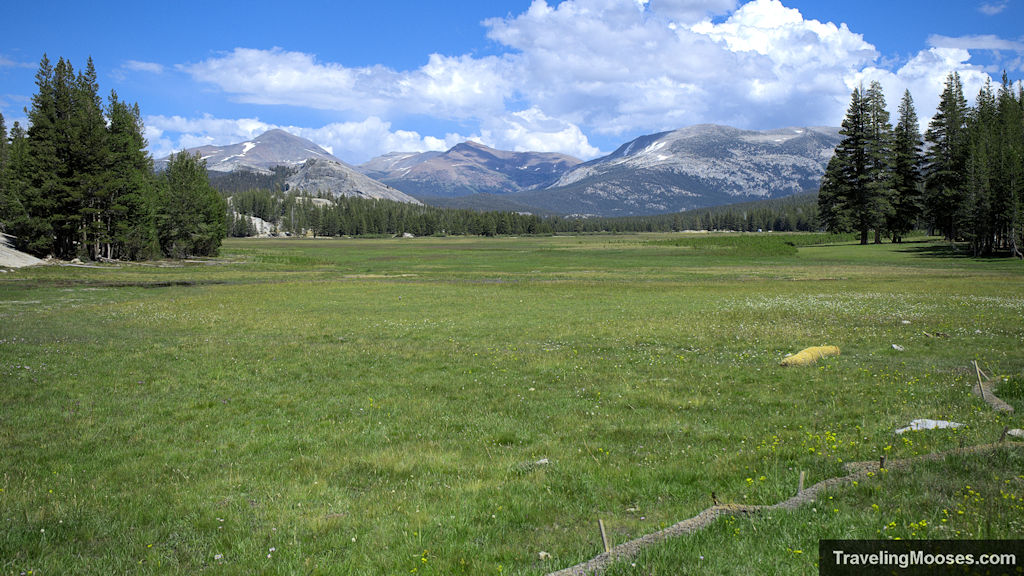
Tuolumne Meadows is a high-elevation meadow located in the heart of Yosemite. Clocking in at 8,600′ in elevation, visitors can enjoy the lush green meadows, wildflowers, occasional wildlife sightings and the cascading Tuolumne River wandering through the area.
Cost: Entrance into Yosemite National Park, $35 for a 7-day pass, or the annual America the Beautiful Pass ($80) is accepted. (Prices subject to change)
Average Time: < 30 minutes (unless you try one of the hikes)
After spending most of the day in Yosemite, we left the park and headed towards Mammoth. We knew Mono Lake was on our return trip, and it was recommended to us by more than one person. We decided to stop at the southern edge of Mono lake where you can find the unique Tufa Towers and go on a short hike.
Exploring Mono Lake Tufa State Natural Reserve
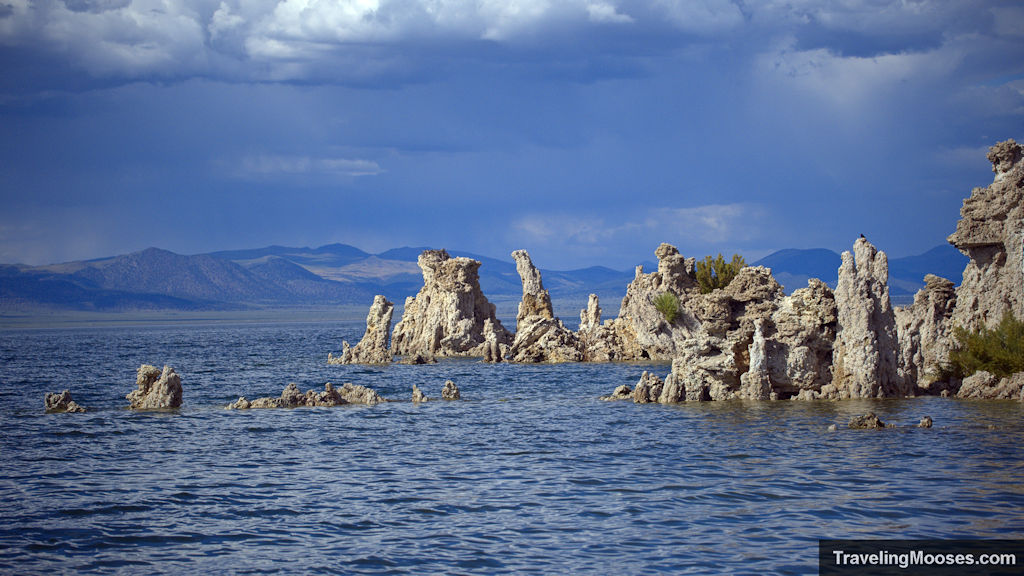
Mono Lake was formed over 760,000 years ago and is unique to it’s lack of outlet that causes high levels of salt to accumulate. It is also home to the famous “Tufa Towers,” which are calcium-carbonate spires formed from the interaction of fresh water and salt water. The park is located around 13-miles east of Yosemite National Park (Tioga Pass entrance) and makes a perfect stop on your way back to Mammoth. Visitors can take a short 1-mile loop trail down a boardwalk and back to the parking area on hard packed dirt/sand.
Location: Testing Station Rd, Lee Vining, CA 93541
Official Website: CA Parks & Recreation
Cost: $3 per person payable at a kiosk, or the America the Beautiful Pass is accepted.
Average Time: ~1 Hour
Highlights: Learn about the history of the area, see the famous alkali flies, many gulls and of course the Tufa Towers. Kayak rentals are available near Lee Vining. Swimming is allowed in the lake, along with boating and cross-country skiing in the winter.
After an action-packed day, we had just enough time to grab some dinner at Burgers and get ready for the next day’s adventure.
Dinner at Burgers Restaurant and Bar
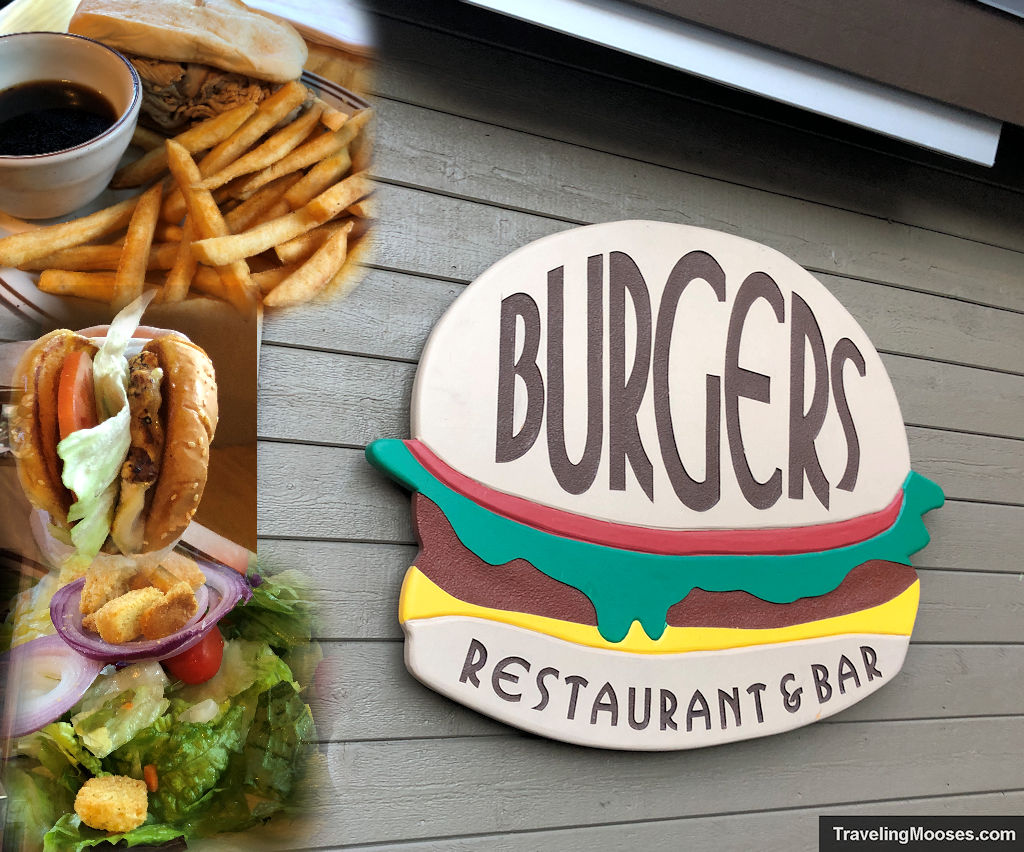
Dinner at Burgers – 6118 Minaret Rd, Mammoth Lakes, CA 93546
Official Website: Burgers
Cuisine: Burgers, BBQ, sandwiches and more.
Cost: $$
Our thoughts: Another restaurant recommended by our Airbnb host and with Yelp (4 stars) & TripAdvisor (4.5 stars) both giving high marks, we were excited to check out Burgers. Not only do they have a great name, it was steps from our unit at the White Mountain Lodge in the Village. Our Airbnb host recommended the burgers or the BBQ and of course their famous mud pie. We opted for a turkey dip and a chicken sandwich. We were a bit underwhelmed with our choices and wished we had stuck with the famous burgers. We’d be willing to give it another chance on a different day.
Day 2: Taking a ride up the Panorama Gondola at Mammoth Mountain and a round of Disc Golf.
It was time for day two in Mammoth and we did not want to miss the scenic gondola up the mountain.
Riding up the Panorama Gondola in the Summer
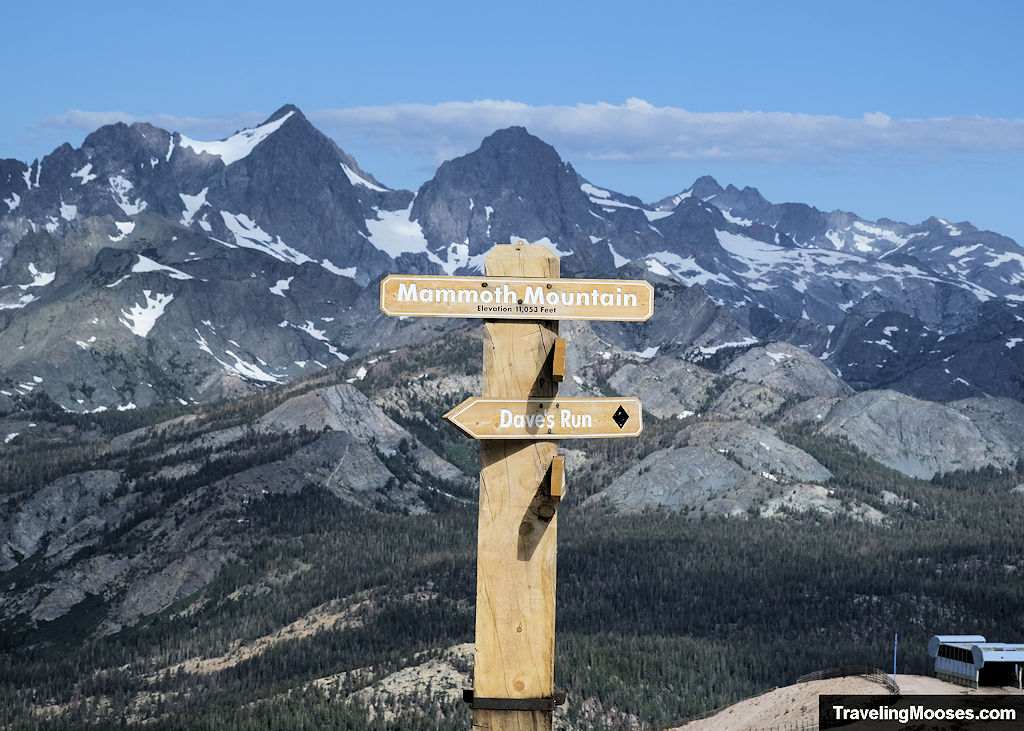
Take a trip up the Panorama Gondola to 11,053′ above sea level. Magnificent views of the Sierra Mountains, plenty of lakes and an interpretive center awaits visitors. For the adventurous, you can hike back down to the base of the mountain which is around 5 miles (weather/snow conditions dependent). Alternatively, you can hike down from the mid-way McCoy Station which is only around 2 miles.
Cost: Varies based on the day you visit – the cheapest we found was near the end of the season at $34 online.
Tickets: Reserve online at Mammoth Mountain
Average Time: 1 – 2 hours
Highlights: Scenic views, walking path to the Lakes Overlook, interpretive center, hiking (seasonal), food available for purchase and the large Mammoth replica at McCoy station.
The afternoon was shaping up for some questionable weather, but despite the impending thunderstorms, we took our chances on a game of afternoon disc golf. Unfortunately – we did get rained on, but we did finish our game. Note: When your hubby checks the forecast and wants to go a few hours later to miss the rain, he’s probably right. Sorry Mr. Moose!
Playing a round of disc golf at Shady Rest Park
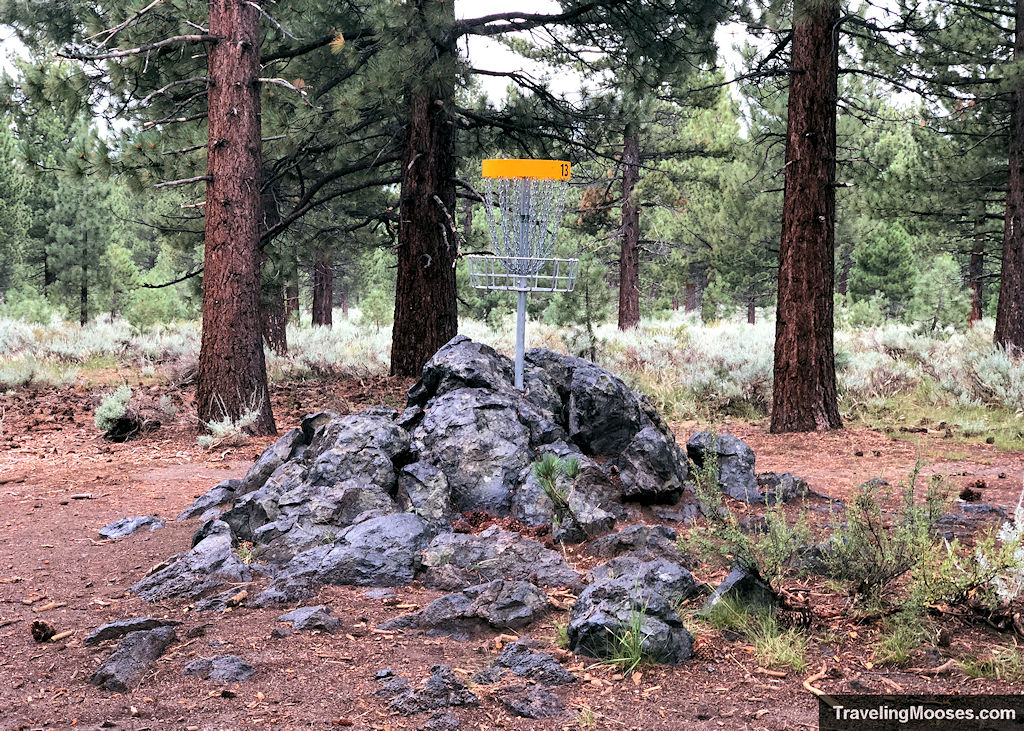
An 18-hole disc-golf course located in the heart of Shady Rest Park. It holds the honor of being the first course to open in a US National Park. The course features a short and long tee box option for each hole. The course was originally established in 2019 as a pro course and meanders through a pine forest (that appears repetitive after a while). It features one extremely long hole at 785 feet.
Course Map: Disc Golf Park
Location: Shady Rest Park
Cost: Free
Average Time: 1 – 2 hours
To cap off the day, we headed off to the Mammoth Brewing Company to enjoy some tasty freshly brewed beers.
Beers at the Mammoth Brewing Co.
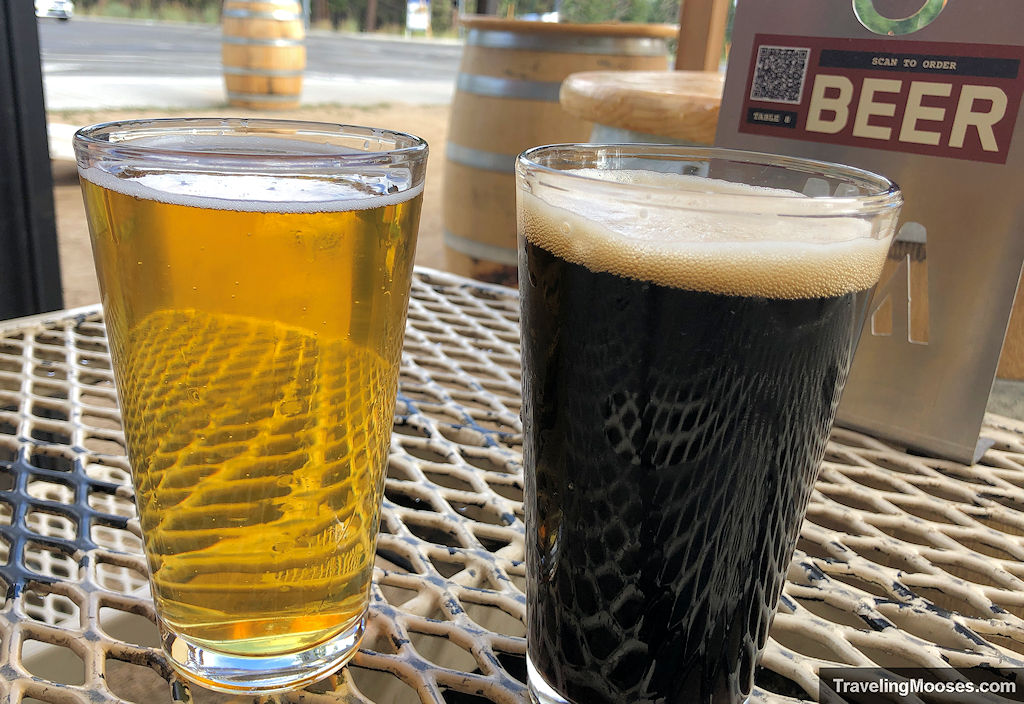
Beer at Mammoth Brewing Co – 18 Lake Mary Road, Mammoth Lakes CA
Official Website: Mammoth Brewing Co.
Cuisine: Burgers, pizzas, sandwiches and of course freshly brewed beer!
Cost: $$
Our thoughts: We were excited to try out some freshly brewed beer at Mammoth Brewing Co. and they didn’t disappoint. We enjoyed their outdoor seating area complete with sun shades. We weren’t hungry enough to sample any of their food, but the dishes that went by looked amazing. They occasionally have live music and also have indoor seating as well.
Day 3: Rainbow Falls, Devil’s Postpile and a scenic drive around June Lake
If you do any google searching for things to do in Mammoth, Rainbow Falls and Devil’s Postpile are sure to be on everyone’s list. And after seeing the photos (and now having visited), we understand why.
Hiking to the famous Rainbow Falls
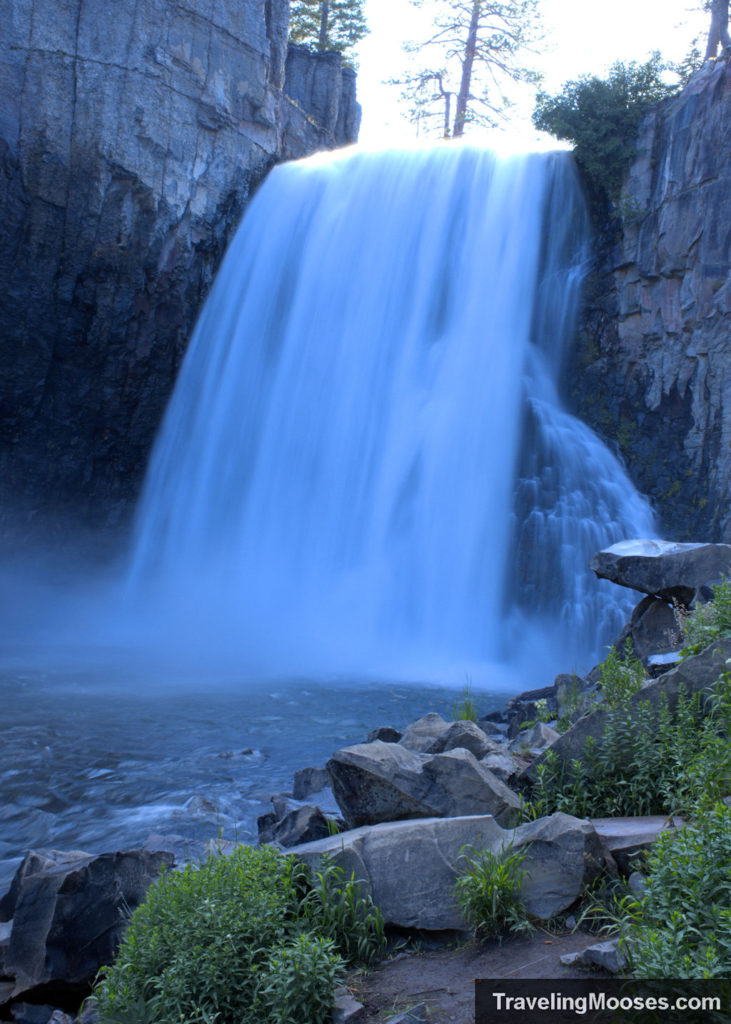
Rainbow Falls is a breathtaking 101-foot waterfall which is part of the Devil’s Postpile National Monument. The area is famous for its rainbows dancing around the falls (if you visit at the right time of day), and is surrounded by beautiful mountains and wildflowers. The area is accessible during the summer months.
Cost: If you take the Red Meadows Shuttle, it’s $15 per person. If you drive yourself, it’s either $10 per vehicle or you can show your America the Beautiful Pass. (Prices subject to change).
Distance: ~5.0 miles round trip from Shuttle Stop 6 (Devil’s Postpile), or ~2.6 miles round trip from Shuttle Stop 9.
Difficulty: Easy/Moderate (The trail itself is considered easy due to its light grade, however the trail is at a high elevation and is often exposed to sun).
Special note: For the majority of visitors, the Red Meadows Shuttle is mandatory. A limited number of exceptions exist to drive your own car. See details here.
Average Time: 2 – 4 hours (depending on your choice of entry into the park).
Exploring Devil’s Postpile
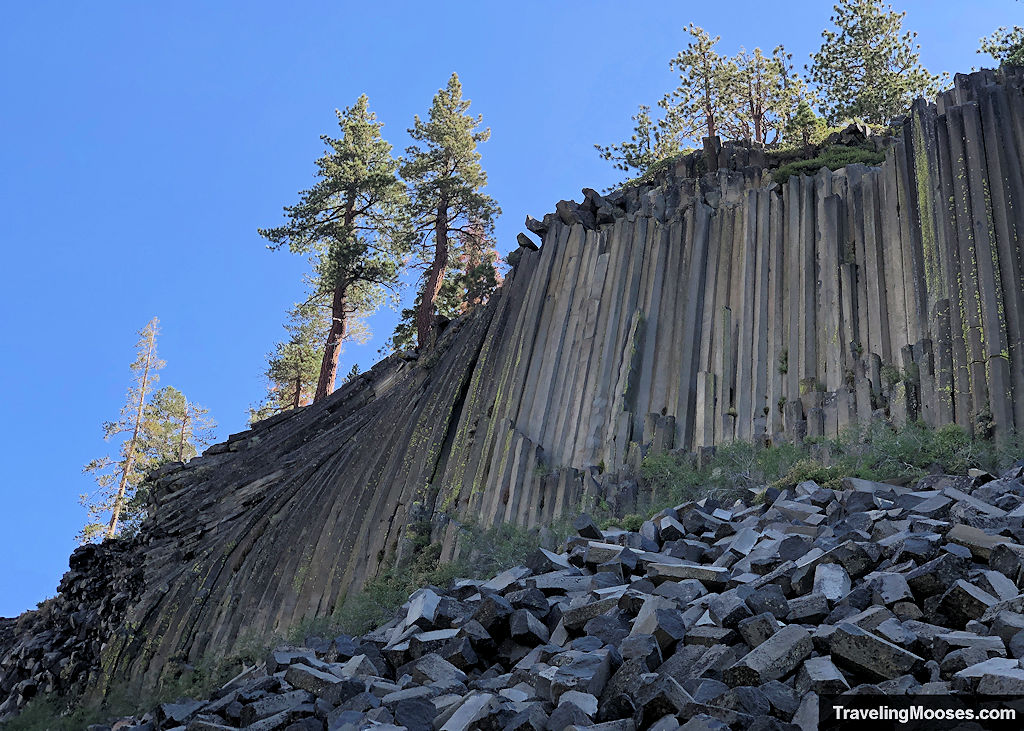
Devil’s Postpile is a geological wonder consisting of columnar basalt. The columns tower up to 60 feet in height and were formed during the cooling of thick lava. This unique formation can be accessed after a short 0.4 mile walk on an easy trail.
Cost: If you take the Red Meadows Shuttle, it’s $15 per person. If you drive yourself, it’s either $10 per vehicle or you can show your America the Beautiful Pass. (Prices subject to change).
Distance: ~0.8 miles round trip from Shuttle Stop 6 (Devil’s Postpile)
Difficulty: Easy
Special note: For the majority of visitors, the Red Meadows Shuttle is mandatory. A limited number of exceptions exist to drive your own car. See details here.
Average Time: ~1 hours
We got a really early start on our trip out to Rainbow Falls and had plenty of time in the afternoon to take a scenic drive around June Lake. We were going to go kayaking, but our plans were ruined by afternoon thunderstorms. Instead, we enjoyed the scenic views and a nice waterfall.
Scenic drive around the June Lake loop
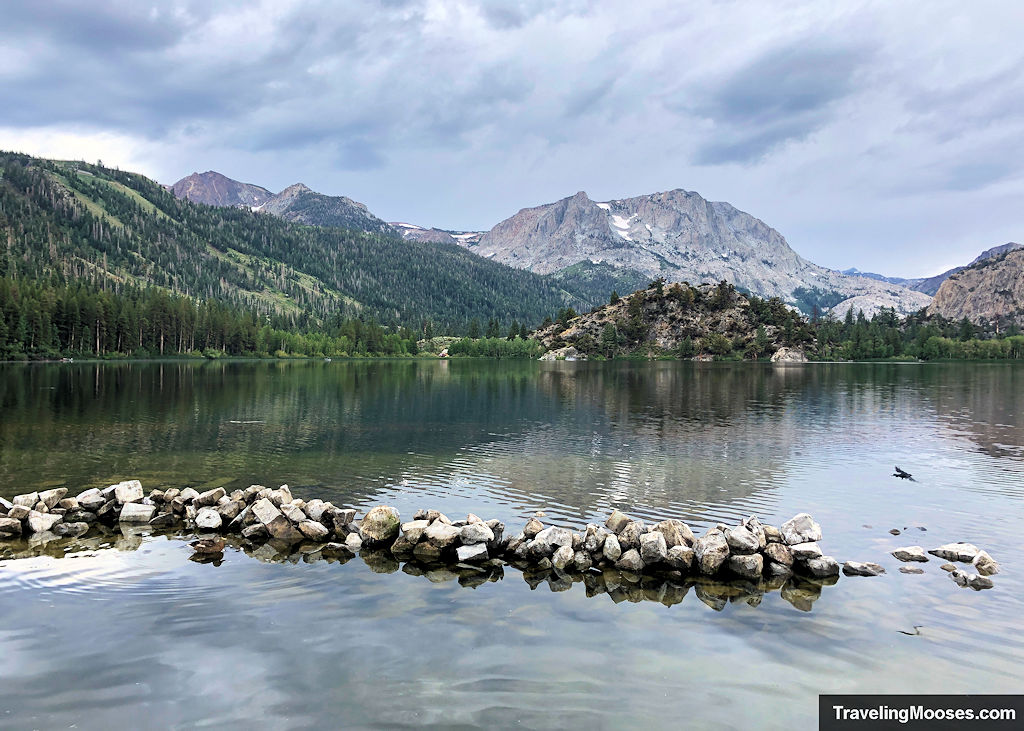
The 16-mile June Lake scenic loop (officially CA 158), takes adventurers on a paved road loop past multiple mountain lakes. Enjoy June, Gull, Silver, Grant and Agnew Lakes. It’s also the perfect way to end your trip to Yosemite on your drive back to Mammoth. Alternatively, you may want to stop for a quick lunch or take a spin on one of the lakes that offers kayak rentals.
Cost: Free
Average Time: 1 – 3 hours
Highlights: Explore the town of June, CA, see multiple mountain lakes, a seasonal waterfall, mountain views and enjoy a stop at one of the many resorts/marinas along the route.
To end the day, we had another great meal at Roberto’s Cafe in downtown Mammoth.
Dinner at Roberto’s Cafe
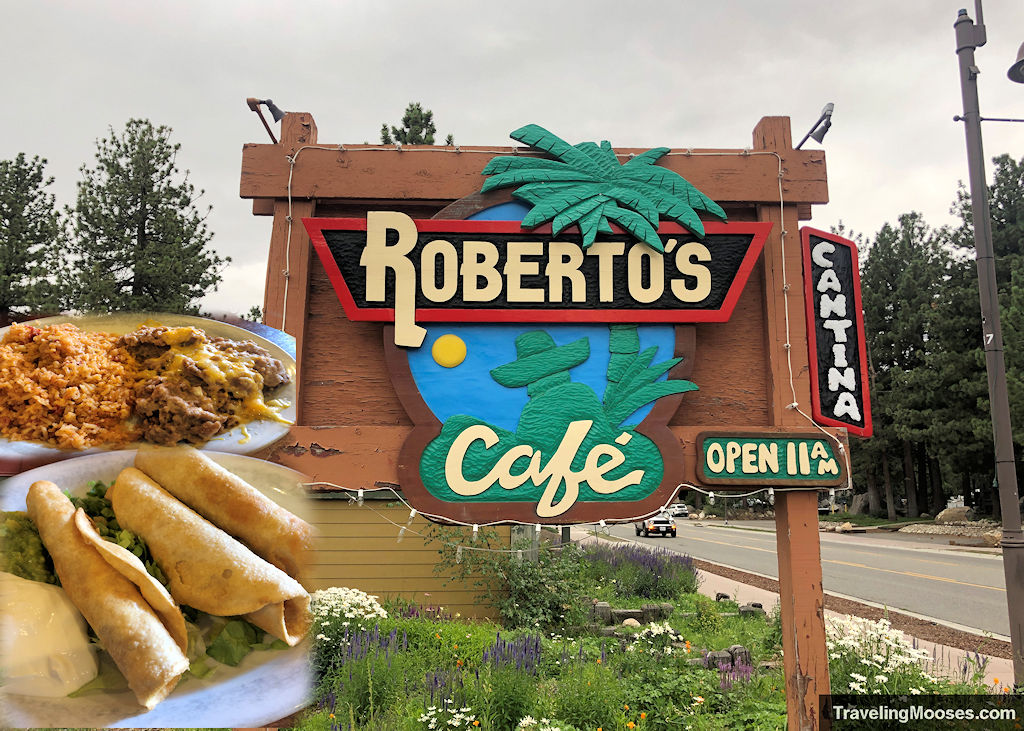
Dinner at Roberto’s Cafe – 271 Old Mammoth Road, Mammoth Lakes, CA
Official Website: Roberto’s Cafe
Cuisine: Mexican
Cost: $$
Our thoughts: Another restaurant recommended by our Airbnb host and had solid ratings on Yelp & TripAdvisor (4 stars). We sampled the chicken taquitos and a chicken burrito grande. The chips and salsa had just the right amount of spice and the service was fast and friendly. We also saw a huge number of to-go orders coming out of the kitchen. We highly recommend checking it out.
Day 4: Biking the Lake Basin Trail and Exploring Horseshoe Lake
It’s been a while since we’ve been able to rent bikes and explore scenic / beginner type trails. We were excited to learn about the Lake Basin Path and rented bikes from Mammoth Mountain Center in the Village. We picked a “hardtail” (non-electric bike) to ensure we could go on the non-paved paths. An e-bike is recommended if you want to go up the Lake Basin Path as it gains around 1,000 feet of elevation. We decided to hop on the free summer Lake Basin Trolley to take us up to Horseshoe Lake and ride back down. In fact, we ended up taking the downward path four separate times.
Exploring Horseshoe Lake
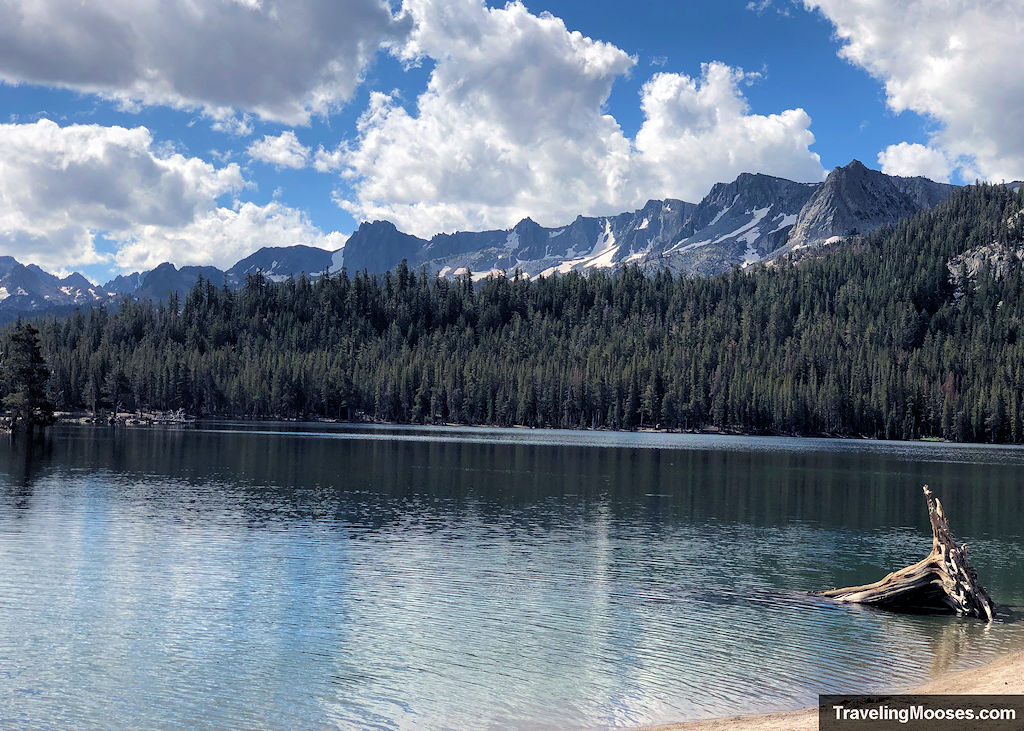
Horseshoe Lake is located not far from Mammoth Village. It features picturesque views, jagged mountains, and a sparkling mountain lake. The area is unique due to the destruction of many of the trees on the Northwestern corner orginating from carbon monoxide (CO2) poisoning. Scientists believe the gas is coming from a reservoir deep under Mammoth Mountain that has existed for years but was disturbed during a 1989 earthquake. The area is open for recreational activities but the USGS recommends not laying on the ground or digging in the dirt. You can read more here.
Cost: Free
Getting there: Limited parking is available at the lake, or you can take the free Lake Basin Trolley (which typically runs every 30 minutes) to the area. You can find the trolley schedule here.
Average Time: ~ 1 Hour
Highlights: Hike or Bike (no e-bikes allowed) around the 1.7-mile loop trail, swim, kayak (no rentals available at the lake), soak in the views and learn about the carbon monoxide poisoning of the trees.
Biking the Lake Basin Path
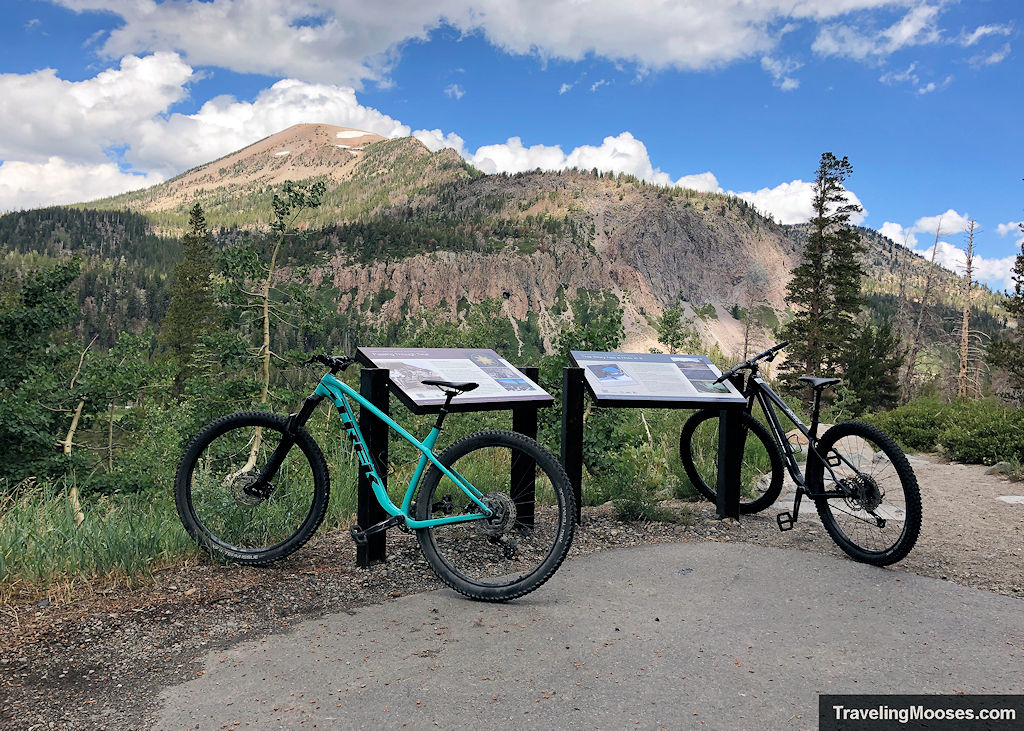
Spend a few hours or the entire day biking down the Lake Basin Trail (5.3 miles each way), or the Town Lake Loop (7.3 miles). You can take the summer trolley up to Horseshoe Lake for free and enjoy a downhill ride back to village past mountain lakes, sweeping views and a few waterfalls. The trail isn’t maintained in the winter.
Cost: $$ – There are multiple bike rental shops in the area, with the one in the Village the most expensive. If you only plan on only riding down the Lake Basin Trail, you won’t need the more expensive e-bike rental. Plus, you can’t go around Horseshoe Lake with an e-bike.
Average Time: 2 – 4 hours, we ended up spending all-day.
Highlights: Twin Lakes Vista, Tamarack Lodge, Lake Mamie, Horseshoe Lake, waterfalls, sweeping views and more.
Day 5: Hiking Convict Lake
It’s always a bittersweet moment of realization when it’s time to head home. There’s no place like home, but also vacations are amazing. We wanted to get one last activity in before making the 5.5-hour drive back to Las Vegas. On the way out of town, we planned to stop at the breathtakingly beautiful Convict Lake.
Hiking the Convict Lake Trail
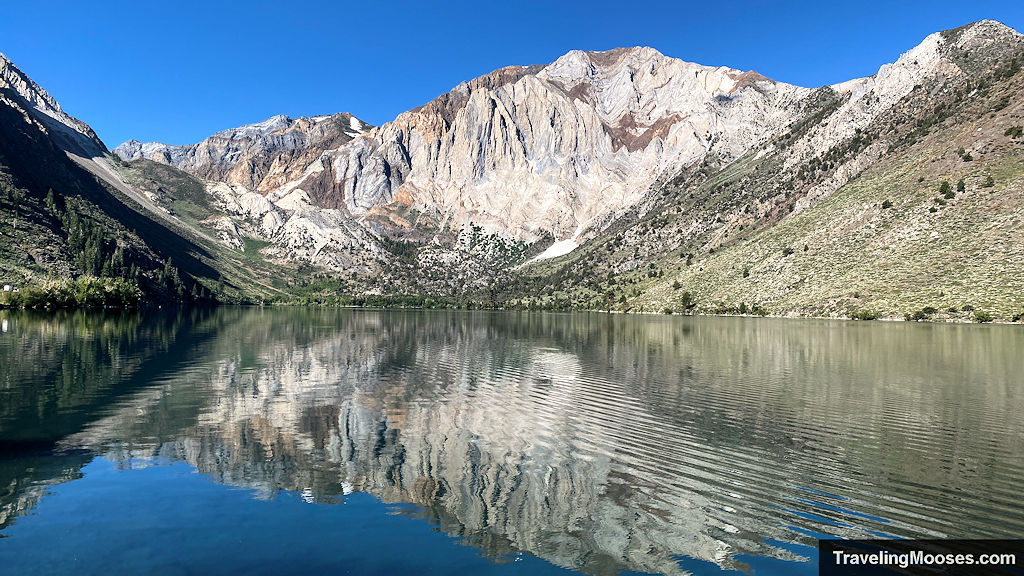
Only 11 miles from Mammoth, Convict Lake boasts stunning turquoise-blue waters framed by rugged mountains, though its name carries a dark history. A group of escaped convicts from Carson City, Nevada once took refuge here, leading to a violent showdown with pursuers. Some initially evaded capture but later faced a grim fate at the hands of a posse. Convict Lake’s beauty contrasts with its haunting past, making it a captivating yet somber destination.
Round trip mileage: ~3 miles
Cost: Free
Difficulty: Easy/Moderate – depending on weather and the level of the stream crossing.
Average Time: ~2 Hours
Other activities: Kayaking, boat rental, fishing, and swimming.
Is visiting Mammoth Lakes, CA worth it?
Rating: 5.0 Mooses

Without a doubt, yes!
What we liked:
- We were surrounded by the rugged and snow-capped Sierra mountains.
- We saw a variety of wildlife including deer, chipmunks, birds, and even a sphinx moth! We didn’t run into any black bears, but they do frequent the area.
- The area is filled with lakes, hiking trails, biking trails, and many options for outdoor recreation.
- There are many options for transportation around the city:
- Free Options: The summer trolley up to Horseshoe Lake (including your bike), the ESTA bus around town, and passengers only on the bike shuttle which leads to the adventure center.
- Paid Options: The Red Meadows Shuttle up to Rainbow Falls, or the bike park shuttle (if you’re transporting a bike).
- The Tioga Pass entrance of Yosemite is only 45 minutes from Mammoth Lakes.
What we didn’t like:
- It’s a mountain town in California, which means high prices and tourism taxes added to everything. We still felt it was worth the extra cost.
- We found things opened later than we liked in the summertime. There doesn’t appear to be enough demand to open many businesses or the shuttle system before 9 a.m. This was problematic when we visited as thunderstorms in the late afternoon tended to cut activities short, unless you don’t mind the rain.
Verdict: Mammoth Lakes earns a 5-star rating from us. We highly enjoyed our visit and would love to visit again in the winter time to check out skiing.
Things we wish we had time for
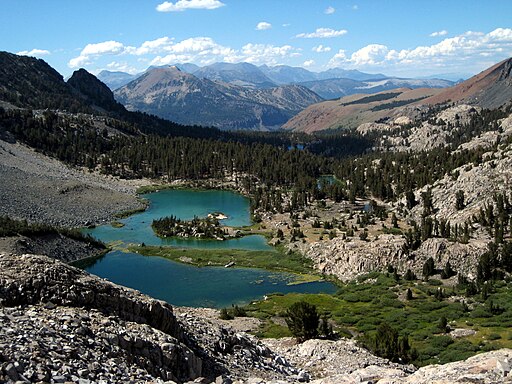
- Duck Pass Hike – We were hoping to check out this hike, but ran out of time. It’s approximately 5.6 miles one-way and around 1,750 feet in elevation gain. It takes hikers past multiple lakes, expansive views and jagged mountains. Here’s the website that inspired us to check it out.
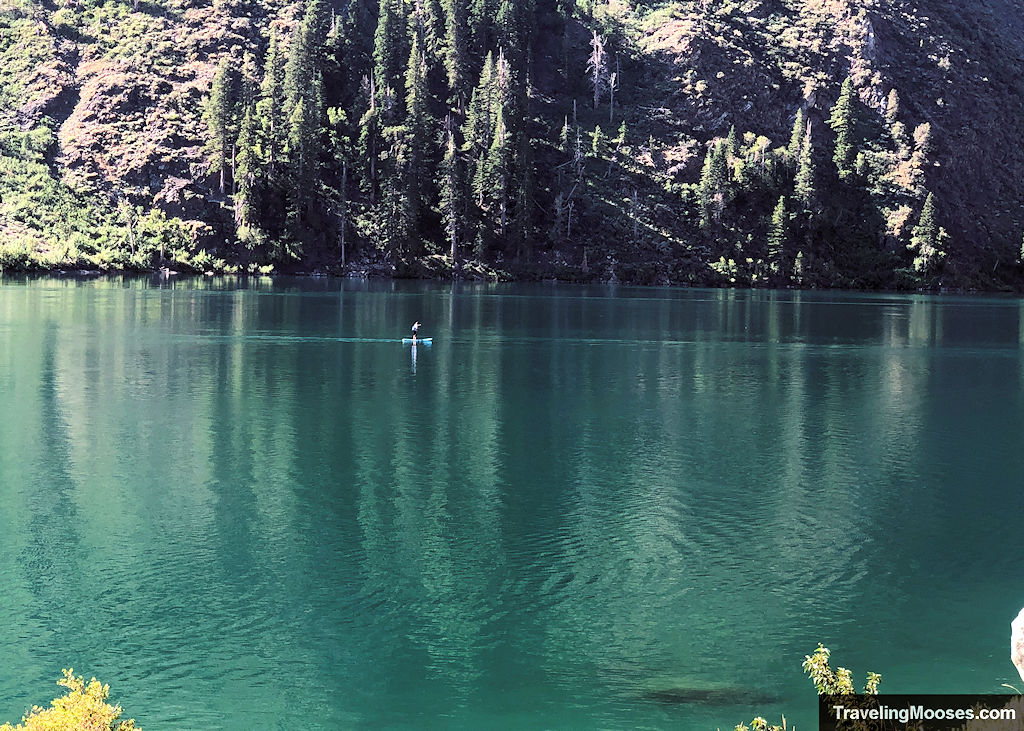
- Kayaking – We tried to go kayaking several times. The first attempt was on June Lake. Unfortunately, we arrived after a thunderstorm had just wrapped up and the water looked too choppy to be enjoyable. We continued on to Gull Lake to try there, but found their only 2-person kayak was filled with rainwater. Gull Lake was much calmer and we would have enjoyed a spin on the water, but we weren’t interested in trying to dry out the kayak. Our next attempt was at Convict Lake. A beautiful sunny day with calm waters. There were quite a few boats on the water but the allure of completing the hike around the lake was just too strong. Below is the list of places we researched and their prices at the time we looked. Prices can change, so be sure to check out their respective websites.
- Lake Mary (4 miles, ~12 minutes from Mammoth) – Rent from Lake Mary Marina – $80 for 2 hours
- Mono Lake (30 miles, ~35 minutes from Mammoth) – Rent from Mono Basin Kayak Rentals – $60 per hour / $15 for every 15 minutes after 1st hour.
- Convict Lake (15 miles, ~25 minutes from Mammoth) – Rent from Convict Lake Marina – $55 for 2 hours.
- Horseshoe Lake (5.4 miles, ~12 minutes from Mammoth) – You’ll need to rent kayaks elsewhere and transport them with your vehicle.
- June Lake (21 miles, ~24 minutes from Mammoth) – Rent from June Lake Marina – $20 per hour for double kayak.
- Gull Lake (21 miles, ~24 minutes from Mammoth ) – Rent from Gull Lake Marina – $25 per hour for double kayak.
Other things we researched but ultimately passed on
- Earthquake Fault Trail – Located not far from the Mammoth activity center, this 0.3-mile trail takes visitors to an earthquake fissure that reaches a depth of 60 feet. It’s free to visit, but in the winter the road is not maintained. After looking at some pictures online we ultimately decided to skip it. Here’s the link that helped us make our decision.
- Minaret Vista – After we took the gondola to the summit of the Mammoth, the views from the photos we saw of Minaret Vista didn’t feel like they were going to surpass what we already saw. The good news is, Minaret Vista is on the outside of the Minaret Vista Entrance Station, so you can visit at any point without restriction. If you don’t have time to take the Panorama gondola to the summit, it would be a good spot to stop at. Here’s some info that we found helpful.
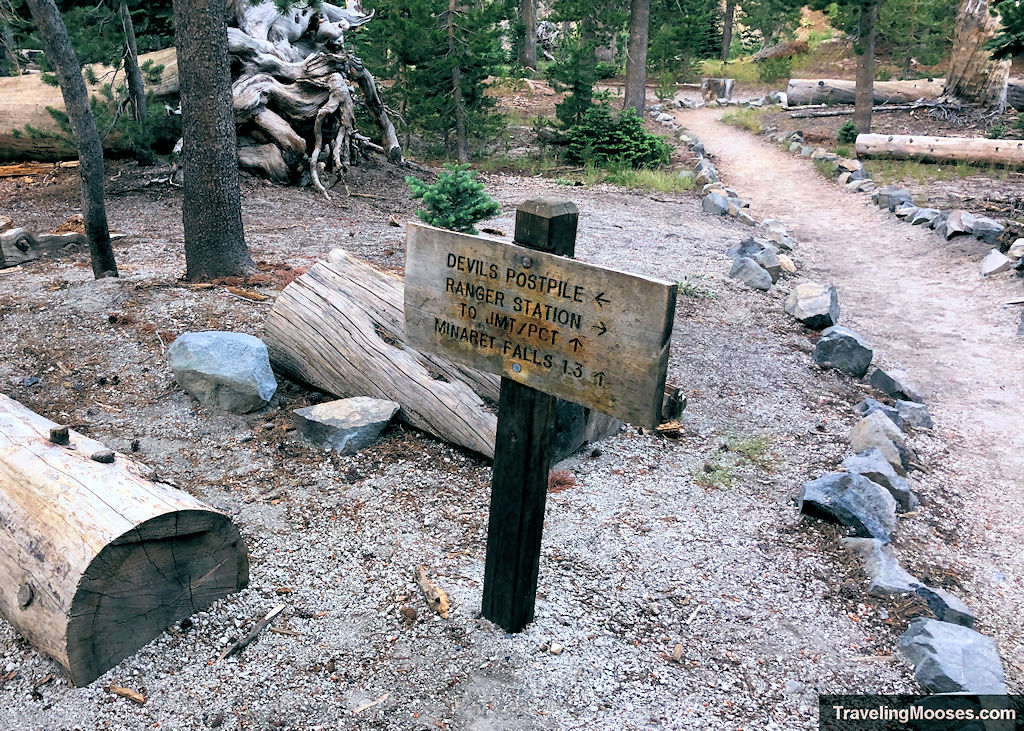
- Minaret Falls – This hike is 1.6 miles each way (from Shuttle stop 6, Devil’s Postpile) and generally considered “easy” though we can’t vouch for it. We were going to head there after our trek to Rainbow Falls, but decided to call it a day after the 5+ miles we had already hiked. It’s closed most of the year due to snow, but probably flows best in late July / early August. We recommend trying to find some current pictures on Alltrails before you head out to see if it’s worth it. Most people only visit Rainbow Falls when they’re in the area, so you’ll likely have the trail mostly to yourself. Here’s the link to Alltrails.
- Bowling – There is one bowling alley in Mammoth, currently open 7 days a week in the summer but only after 4 p.m. It’s kind of pricey, when we looked it was $60 for a 1-hour lane rental (shoes not included). Check out their website for current hours/pricing. You can also make reservations online.
- Miniature Golf – We could only find one miniature golf course in town, called Frosty’s Mini-Golf. We didn’t end up going, so can’t comment on the facility, but you can check out their Facebook page here.
Practical Information for your trip
Where to stay in Mammoth Lakes?
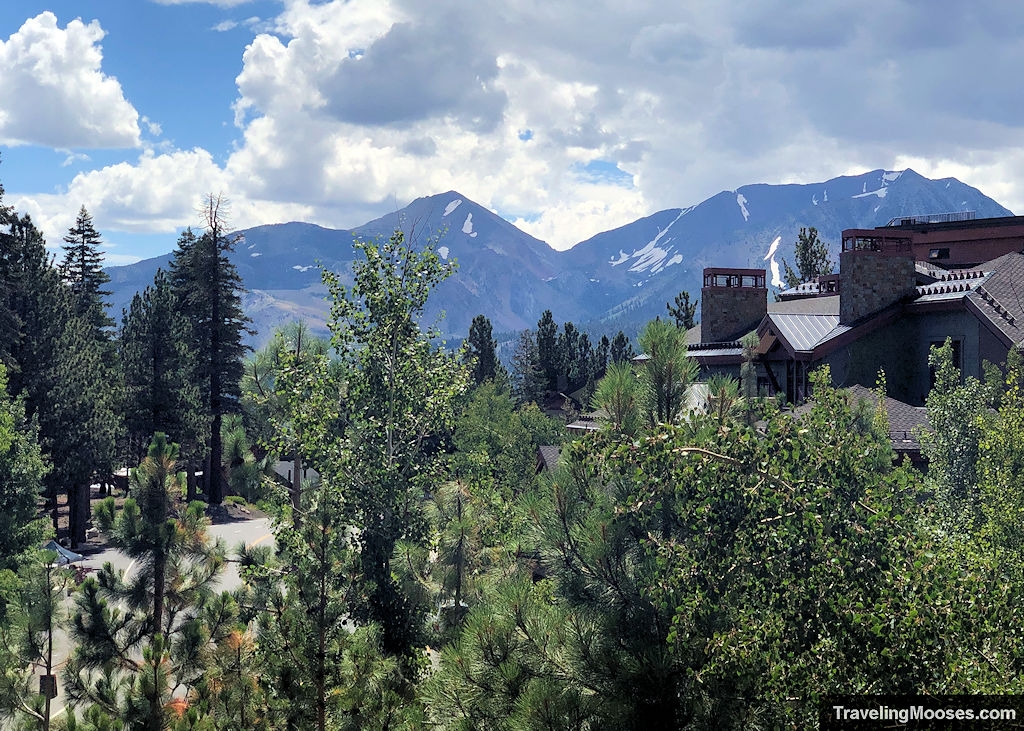
We opted to stay in the Mammoth Village at the White Mountain Lodge, which we feel offers the best location in town. We were fortunate to stay only steps from the Village Gondola (which only operates in the winter) which is surrounded by restaurants, bike rentals and even an ice cream shop. White Mountain Lodge offers underground parking which was a key consideration for us. We had heard that bears sometimes break into vehicles if you leave food inside. We can’t speak to how often that actually happens, but we prefer parking in garages regardless.
How to get to Mammoth Lakes?
While there is an airport about 6 miles from the city, most visitors arrive via car. When we looked into summer travel, there were only two flights into the area, one from Hawthorne-LA (HHR) and one from Carlsbad (CLD) (both California airports).
You’ll most likely want a car anyway (unless maybe you’re popping in and out for skiing), so it’s best to fly to the nearest major airport and rent a car. If you live in Vegas like us, you can drive the ~5.5 hours to get into town.
Las Vegas to Mammoth Lakes
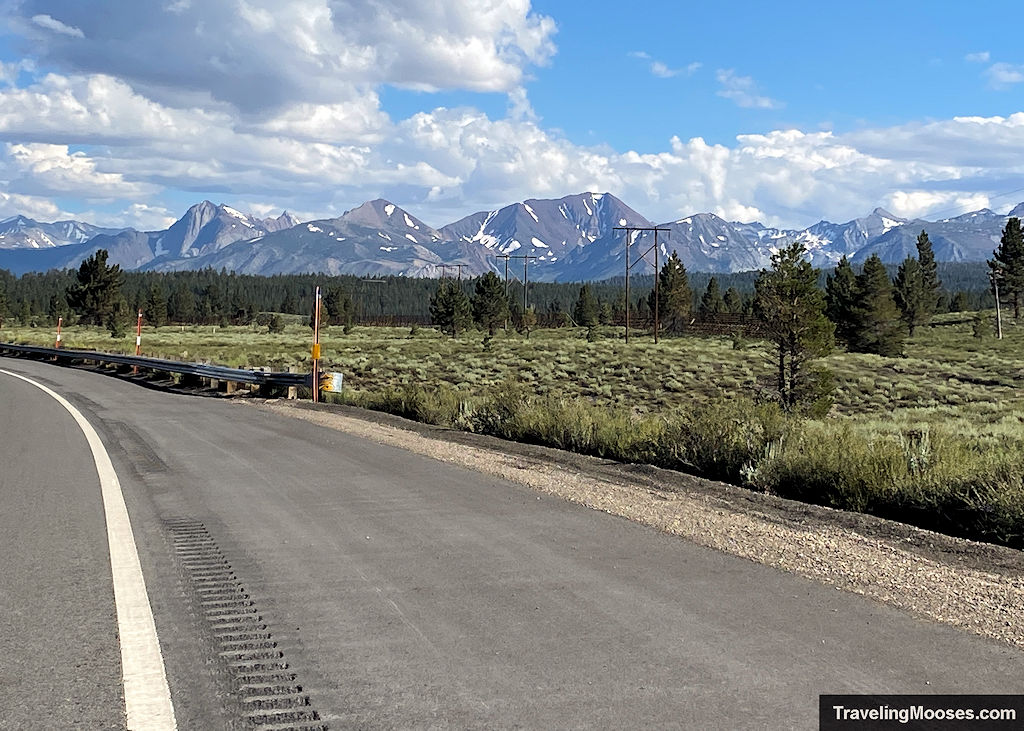
If you do drive from Vegas, we highly recommend steering clear of the “fastest” route that Google Maps suggests, which includes going up highway 168. It’s an incredibly windy, slow road that cuts through the mountains and at one point goes down to a single lane road! That stretch of road does close in the winter (thank goodness), but we will avoid it at all cost going forward.
We’ve included a map below of our route home which was way better. It involves going over Benton Pass and skipping highway 168. It also closes in the winter, but it’s a great summer route. Oddly enough, Google seemed to think it would be 8 minutes faster.
If you can’t see the map, you can click here to go directly to google maps.
